Add redactions and hints
RedactManager generates redactions and hints automatically, but you can also add them manually.
Proceed as follows to add a redaction or hint:
Open the document in the editor (Standard view) and select the text passage you would like to redact.
A menu bar opens. It shows the following options:
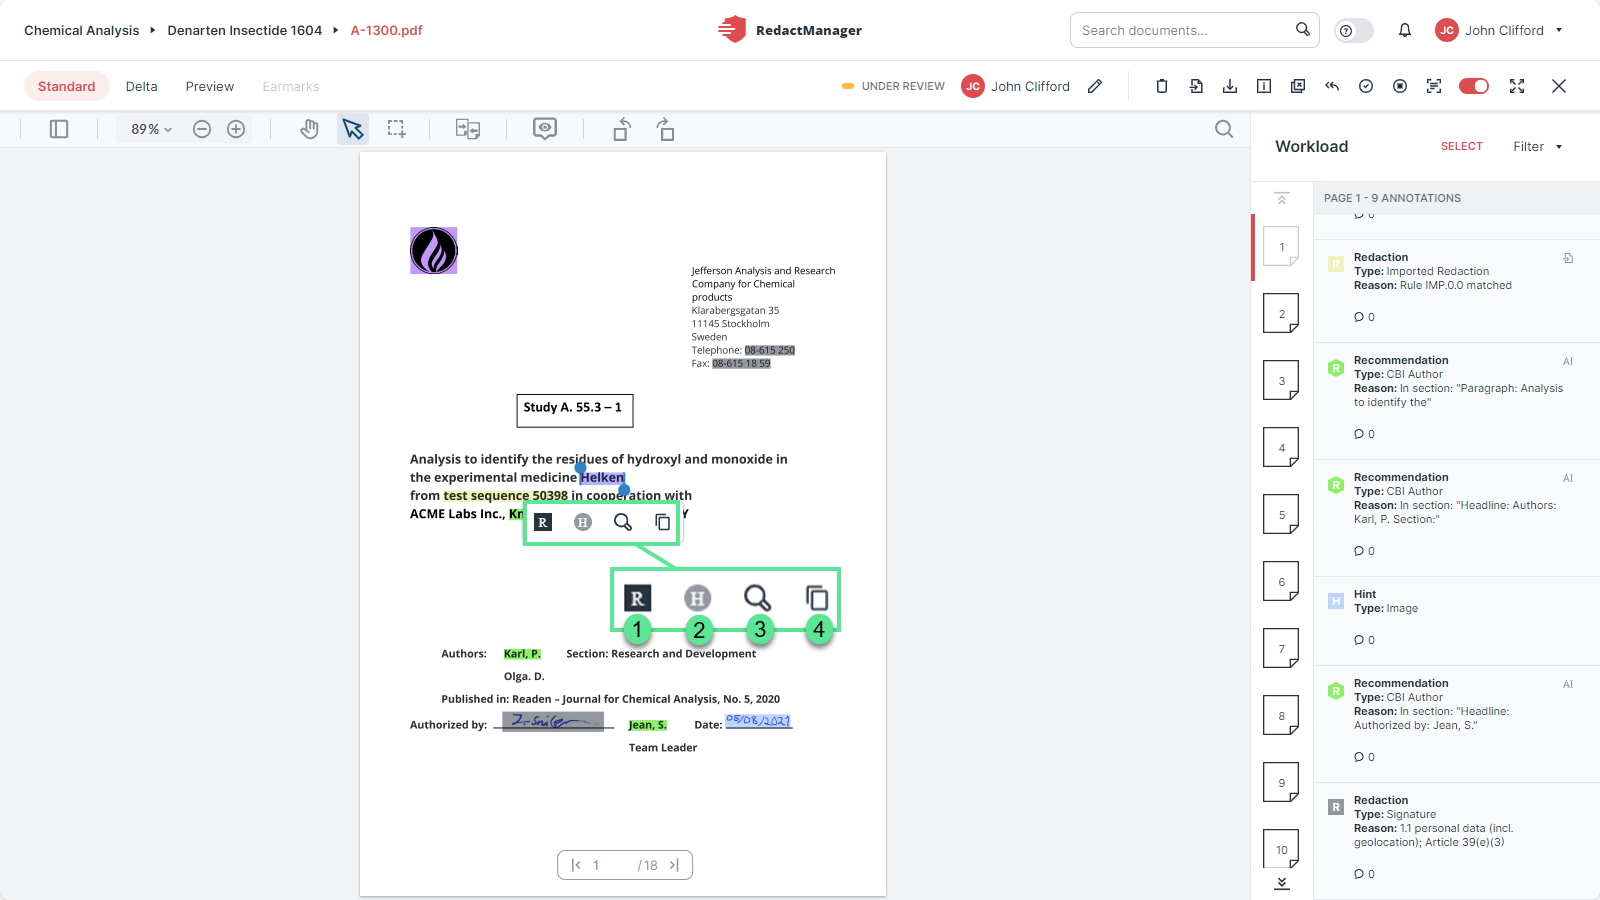
Editing options when selecting text in the document
Redact
Add hint
Search for selection: Search the document for the selected text.
Copy: Copy the selected text to paste it somewhere else.
Click
 to redact the selected passage or
  to add an hint.
The "Redact text" or "Add hint" dialog opens.
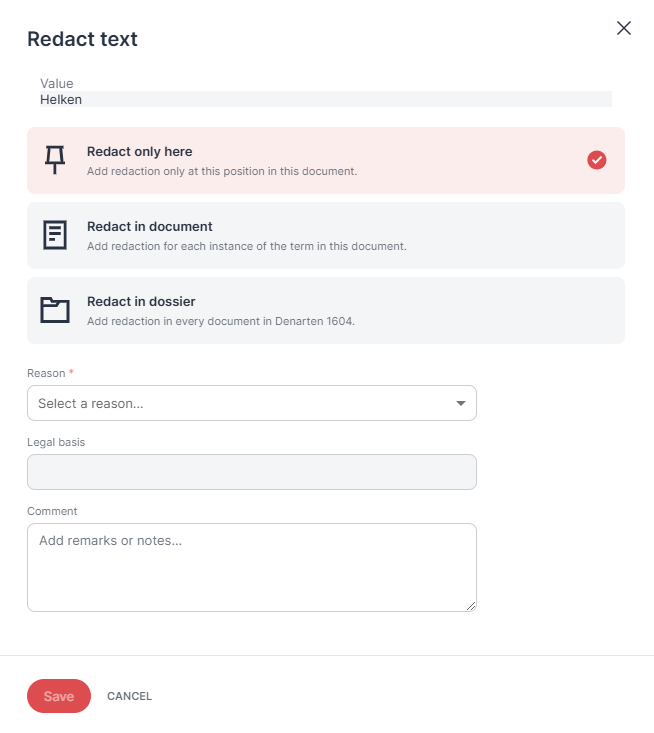
Choose from the options offered in the dialog:
(We are using the "Redact" dialog as an example here; the "Add hint" dialog provides the same options, except that the resulting annotation is a hint and not a redaction.)
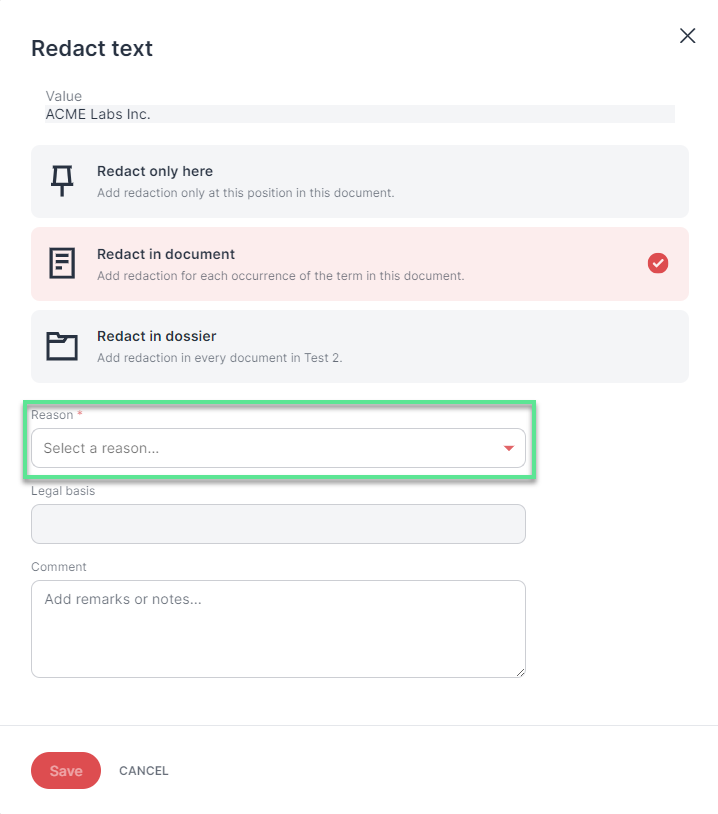
Add redaction only at this position in this document.
When to select this option:
You want to redact the term at this position in the document; and
You do not want to redact it elsewhere if it has also been detected at other positions in the document or dossier.
Results of this action:
Final document: The term is redacted at this position.
Editor: The term is marked with a redaction annotation of the type you select and labeled as "Manual Redaction" in the workload.
How to fill the dialog:
Reason: Select the redaction reason from the drop-down. The legal basis will then be added automatically. Both will be listed in the redaction report(s) if they have been included in the respective redaction reports.
"Redact text" dialog: redact only here
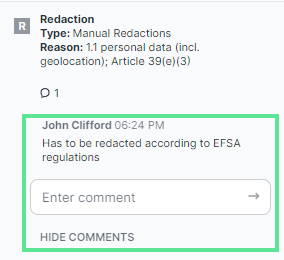
Comments: You can also leave a comment that will be shown in the workload entry. Click on the Comment icon to read it.
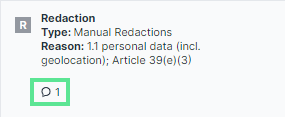
Comments in workload entries
This option is available in all editing dialogs.
Background info:
The action does not have any effect on the dictionaries.
Good to know
When you have redacted a term using the Redact only here option, and you later want to redact the term in the entire dossier or all dossiers, you have to delete the local redaction and to redact the term again by using the Redact in dossier or Apply to all dossiers option.
Add redaction for each instance of the term in this document. (This option is not available for hints.)
When to select this option:
You want to redact the term in the current document.
Results of this action:
The action triggers a reanalysis and the term is annotated as a redaction in the entire document.
Editor: The term is annotated as a redaction in the entire document. The redaction type corresponds to the one selected when creating the redaction.
The term will be redacted in the final version of the document.
Reason:
Select the redaction reason from the drop-down. The legal basis will then be added automatically. Both will be listed in the redaction report(s) if they have been included in the respective redaction reports.
"Redact text" dialog: redact in dossier
Background info:
The action does not have any effect on the dictionaries.
Add redaction in every document in this dossier.
When to select this option:
You want to redact the term in all documents of the dossier you are currently working on.
Results of this action:
The action triggers a reanalysis and the term is annotated as a redaction in all dossier documents if applicable.
Editor: The term is marked with a redaction annotation of a type you select.
The term will be redacted in the final version of all dossier documents.
Apply to all active and future dossiers option:
(This option is only available to dossier members with the approver role.)
Select this option if you want to redact the term in this context in any dossier that uses the selected dossier template.
The system stores your input and starts a reanalysis to redact the term in all active documents. It will also be redacted in future dossiers.
Type:
Select the redaction type from the drop-down. It will be listed in the redaction report(s) if applicable.
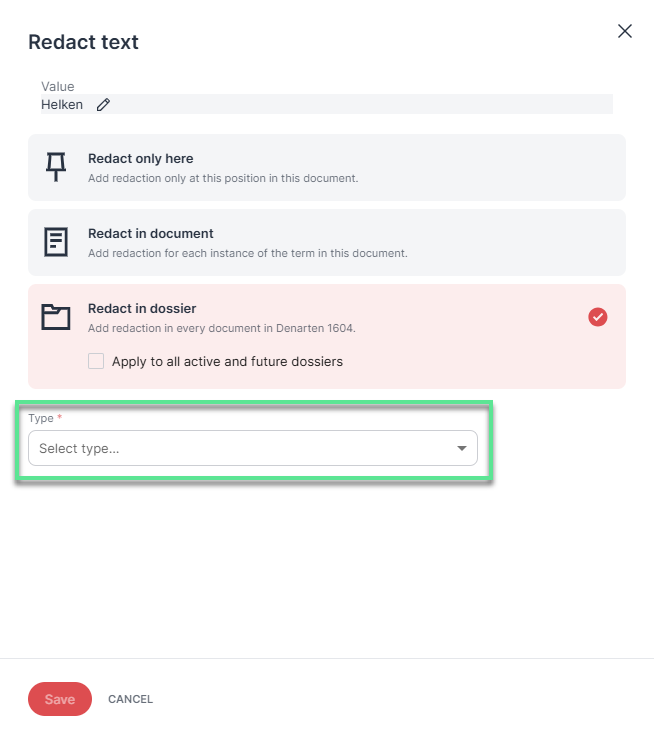
"Redact text" dialog: redact in dossier
Background info:
If you select the "Redact in dossier" option, the value is added to the respective dossier dictionary. If you additionally select "Apply to all active and future dossiers", the value will be added to the respective template dictionary.
By selecting the redaction type, you choose to which dossier or template dictionary to add the term.
When you select Redact in dossier, RedactManager saves the details of the redaction/hint to apply the same annotation on further documents and/or future dossiers.
When OCR has been performed, there may occasionally be differences between the spelling in the document and the spelling captured by RedactManager because the selectable text produced during OCR is placed over the document as an invisible layer.
You can edit the text to be stored by clicking Edit text
 . The icon is only displayed if Redact in dossier has been selected.
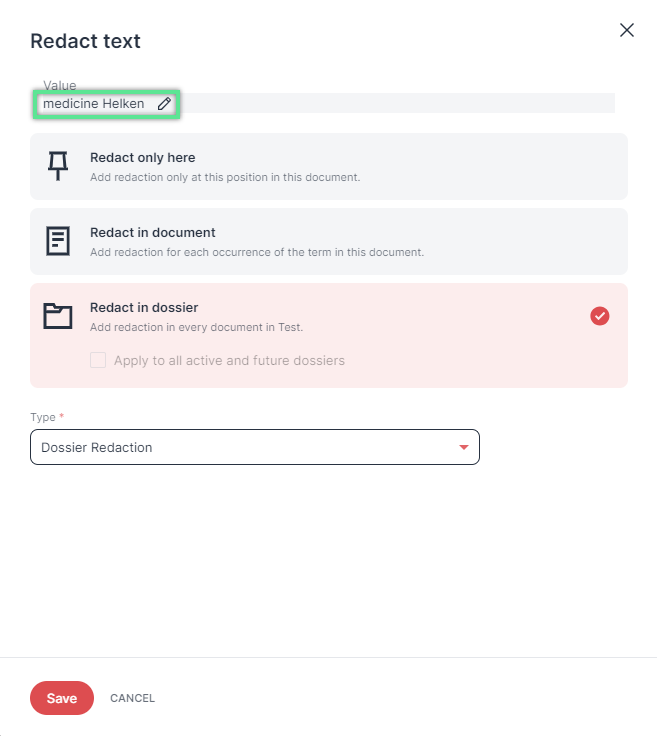
Edit selected text
Your change is applied when you click Save in the dialog to create a new redaction/hint. While editing the dialog, you can undo the change by clicking Revert to selected text
 .
.Click Save to create the redaction.
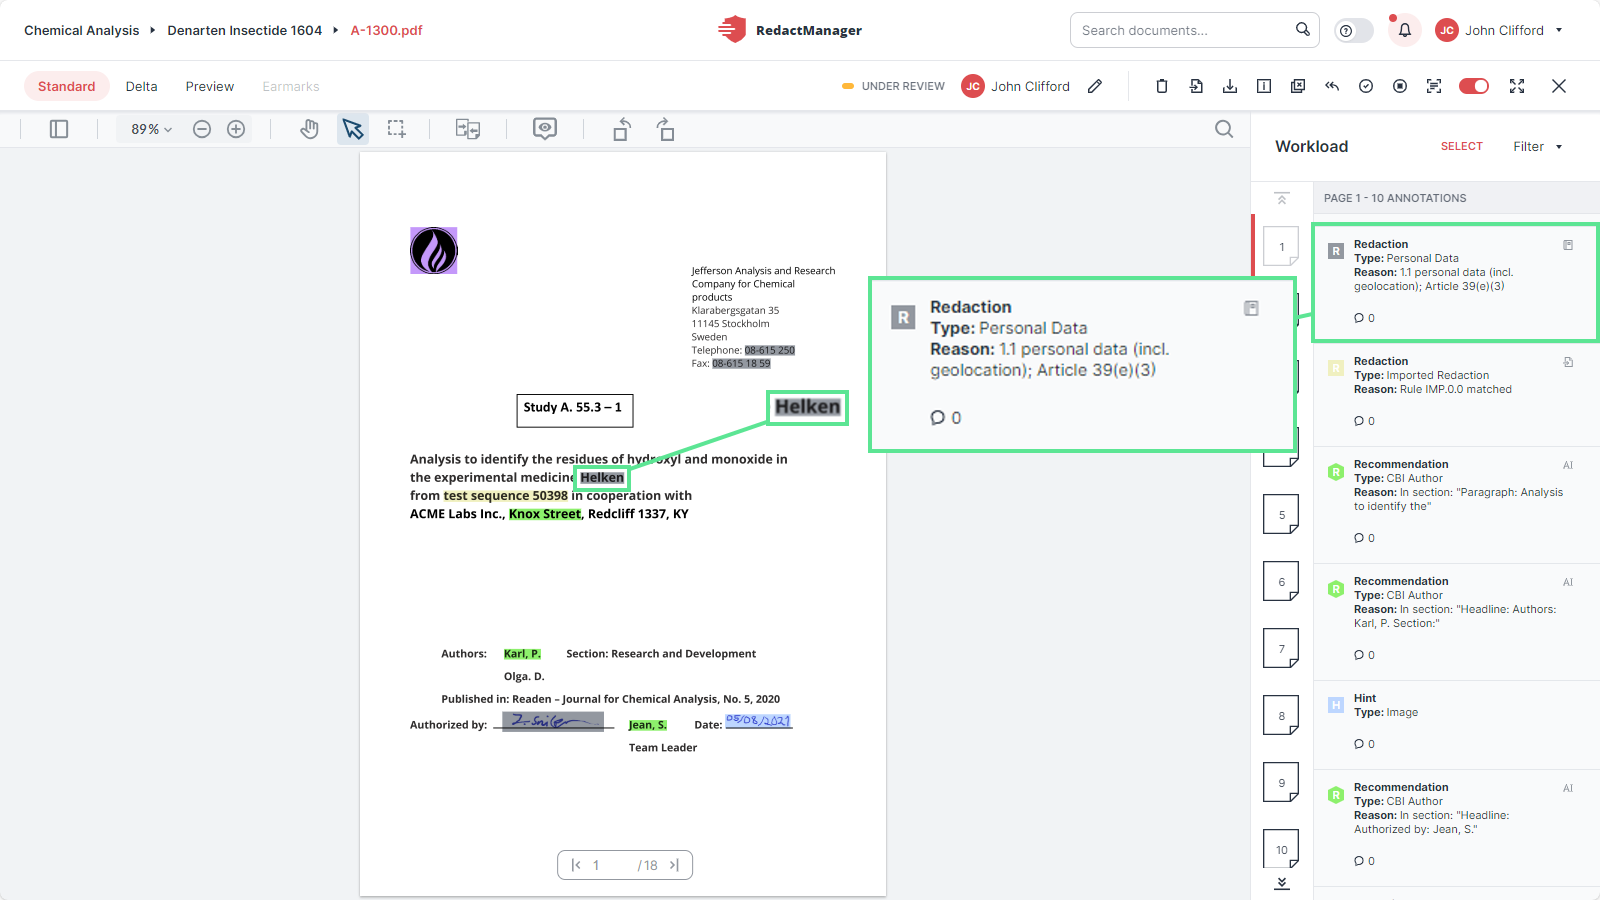
The text passage is highlighted in the redaction color and a new "Redaction" entry appears in the workload.
In the case of an "only here" redaction, it shows the type "Manual redaction" and is marked with a hand icon.
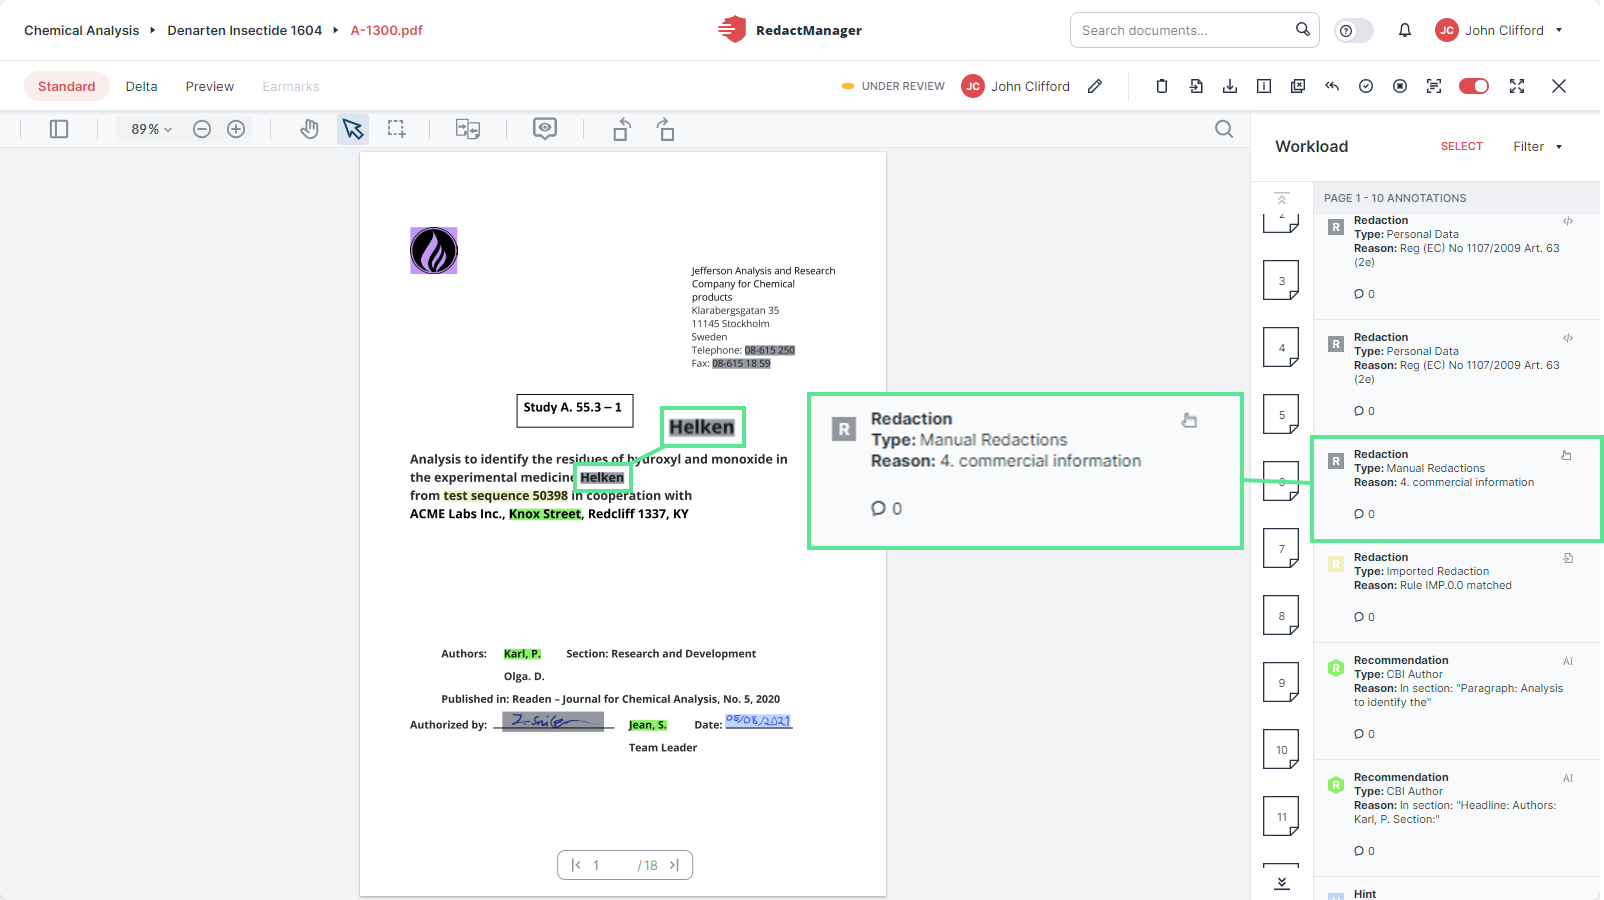
Edited manual redaction
In the case of an "in dossier" / "apply to all" redaction, it shows the type you selected from the Type drop-down and is marked with the "Based on dictionary" / "Based on dossier dictionary" icon.
Edited manual redaction


In addition to redacting individual text elements, you can also redact larger areas of the document, such as graphics, logos, and entire paragraphs. This feature is called "rectangle redaction."
The Rectangle button can be found in the document viewer toolbar:
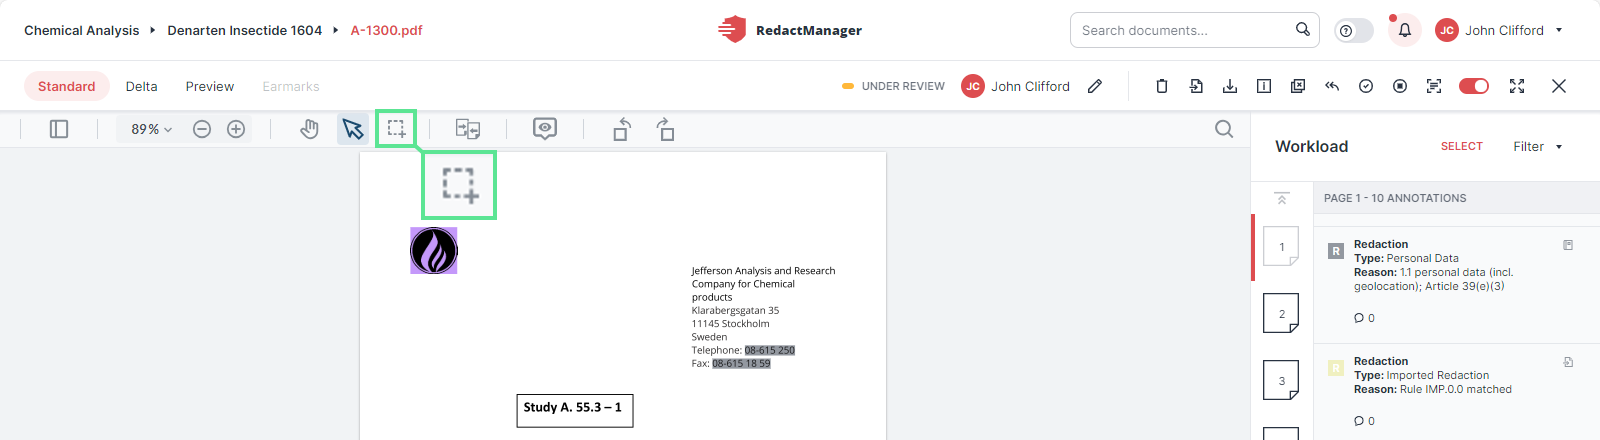
"Rectangle redaction" button
Click Rectangle to enable rectangle redaction.
Your cursor turns into a cross.
Select the starting point by clicking and holding the left mouse button, then drag to draw a rectangle over the area you wish to redact.
A rectangle appears on the screen.
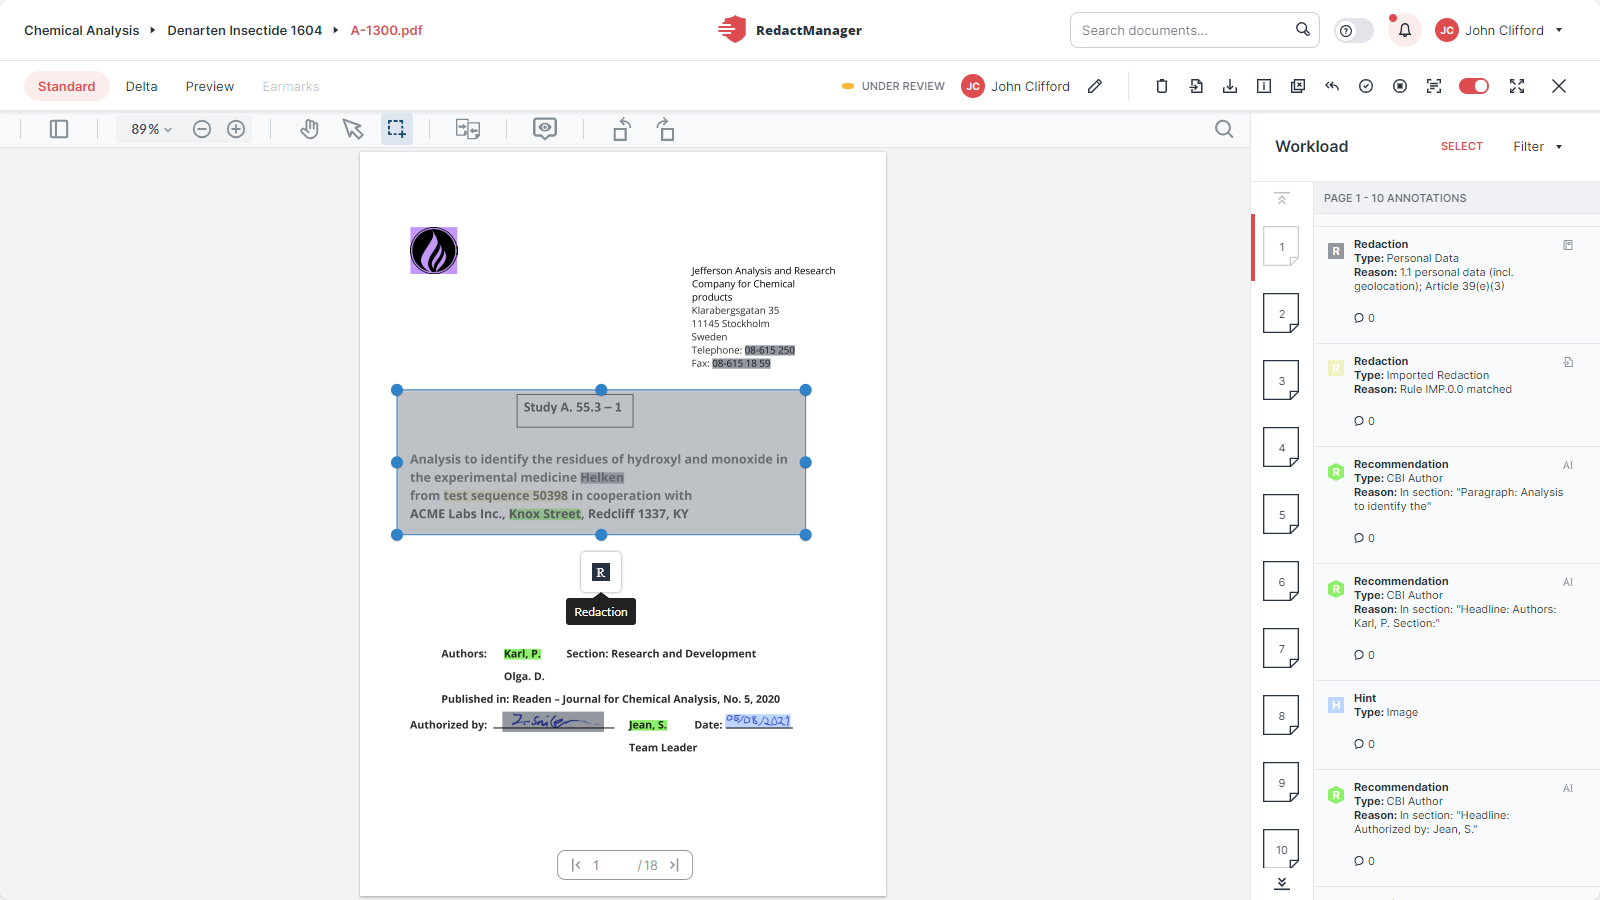
Manually selected area
Release the mouse button when you have selected the area you would like to redact.
The selection box has a blue frame with dots. You can click and drag these dots to resize the area as needed.
The Redaction button
is displayed below the selection box.Click Redaction
to confirm the selection.The Redaction form opens. Mandatory fields are marked with a red asterisk.
Complete the Redaction form:
Choose the redaction scope:
"Apply only on this page" to apply the redaction only on the current page.
"Apply on multiple pages" to apply the defined rectangle redaction on multiple pages. Specify in the Range field on which pages you want to redact the selected area. The redaction will appear in the same position across all selected pages.
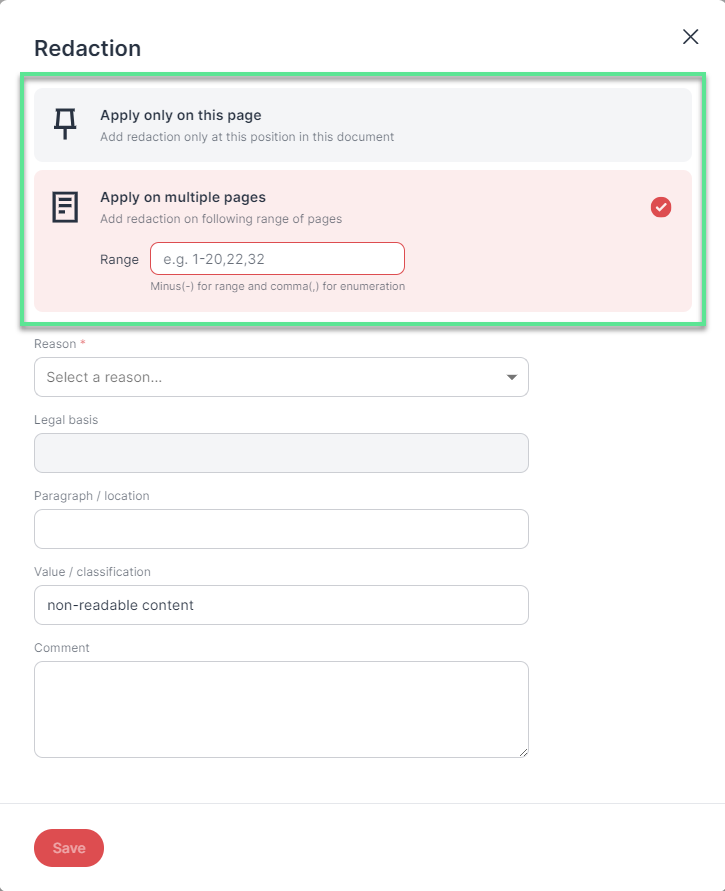
"Rectangle redaction" dialog
Complete the rest of the fields:
Reason (mandatory): Select the redaction reason from the drop-down menu to get sure the reason will be inserted correctly into your redaction reports.
Legal basis: This field will auto-populate once you have selected the reason.
Paragraph / Location: Enter the title of the (sub)chapter where the redaction is located (optional).
Value / Classification: Name the redacted area. The default value is "non-readable text," which will appear in the "Value" column of the redaction report.
Comment: Leave any additional notes.
Click Save to confirm.
Once saved, the selected area is highlighted in the redaction color and a new Redaction entry of the Type Manual redaction appears in the workload. It shows the hand icon.
Editing or removing rectangle redactions
To edit or remove a rectangle redaction, click on the redacted area and select Edit or Delete  . If the redaction is a multi-page redaction, you can choose to remove the redaction from the current page only or from multiple pages.
Good to know:
The rectangle mode remains active when you jump to another page and back.