General features and actions
You open a document in the Editor.
The following features and actions are available in the Editor:
Views
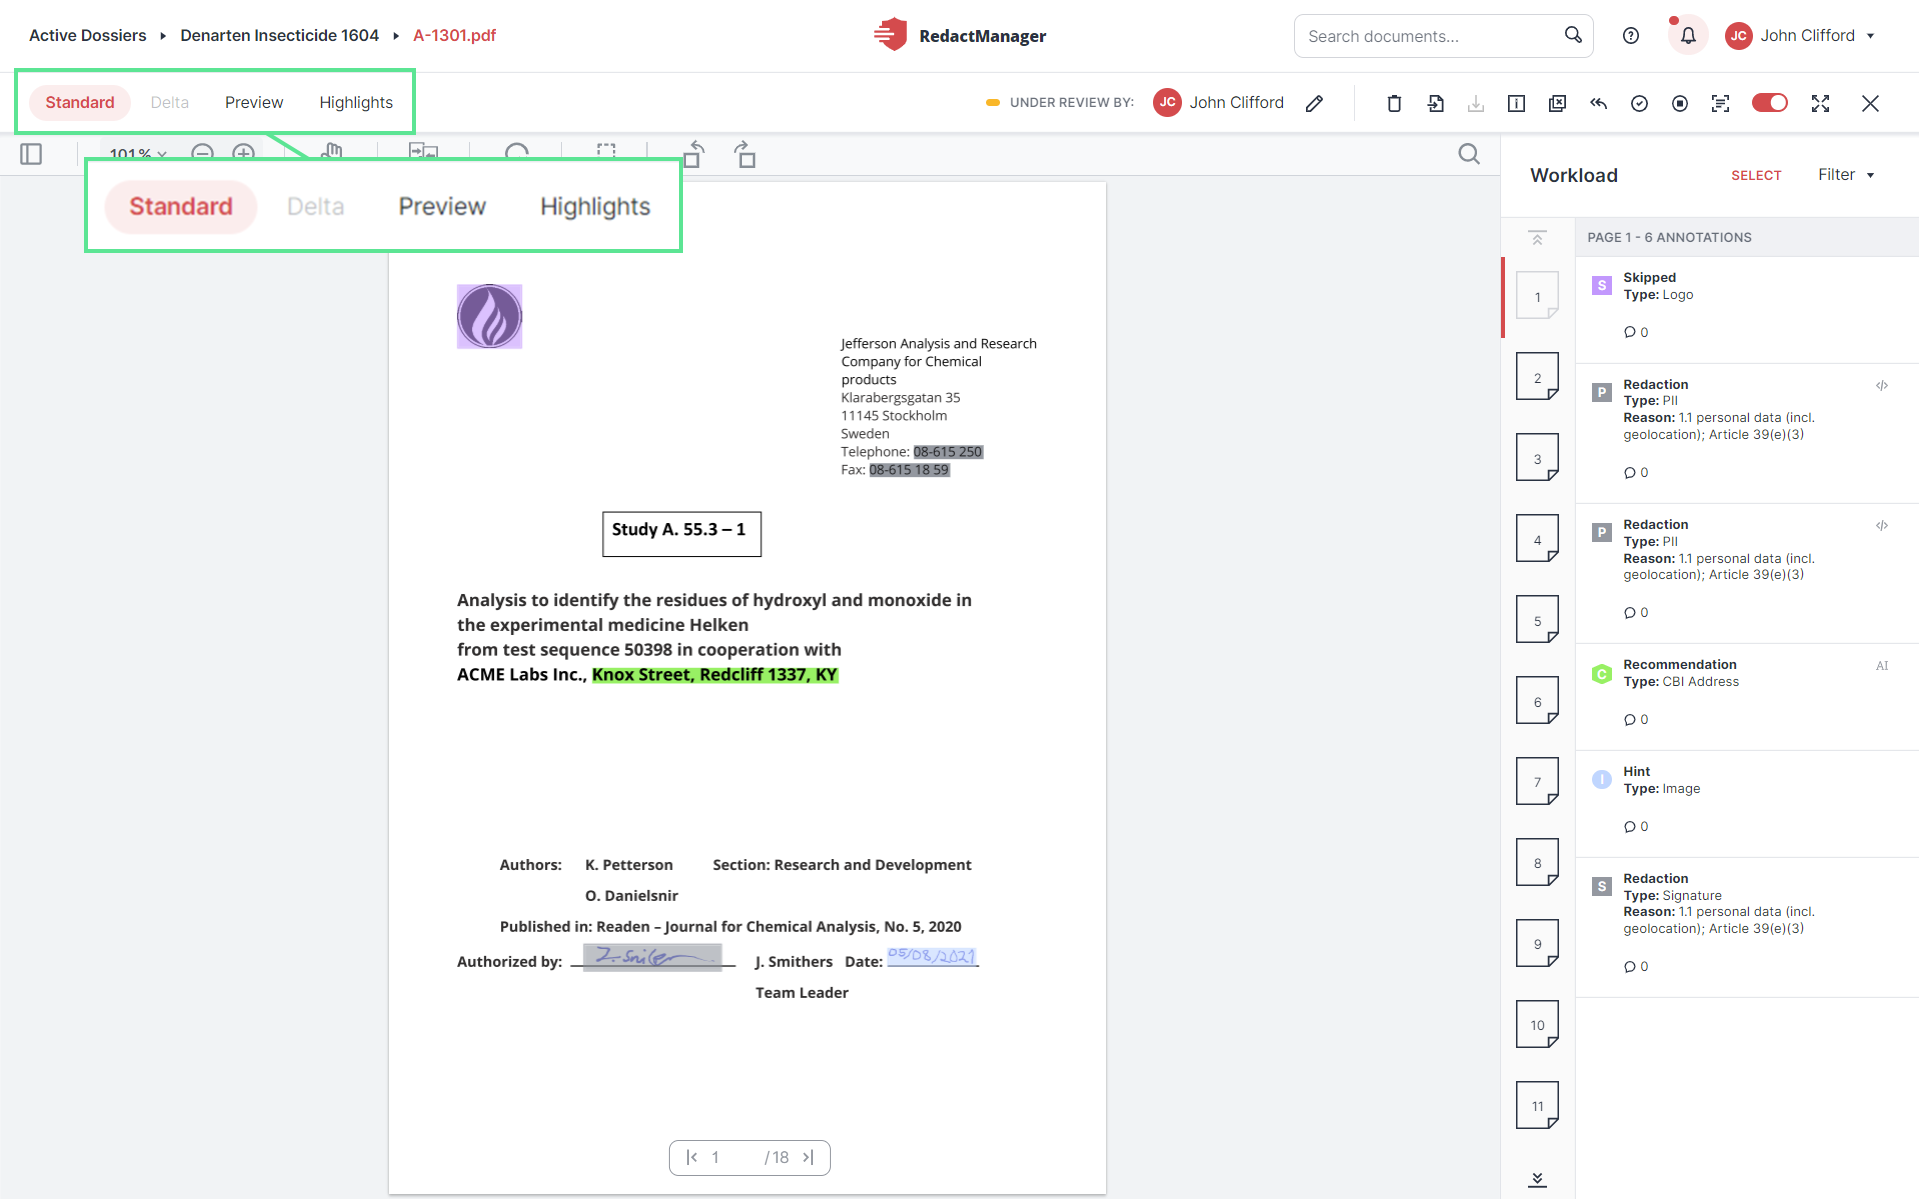
The document is displayed in the Standard view when you open the Editor.
In the upper left corner, you can choose between three different views. Left-click on one of the options to change the view.
In the bar below the different views, you will find a zoom option and the Panel view  that allows you to access individual pages directly.
The bar below the Views contains several PDF features.
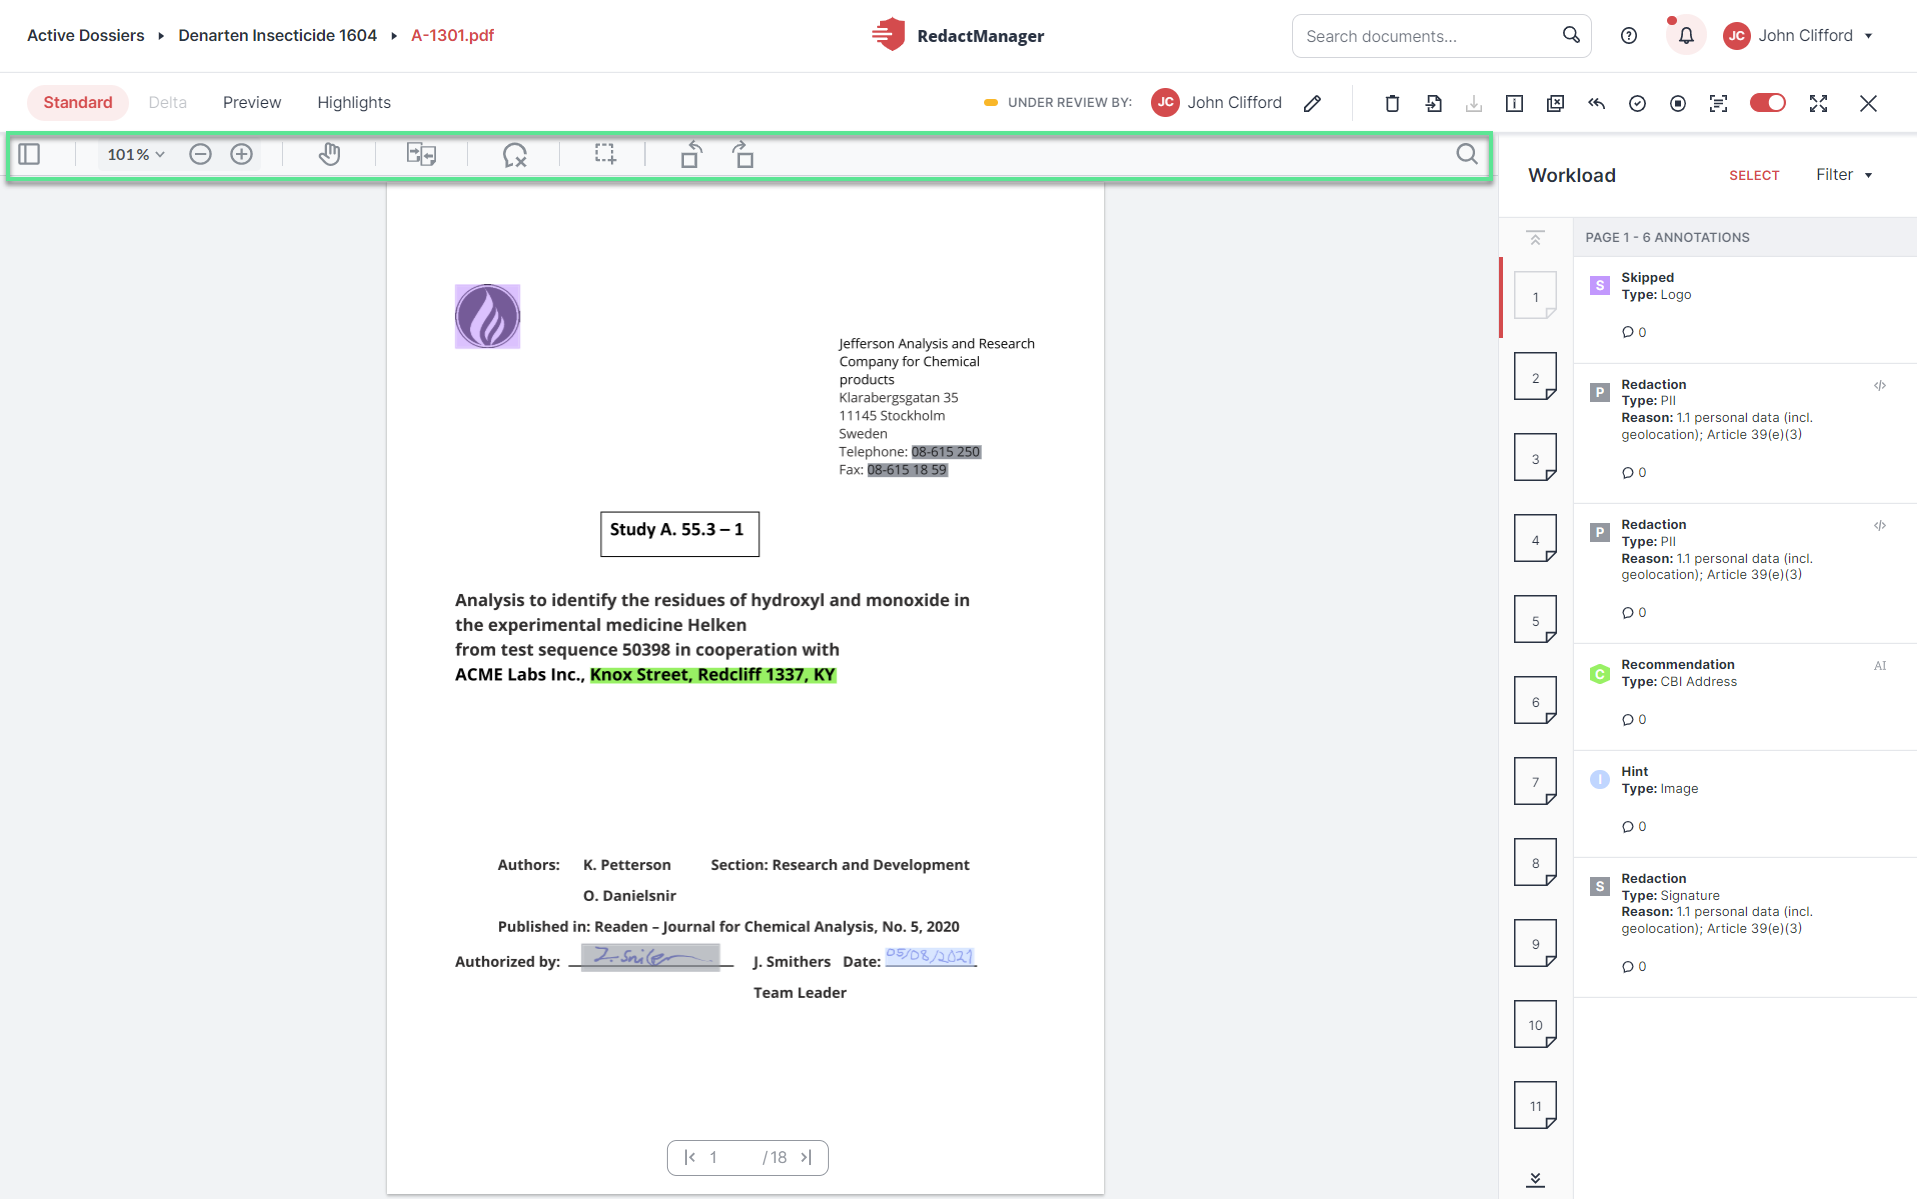
PDF features
What can you do here?


The Compare feature compares the currently opened document to another version of the same document redacted outside RedactManager. That allows you to check whether RedactManager would have redacted the same passages.
Click the Compare icon.

"Compare" icon
The file explorer opens, and you can select the document you would like to compare to.
Click the back arrow to leave the comparison mode.
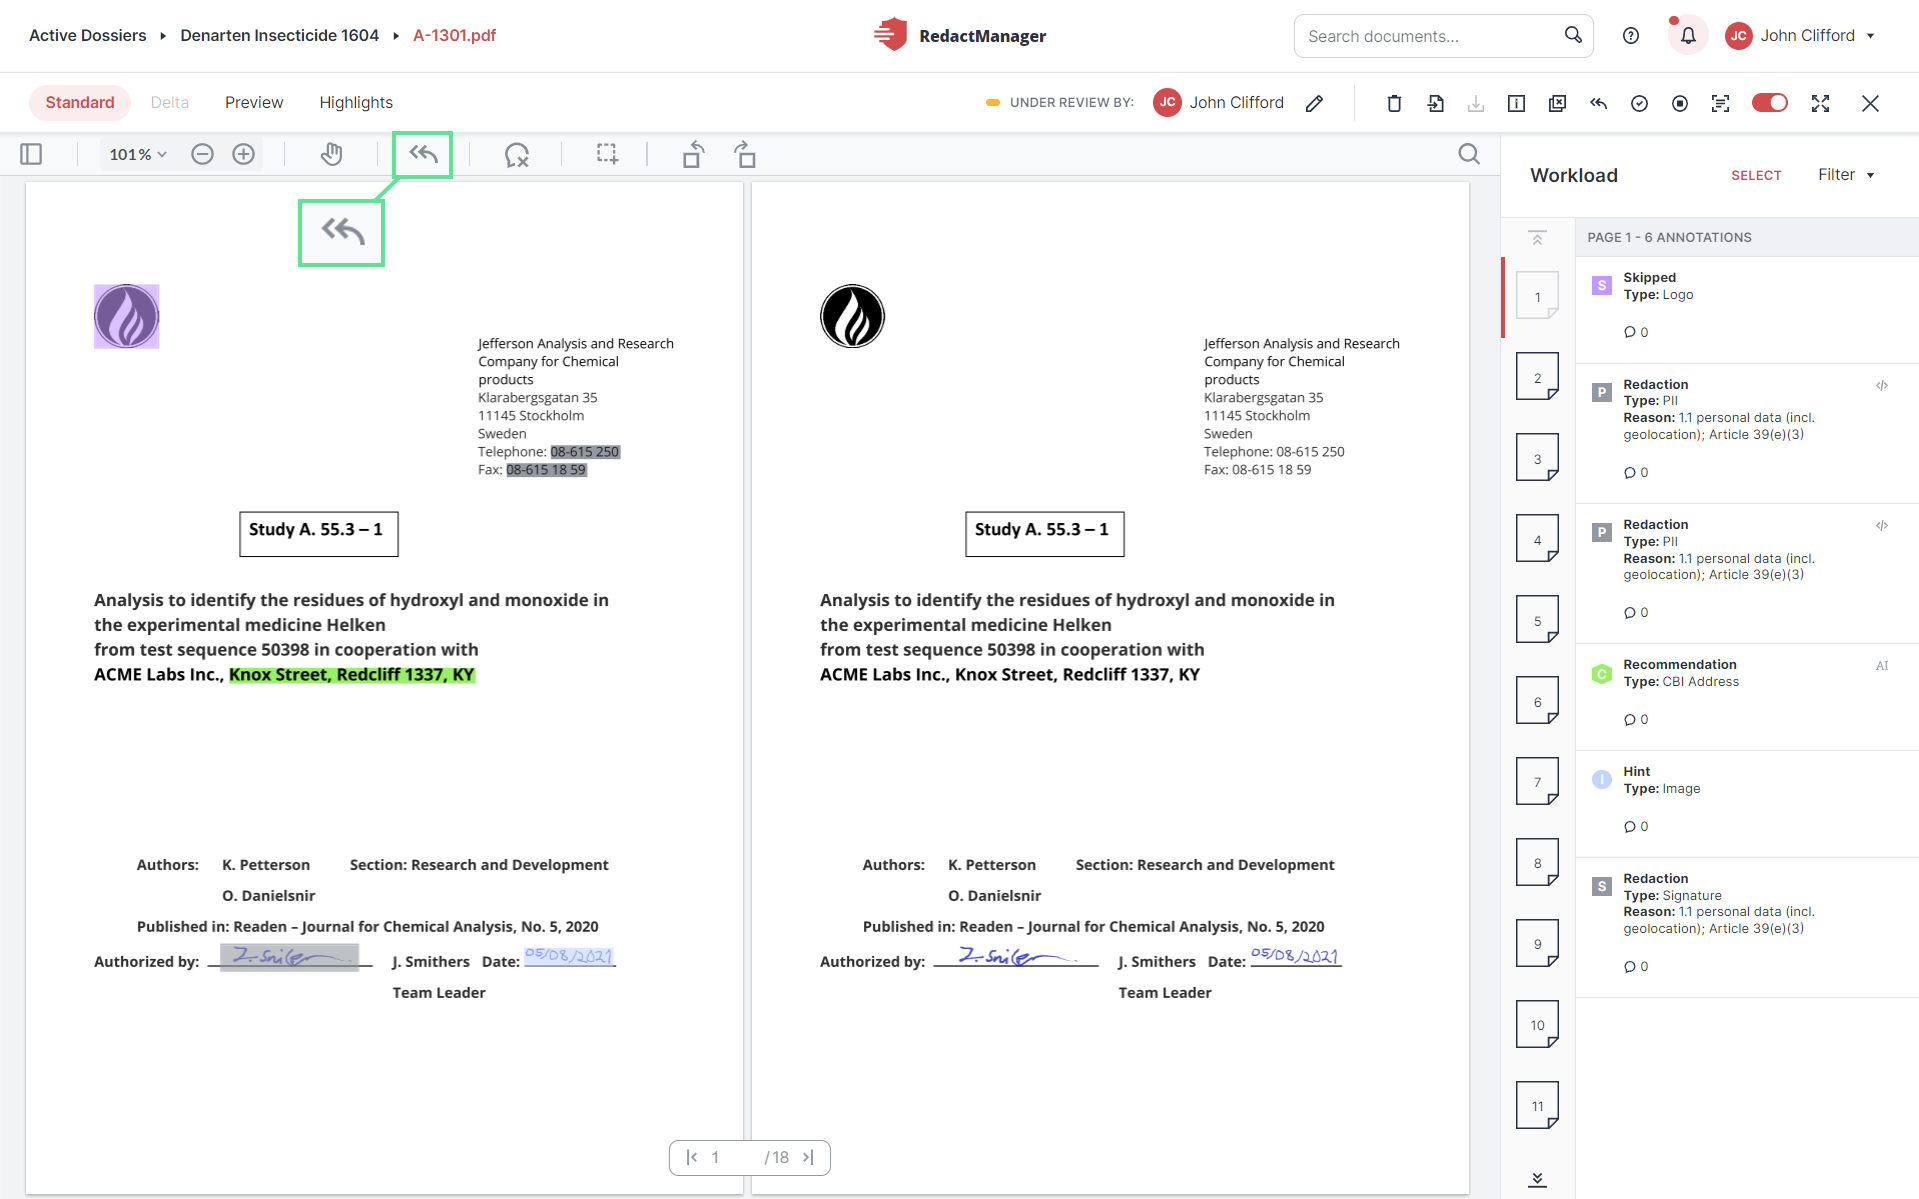
Leave comparison mode
Use the Enable annotation tooltips feature to enable annotation tooltips. The annotation tooltips will be displayed when you hover over makings in the document.
Click the Speech bubble icon to enable the annotation tooltips in the document.
Click the icon again to disable the tooltips.

"Enable annotation tooltips" icon
You can use the Rectangle feature to select and redact larger areas – e.g. graphics, logos, and text paragraphs.

"Rectangle redaction" icon
Click the Rectangle icon to enable rectangle redaction.
The cursor will turn into a cross.
Click on a point. Keep the left mouse button pressed and start drawing a rectangle.
The rectangle is highlighted in gray.
Release the mouse button when you have marked the area you would like to redact.
The selection box will have a blue frame with dots. Click and drag one of the dots to enlarge or reduce the selected area.
The Redaction icon
 is displayed below the selected area.
Click the Redaction icon to redact the selected area.
Depending on your permissions, either the Suggest Redaction or the Redaction form will open. Mandatory fields are marked with a red asterisk.
Fill in the form. It is similar to the text redaction form. You can find a detailed description here.
You want to remove your redaction or change it afterward? To do so, click on the redacted area.
If you have the User role, the Undo icon will appear. Click it to remove the rectangle redaction. (You can also find the icon in the respective annotation in the Workload).
If you hold the Manager role, the Resize, Edit, and Trash icons will appear. By clicking on the respective icon, you can enlarge/reduce the redaction area, change the redaction reason or delete the redaction.
Click the Rotate page icon to rotate the current page.
Click Apply or Discard to confirm or discard the new page orientation. The two options will appear next to the page rotation icon once you have rotated a page.
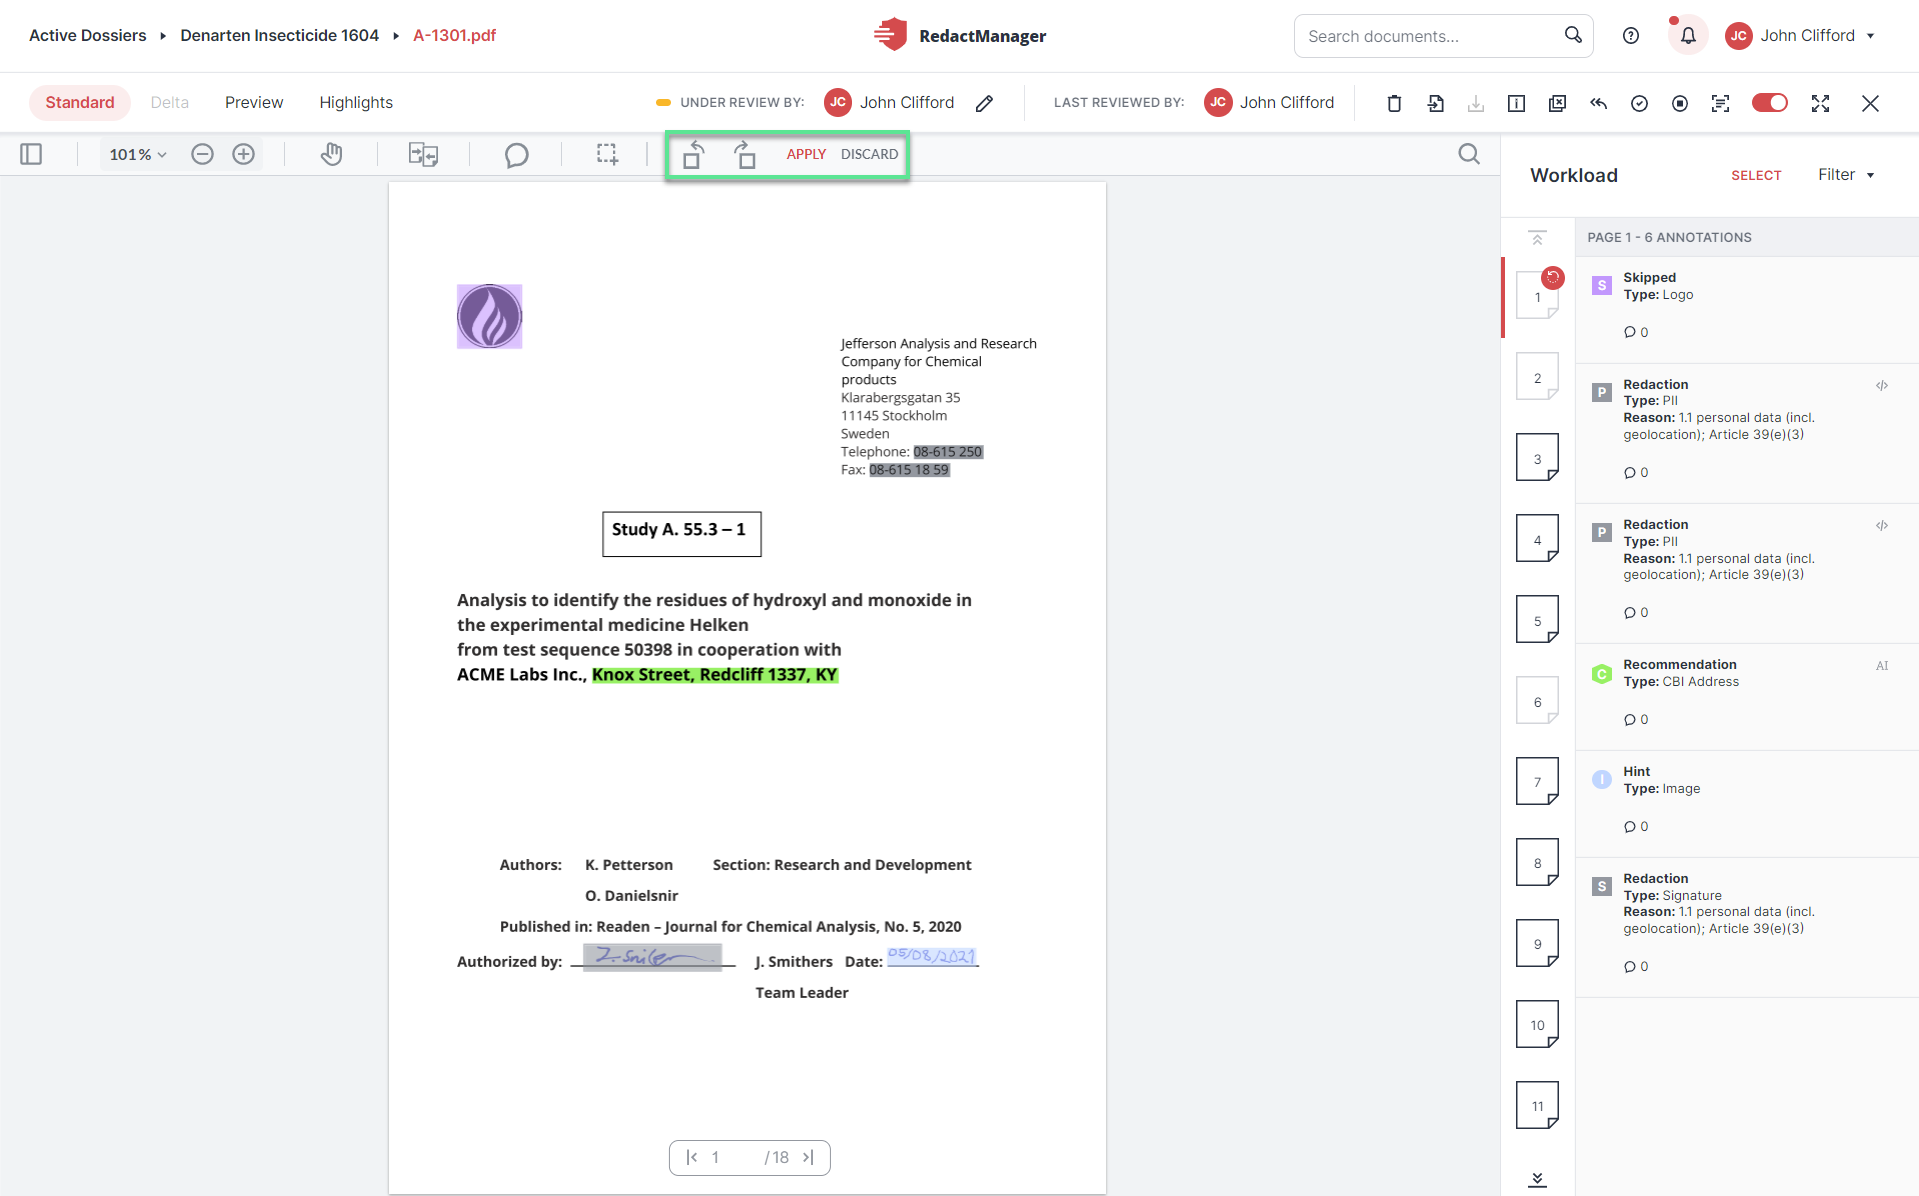
Apply or discard page rotation
As long as you have not clicked on Apply the page will be marked with a small rotation arrow in the Workload page overview. That tells you that you still have to confirm the page rotation.
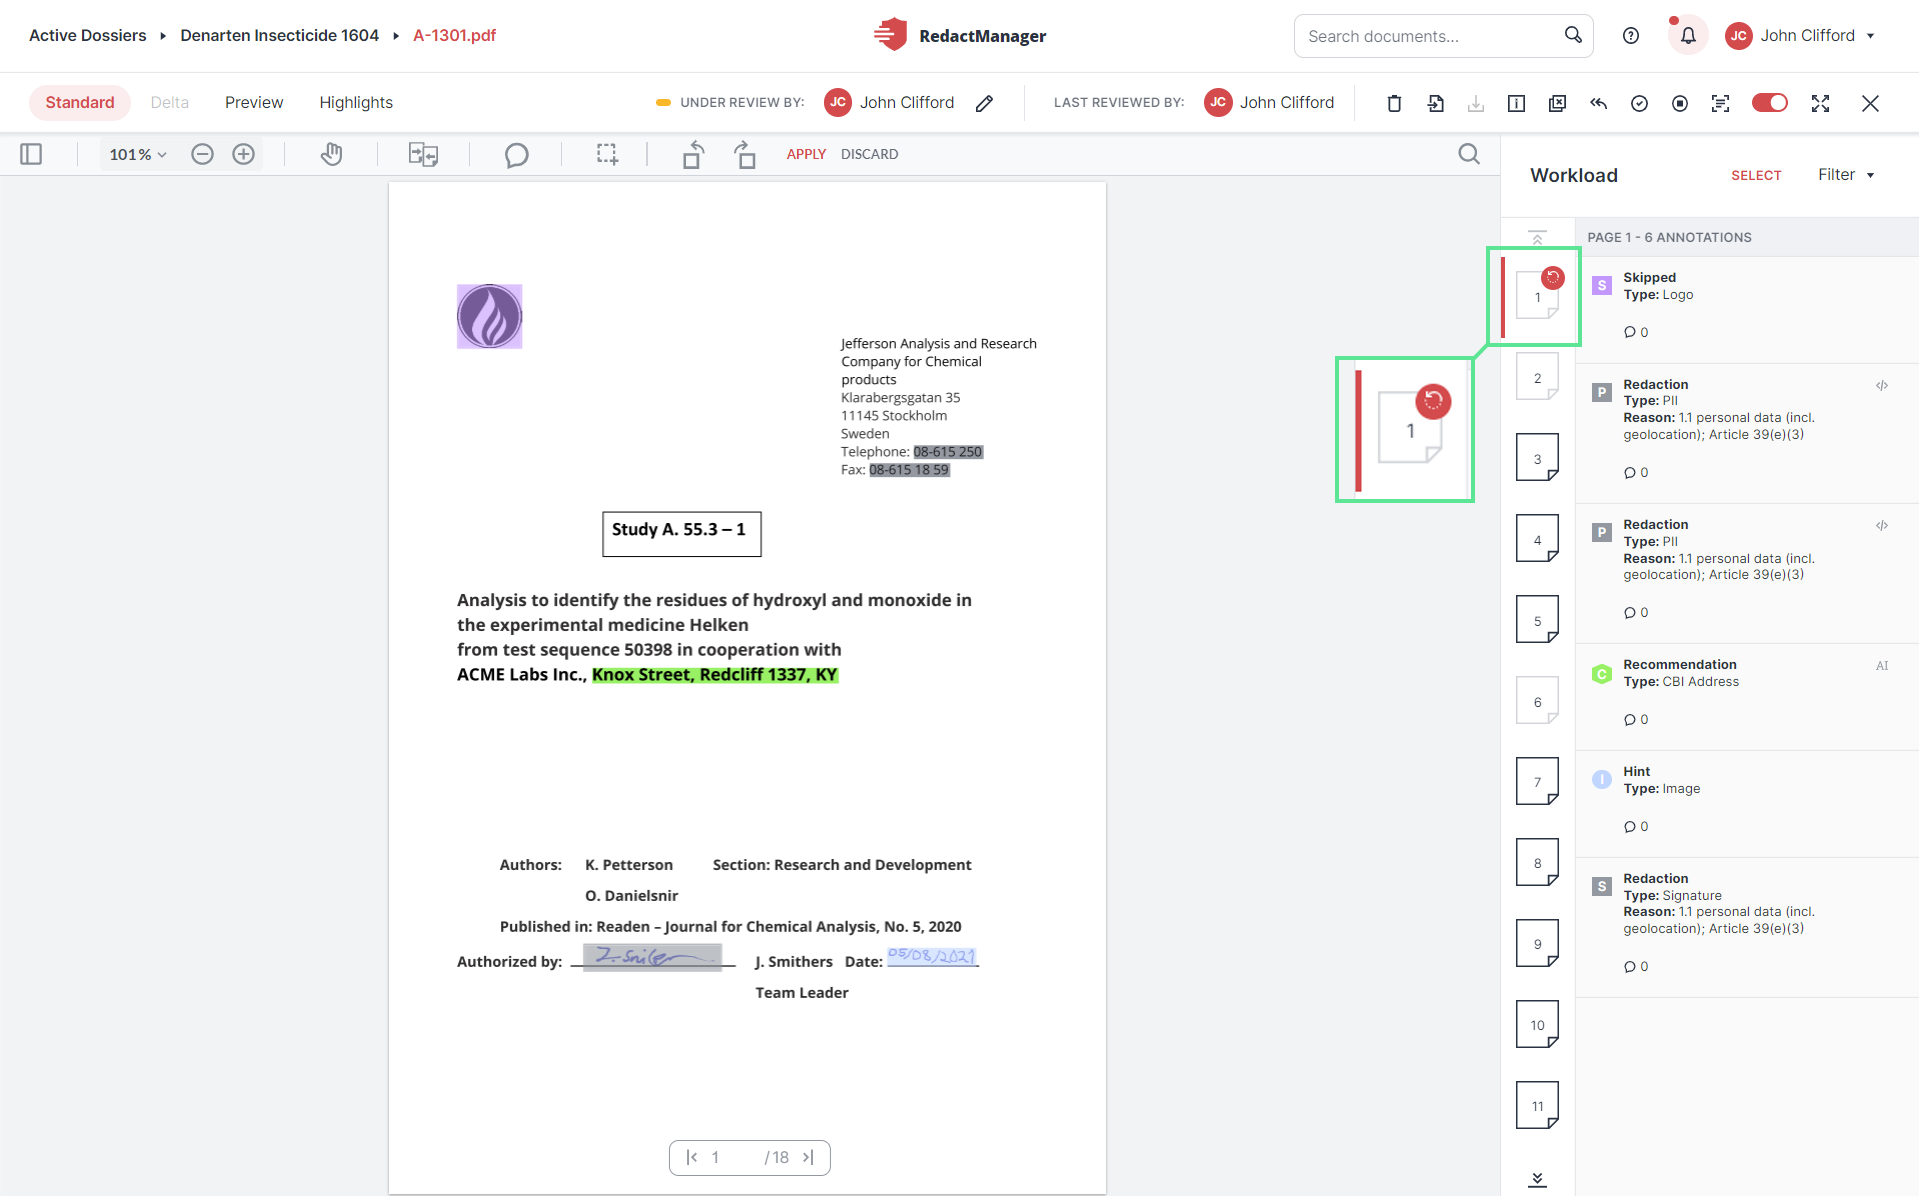
Confirmation of page rotation pending
Search the text:
Click on the magnifying glass and enter your search term.

"Search document" icon
Alternatively, you can mark a passage in the text. A magnifying glass appears under the text. Click the magnifying glass to look for the selected passage elsewhere in the document.
You can narrow your search as follows:
The Case sensitive filter restricts the search to exactly this character sequence and is case sensitive.
The Whole word filter limits the search to whole words.
Copy text:
Copy text: Mark a text passage and click the Copy icon  to copy the selected text. The copy feature is helpful if you want to use the selected text in another context.
Use the left/right arrow keys on your keyboard to jump between the document and the Workload.
Document: Use the up/down arrow keys to jump between pages.
Workload: Use the up/down arrow keys to jump between the annotations.
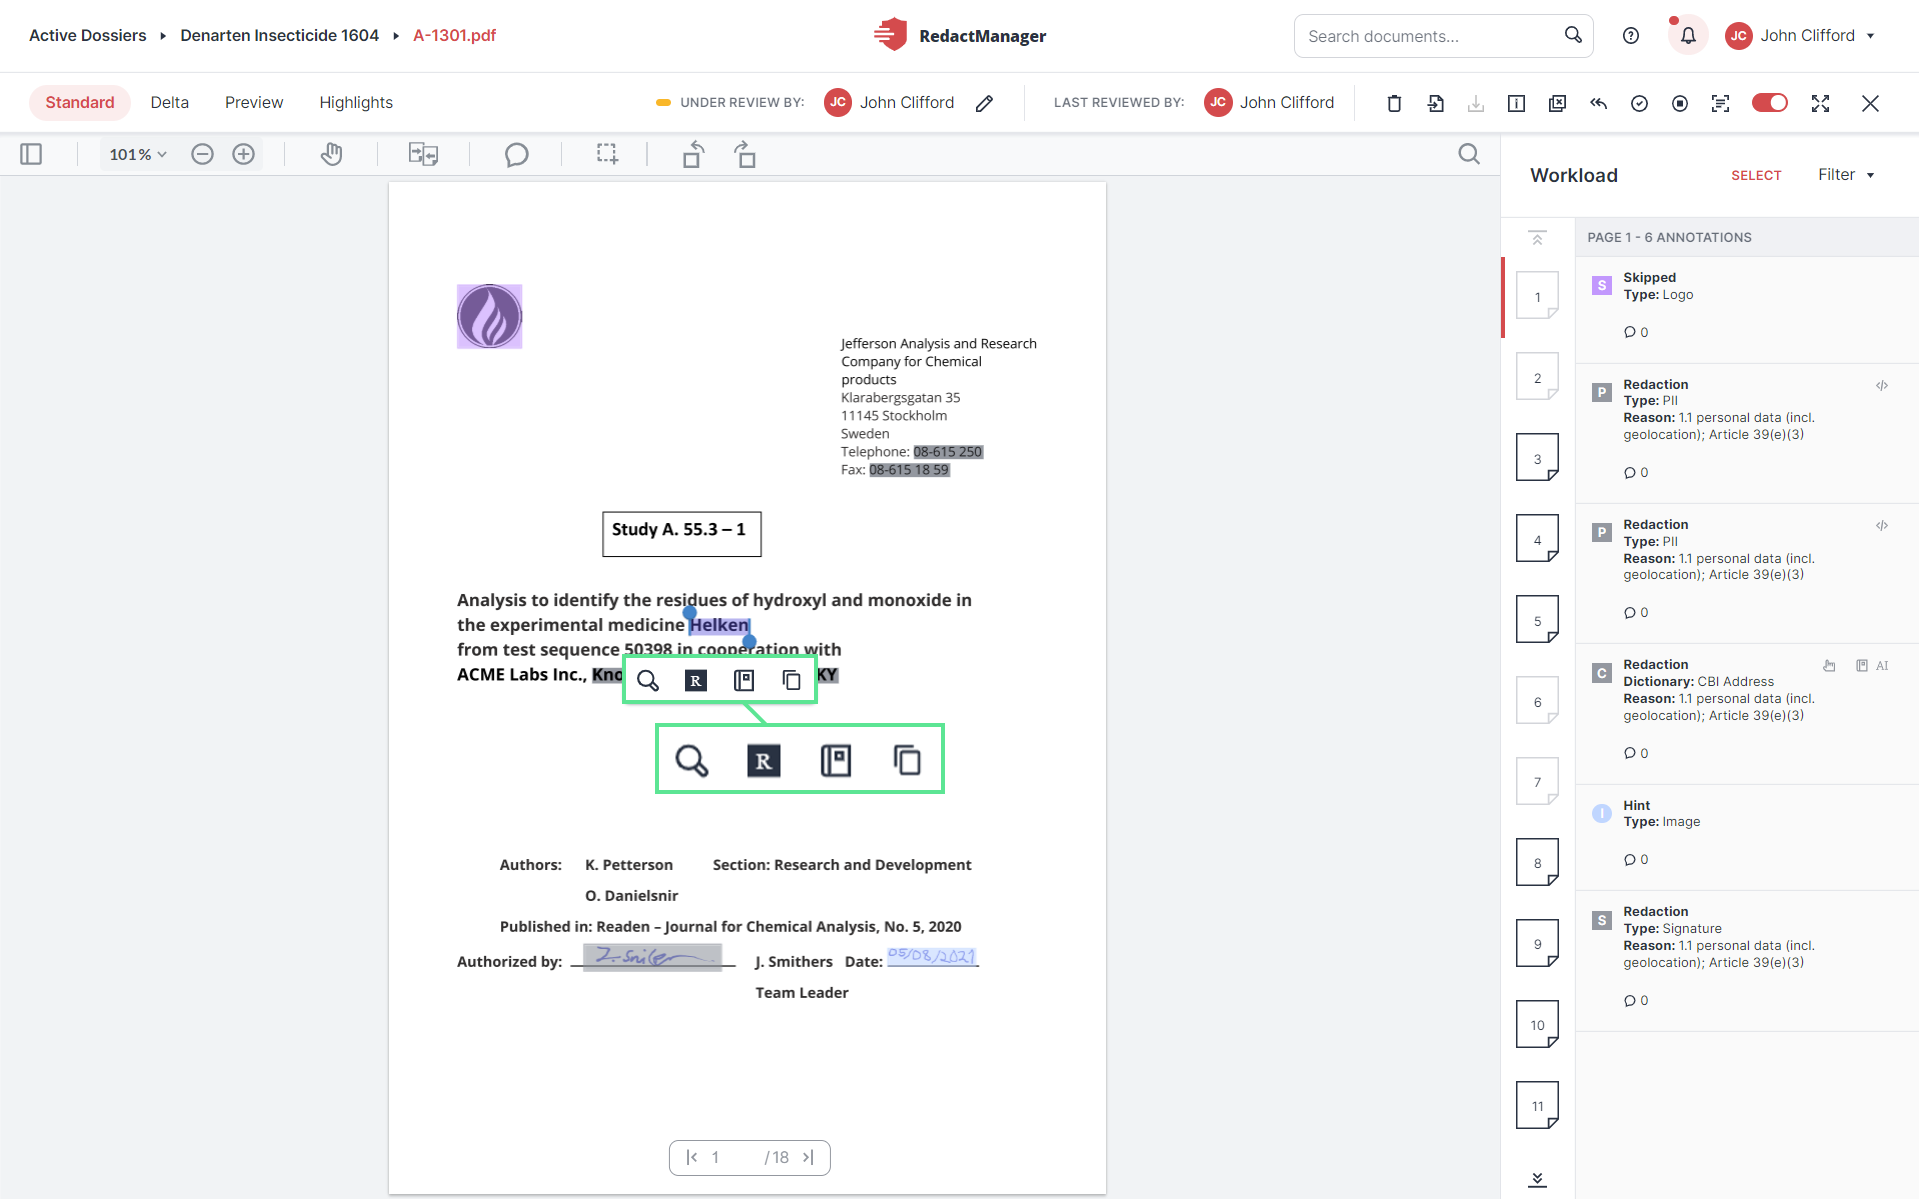
In this section, you will learn how to mark and edit text passages in the standard view of the Editor.
On the left, you can see the current page. You can mark any text passage with the mouse pointer. A small menu bar opens with the following functions:
Redaction
Add to dictionary
Search for selected text
Copy
These features are explained in the editing options in the Review and Edit Redactions section.
RedactManager analyzes files at lightning speed, highlights sensitive data based on the rules and dictionaries, and labels it as redaction or hint.
As a Reviewer, you manually check the markings and annotations generated by RedactManager. If necessary, you correct them and add further redactions. To do so, select a marking from the text or an annotation from the Workload to go to the respective marking in the document.
Editing features in the text
Workload
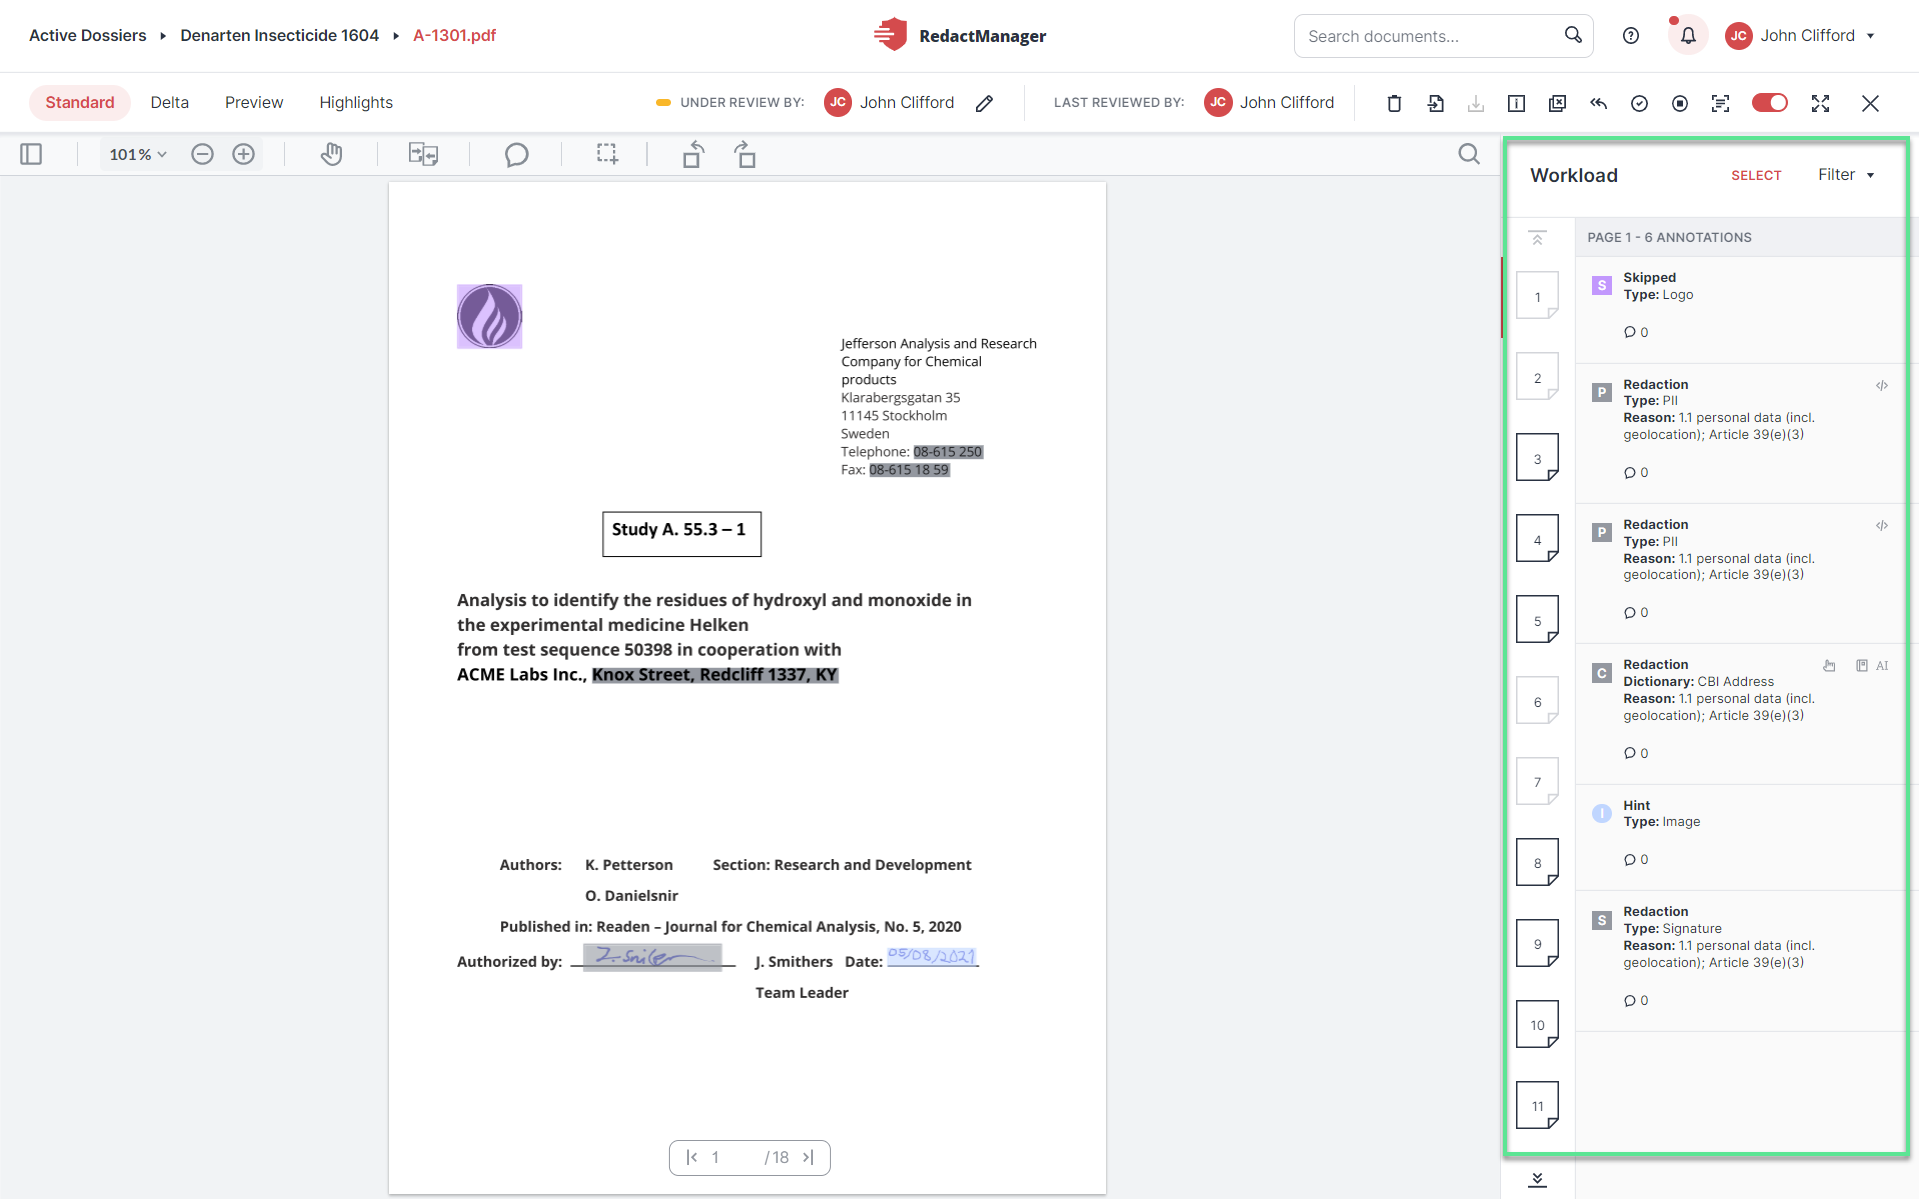
You open a document in the Editor.
If another Reviewer or Approver is assigned to the document, you have read-only permission.
On the right-hand side of the document in the Editor, you see a list of pages with redactions. If you select a page, it will be highlighted in red in the page list.
Next to this, you will see a list of the annotations for the markings (redactions, notes, skipped redactions, etc.) on the respective page.
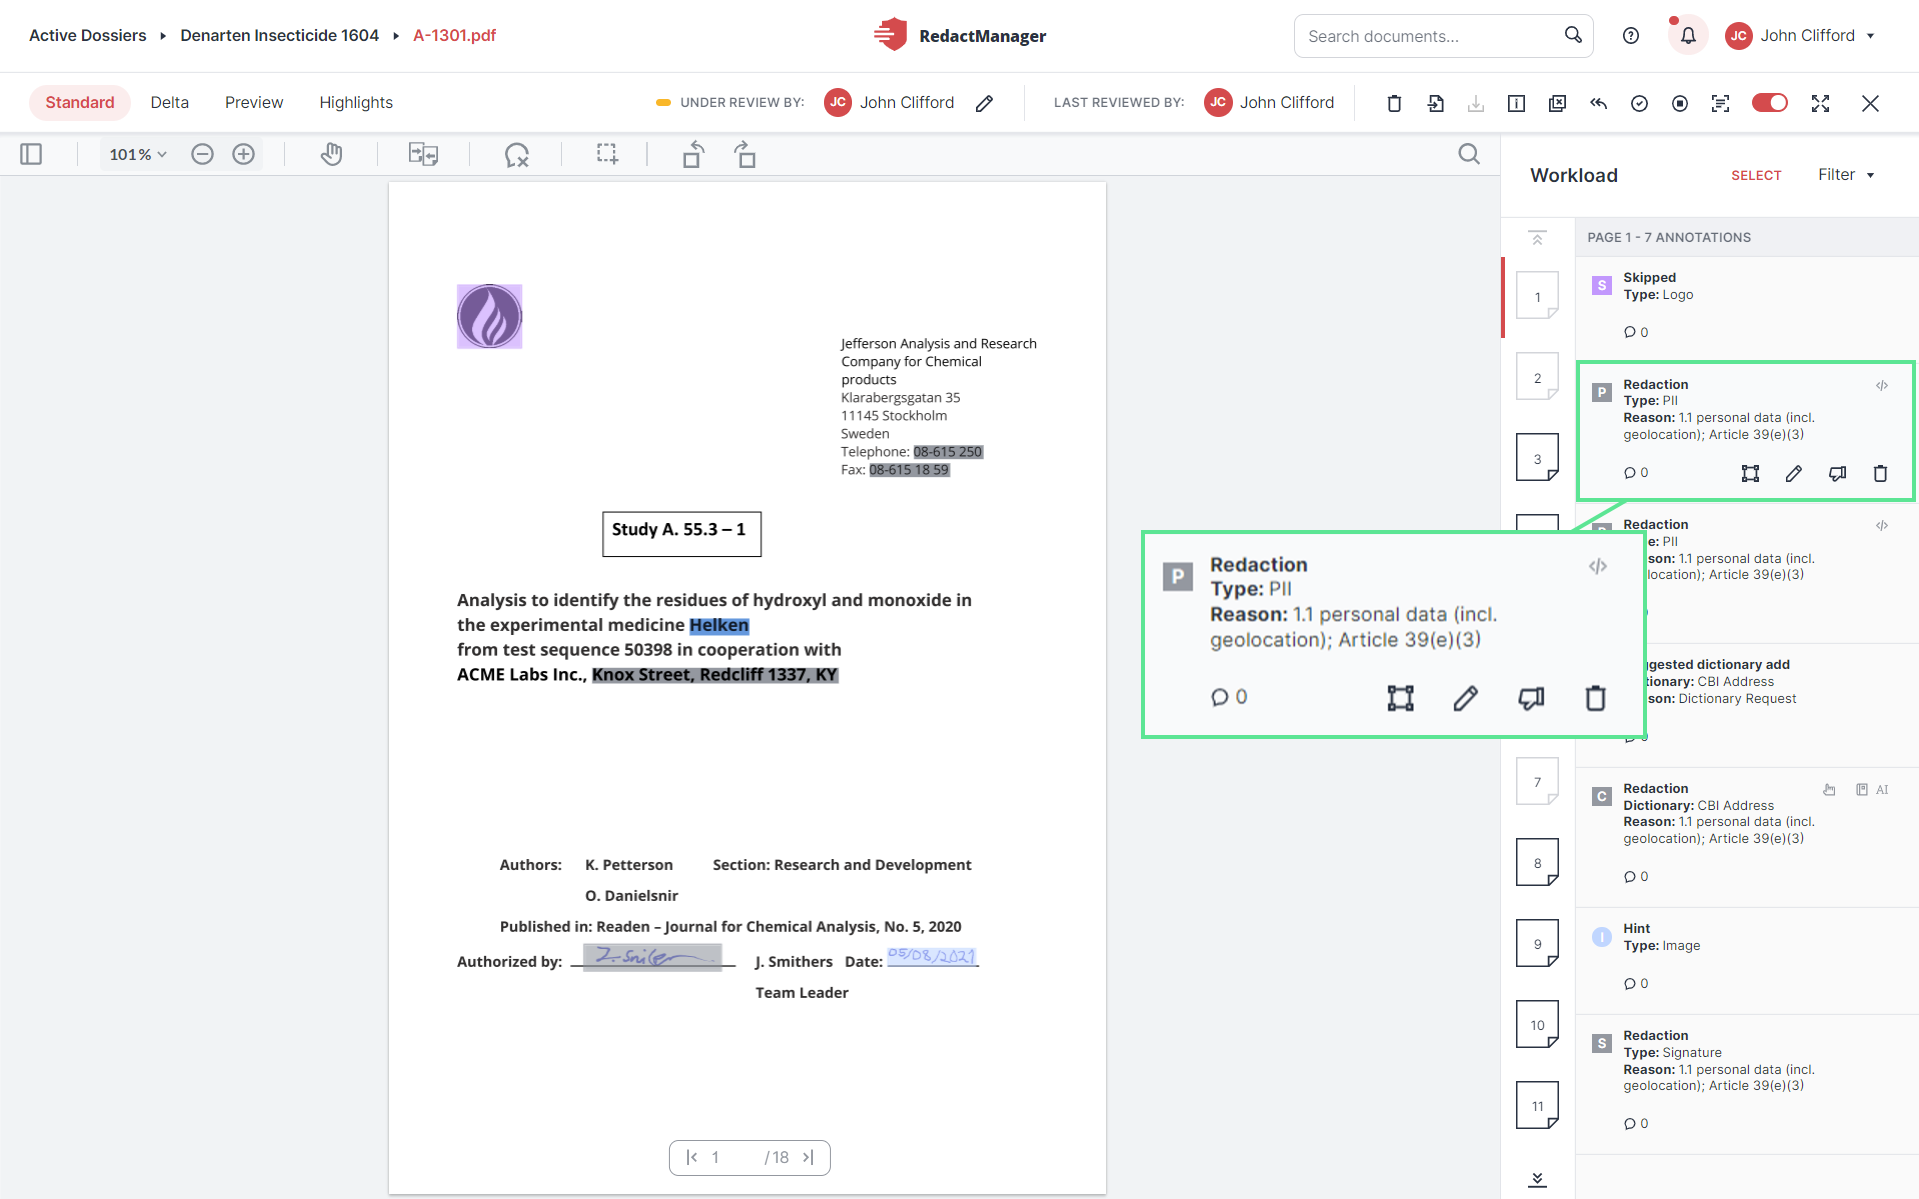
Editing options in the Workload
The editing options displayed in the Workload are identical to the editing options that are displayed when you click on the respective marking in the text.
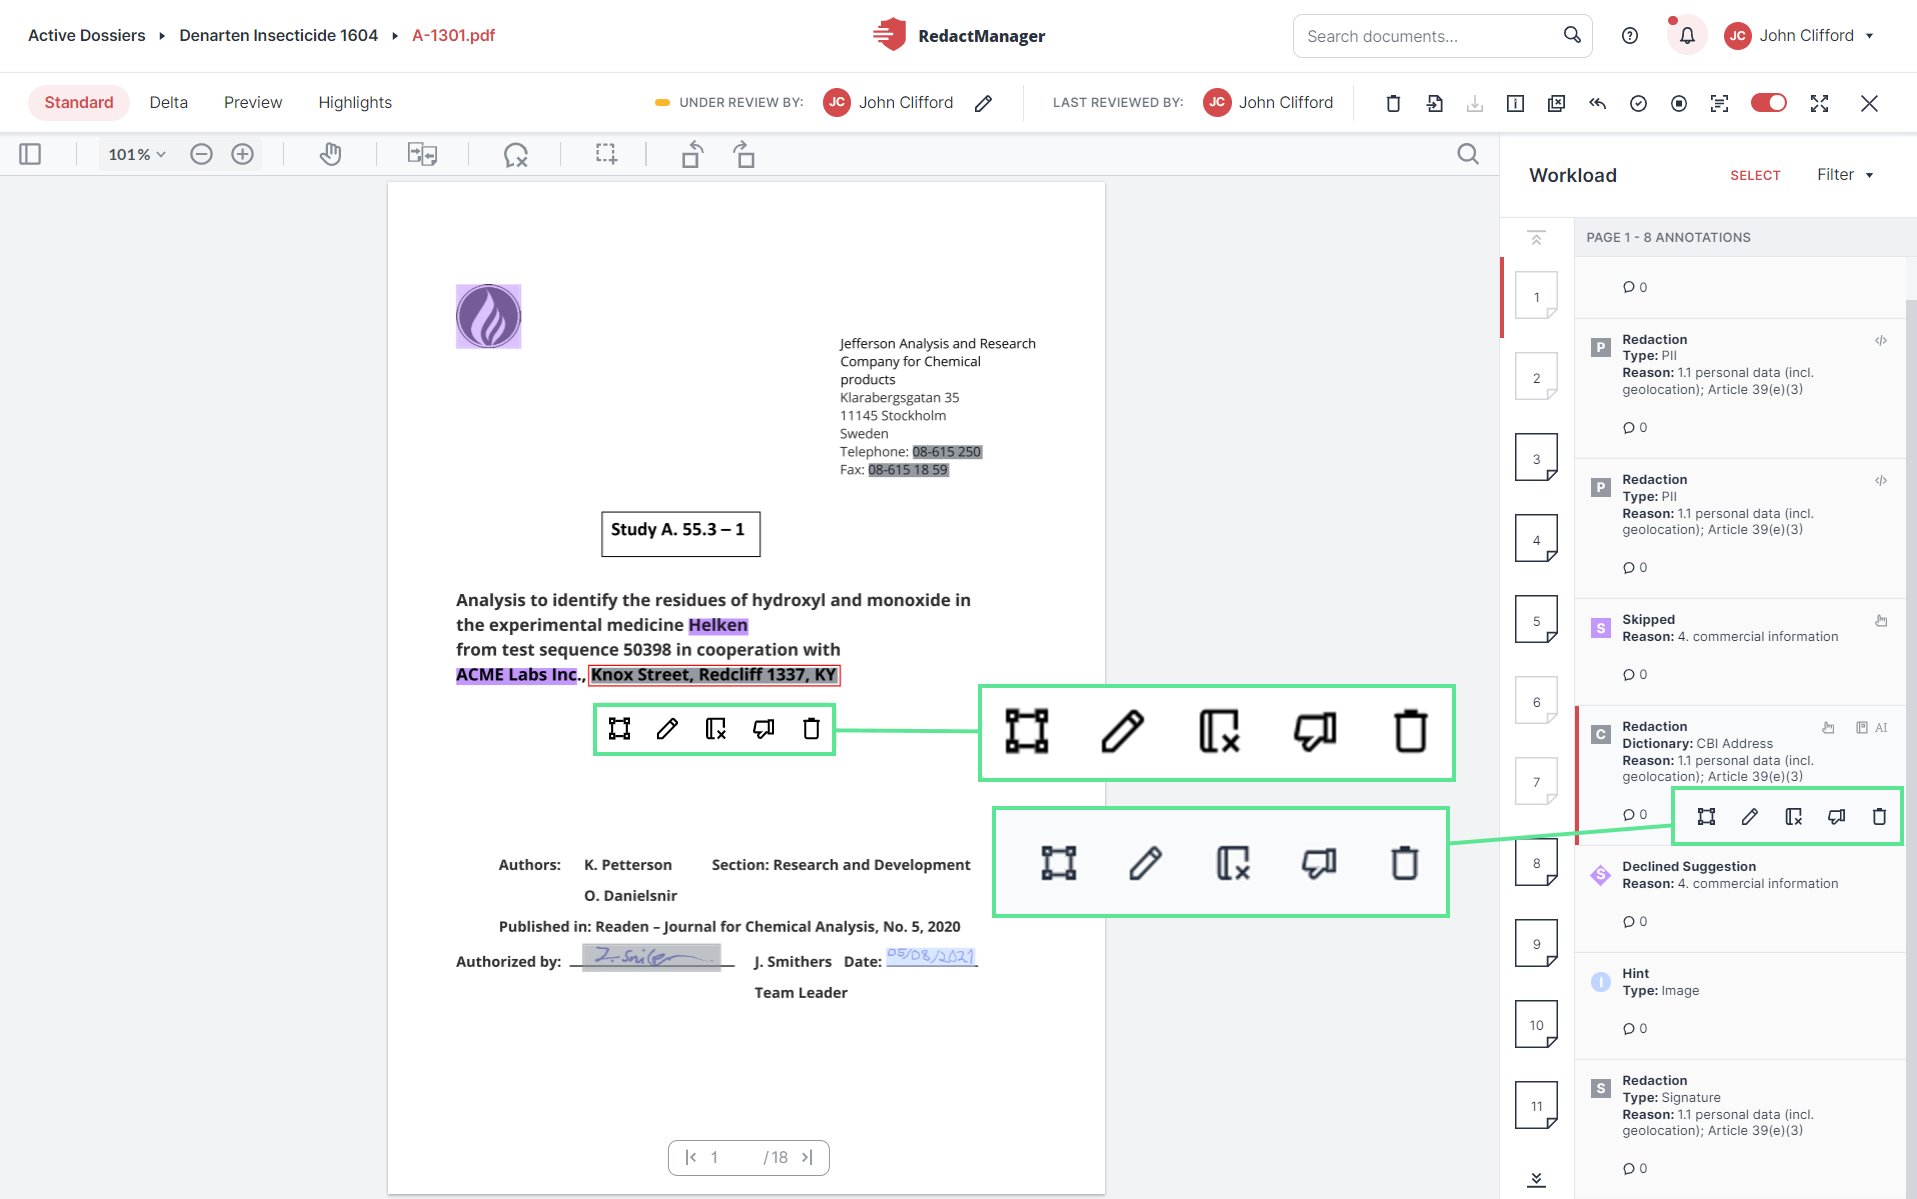
Identical editing options in text and Workload
The following editing options are available in the annotations:
Click the Resize redaction icon
 . Drag the selection box around the text to be redacted over more letters or shorten the text to be redacted. In case you want to expand or shrink the size of the selection box without sticking to the lines of the text, you can use the rectangle redaction feature.
Click the Edit Justification icon
 to change the redaction reason.
The Edit Reason for Redaction dialog box opens.
Change the reason for redacting and save your input with the save changes button.
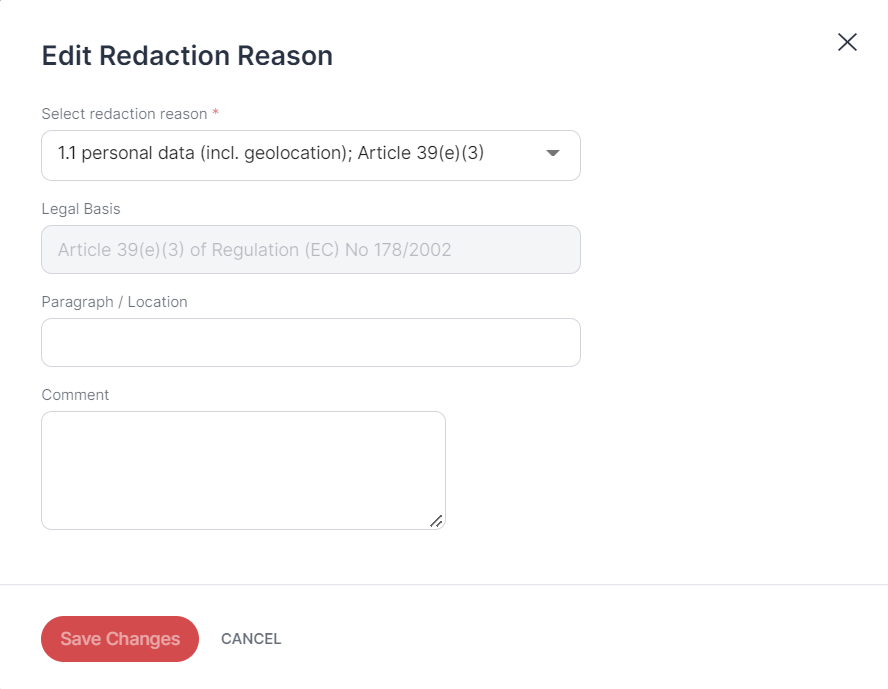
"Edit Redaction Reason" dialog
Click the Remove from Dictionary icon
 to delete the entry from the dictionary.
The "Remove from dictionary" dialog opens.
Confirm your entry by clicking the Yes, continue and remove button.
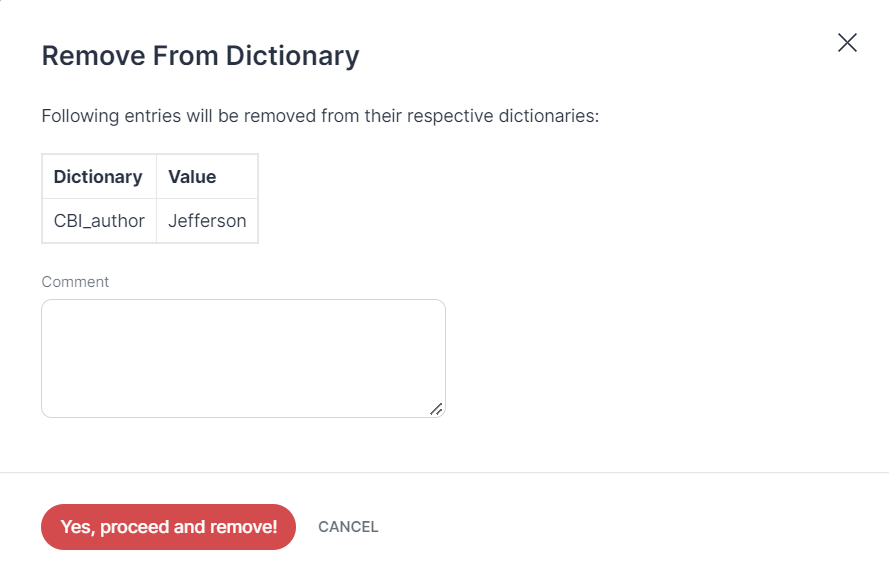
"Remove from Dictionary" dialog
Click the False Positive icon
 to indicate that the word or text passage does not have to be redacted in this specific context. (False positive).
Click the Trash icon
 to remove the redaction from this point only. (Only delete here).
The "Redacting" dialog window opens.
Confirm your entry by clicking the Yes, continue and remove button.
Click the Comment icon
 at the bottom left of an annotation to enter an explanation or a note for yourself or the Approver.
Icons at the top right of the annotations provide additional information:
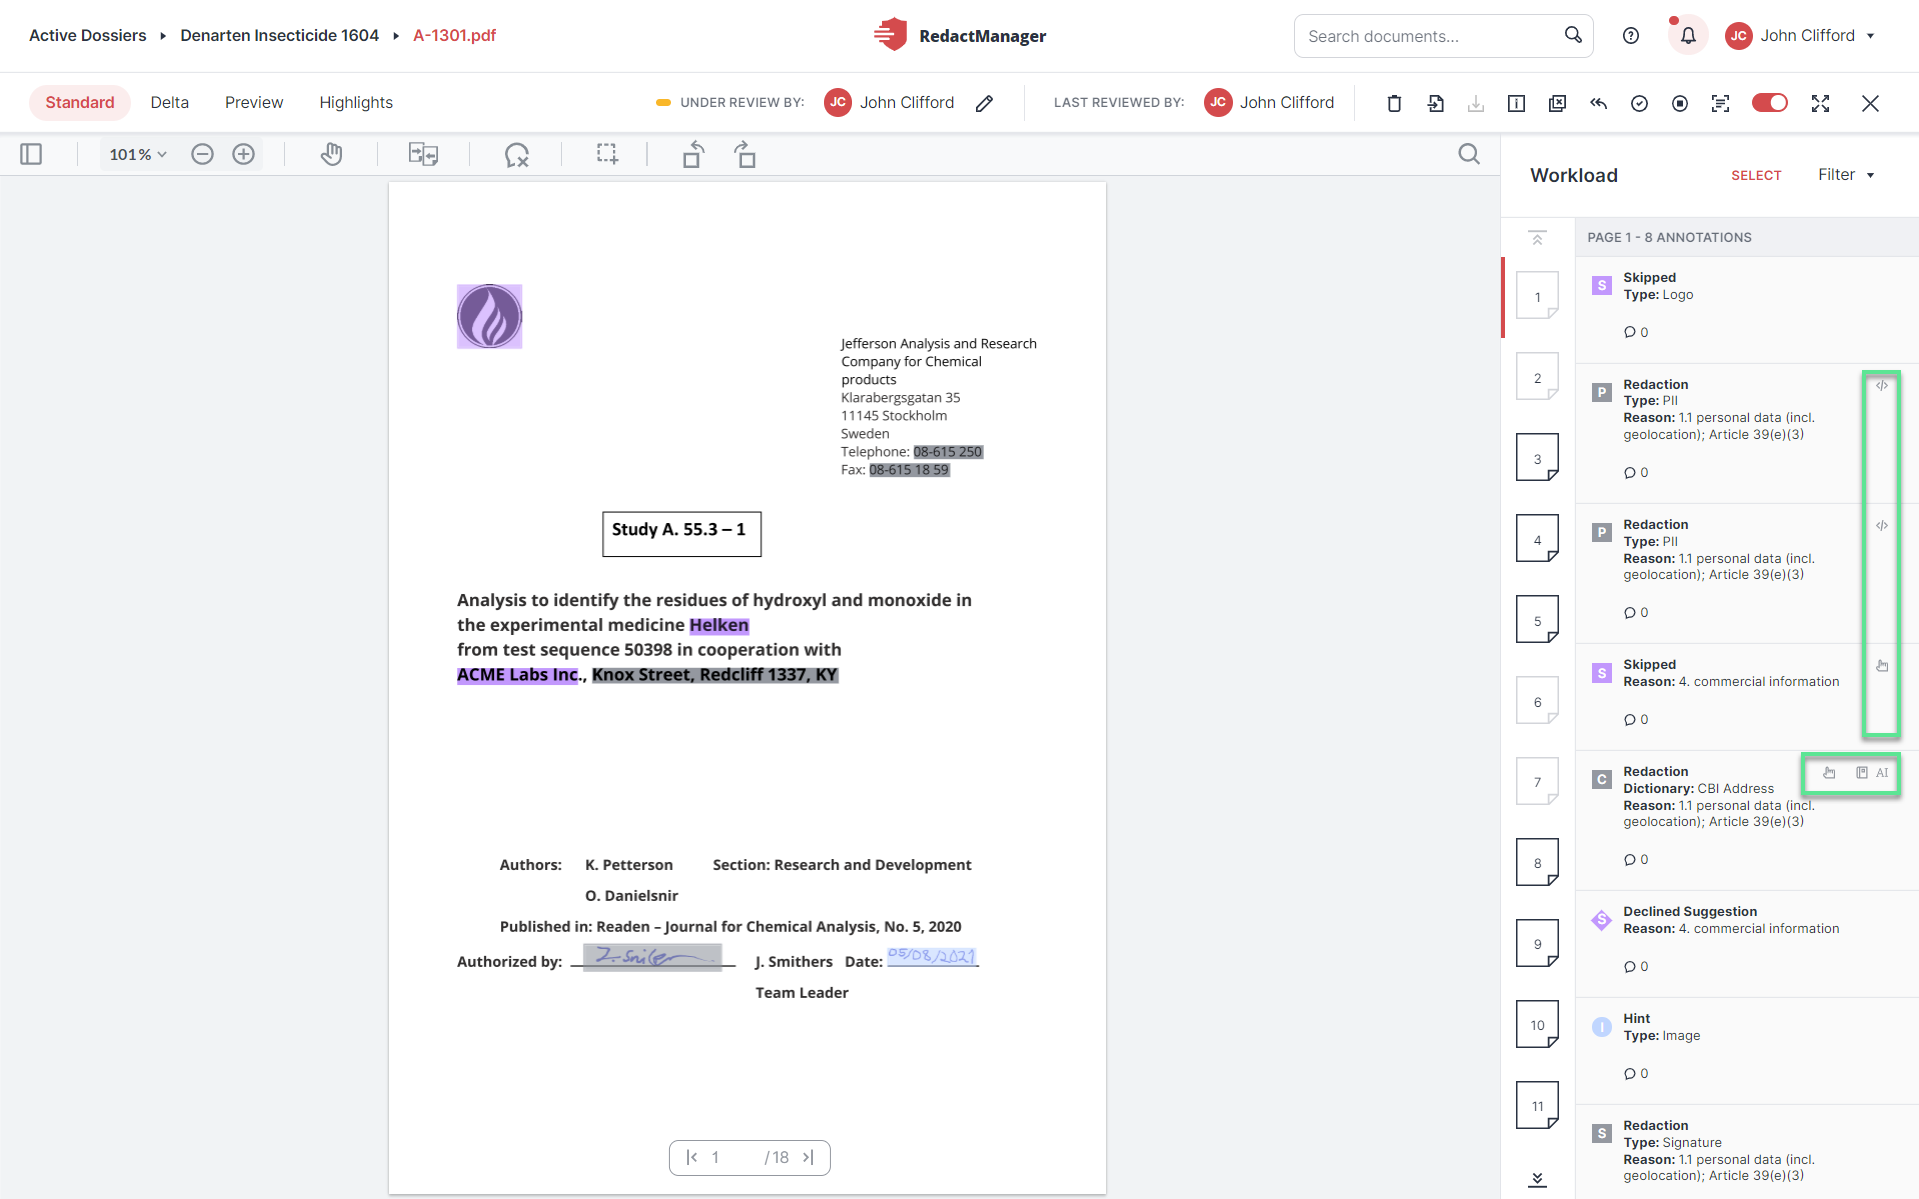
Info icons in the annotations
Hand
 : Shows that there have been manual changes.
Dictionary
 : The redaction / skipped redaction / hint is based on a dictionary.
Artificial intelligence
 : The redaction / skipped redaction / hint is based on artificial intelligence.
Rule
 : The redaction / skipped redaction / hint is based on a rule.
Bulk selection:
You can bulk select several annotations to edit them simultaneously. Click Select, to enable bulk selection.
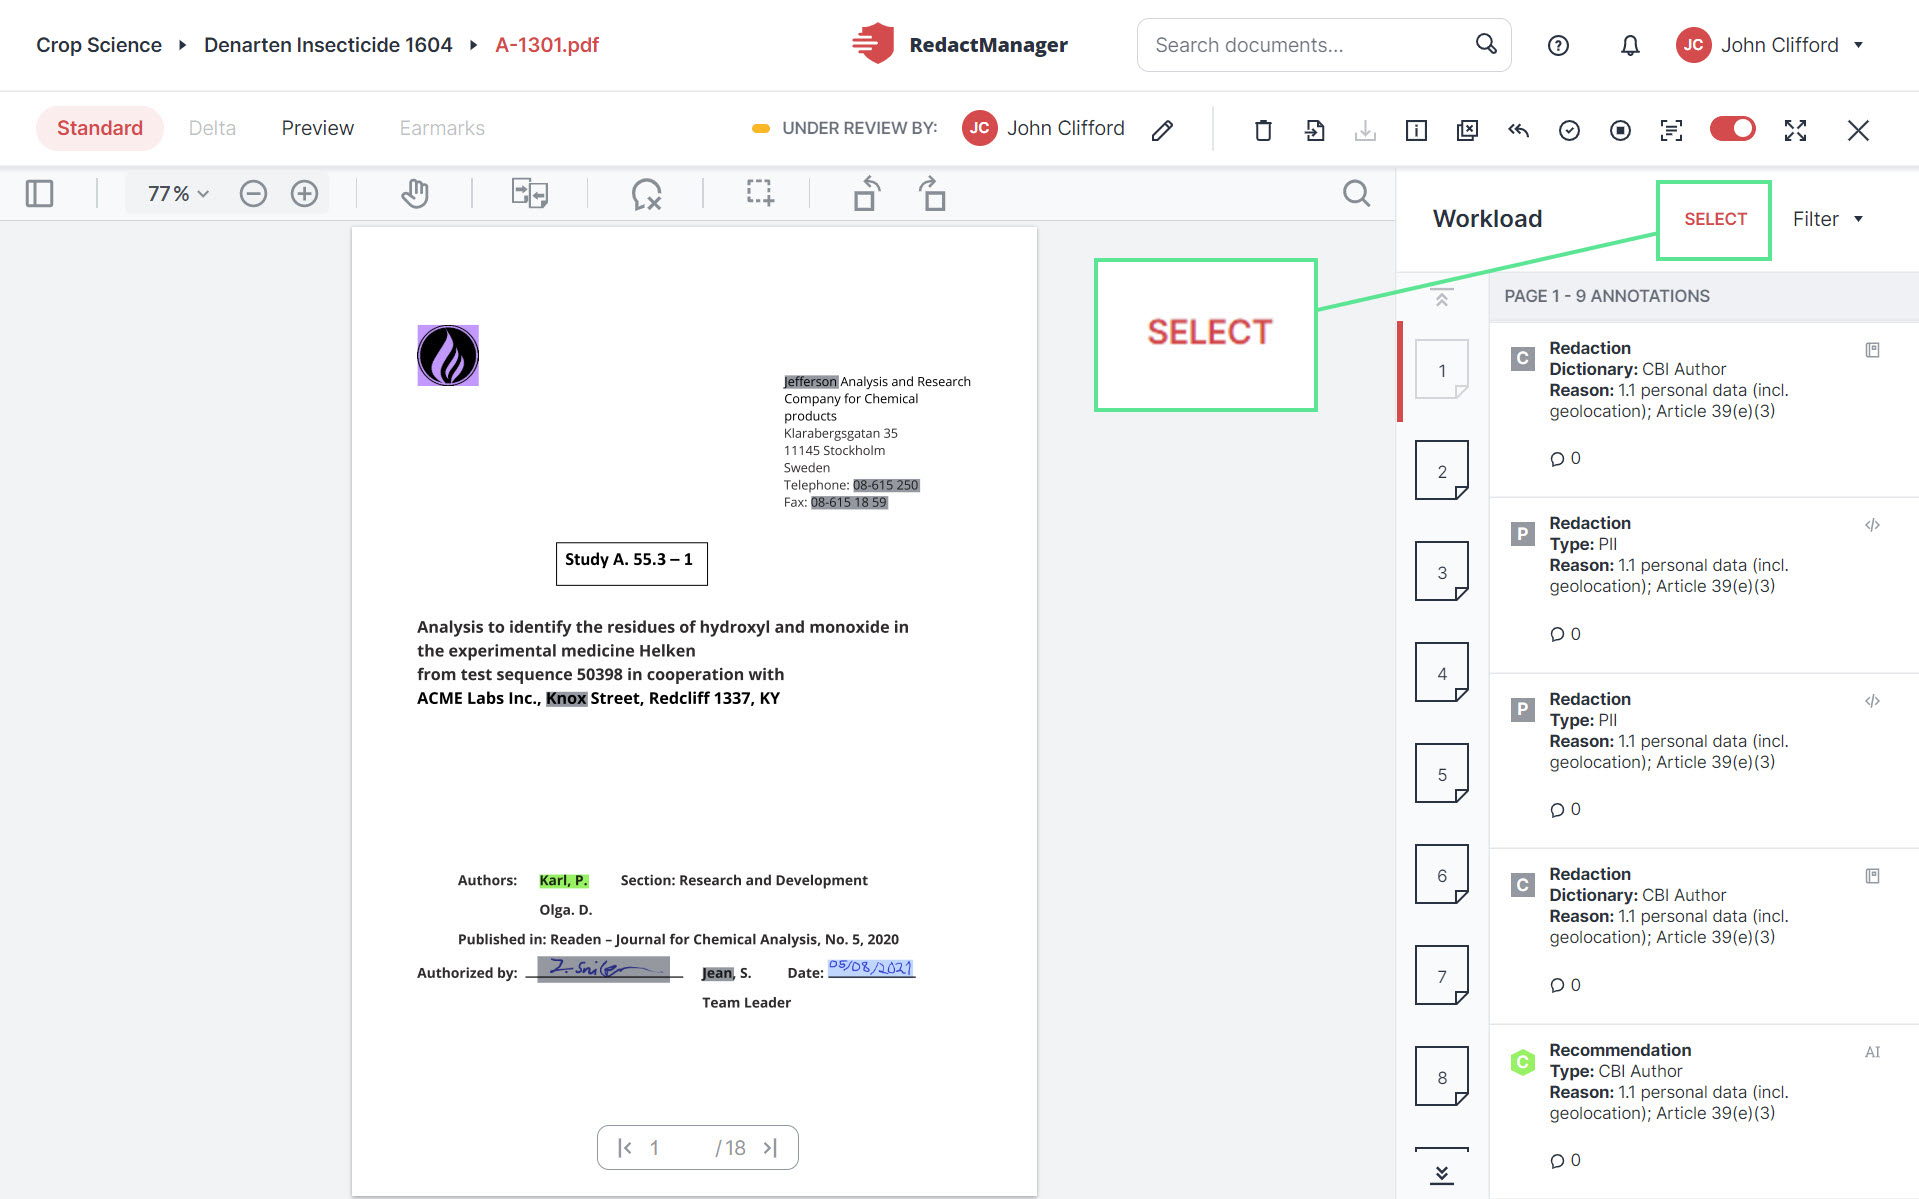
Then, select multiple annotations. The actions that can be performed simultaneously for all selected annotations are displayed in the red menu bar on top of the annotation list. The displayed features are the same features that are shown in the individual annotations.
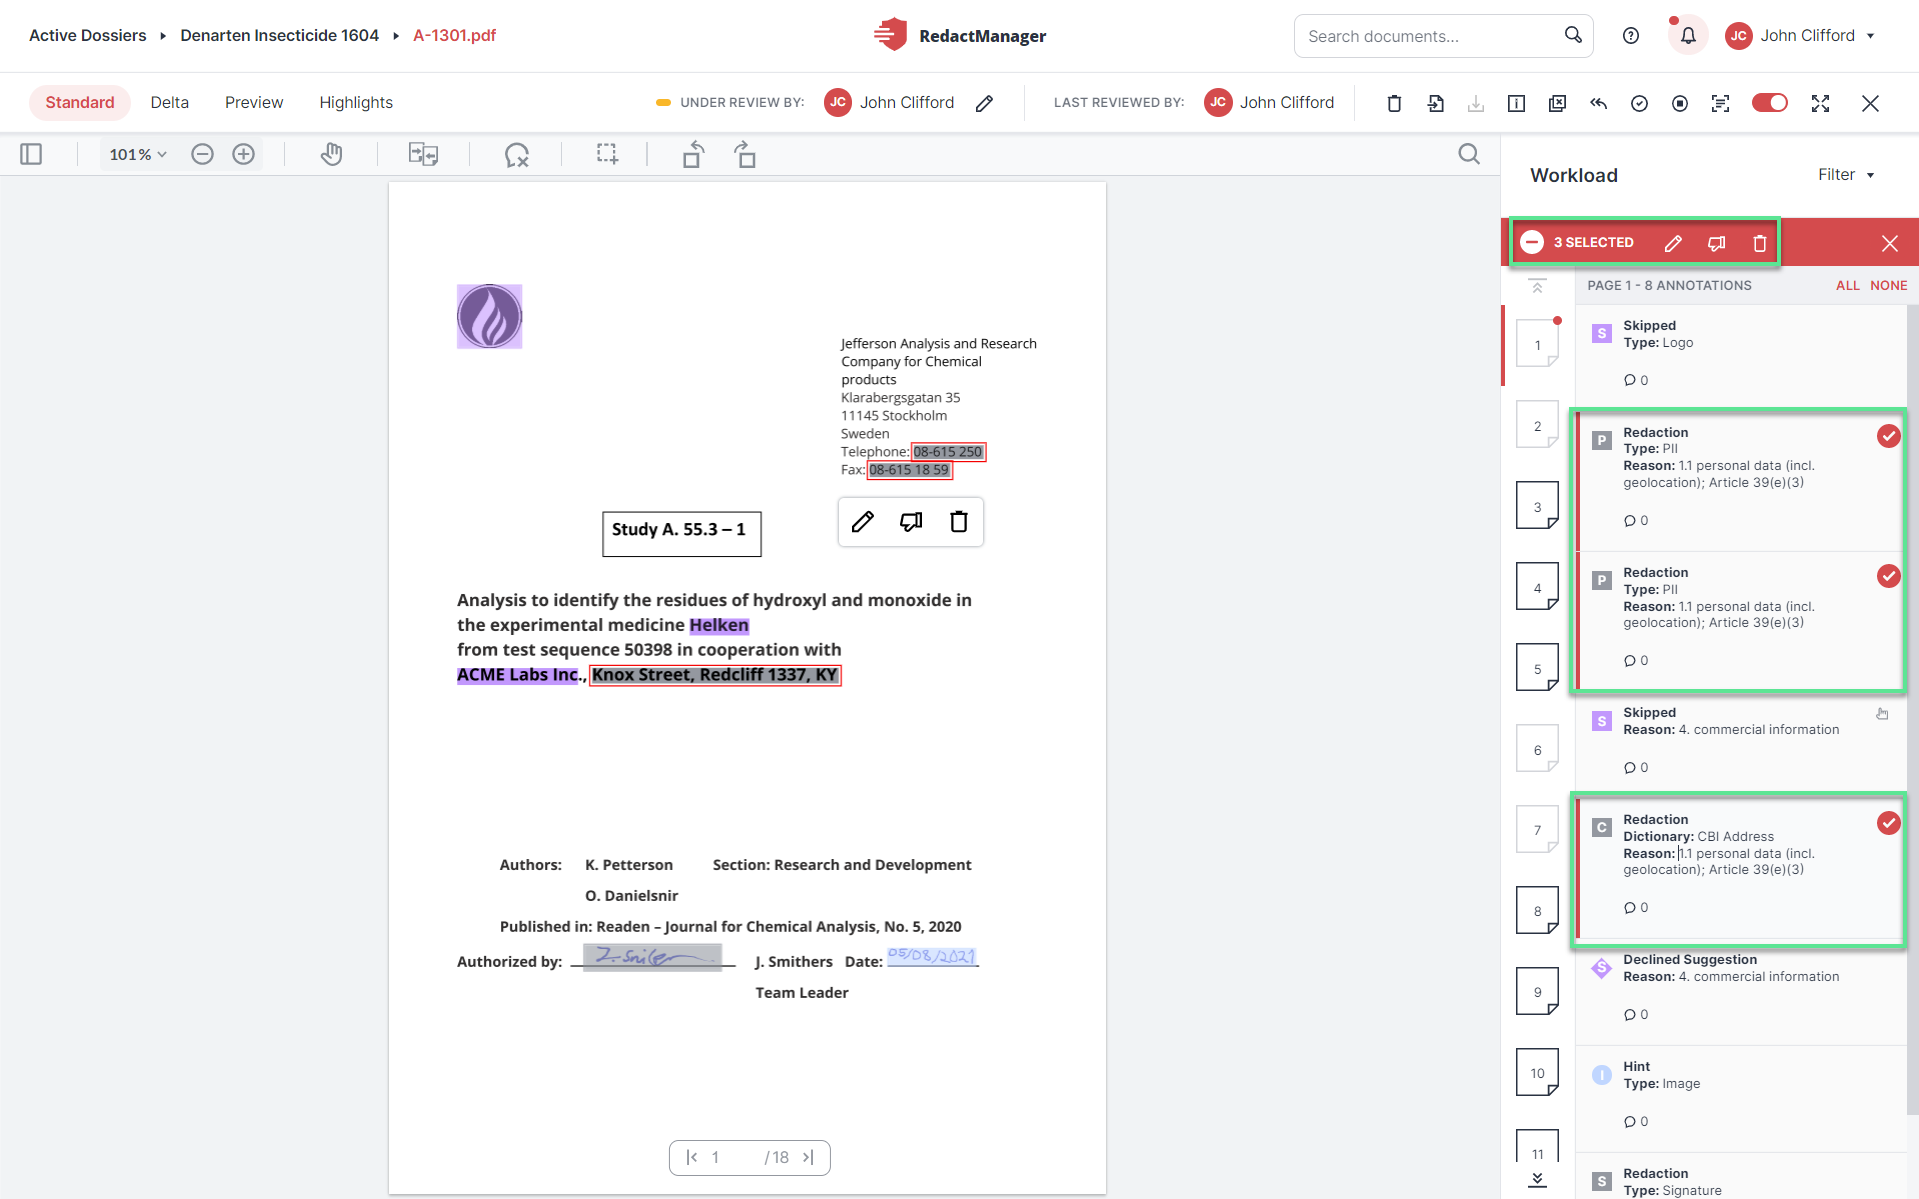
Bulk selection in the Workload
Filter:
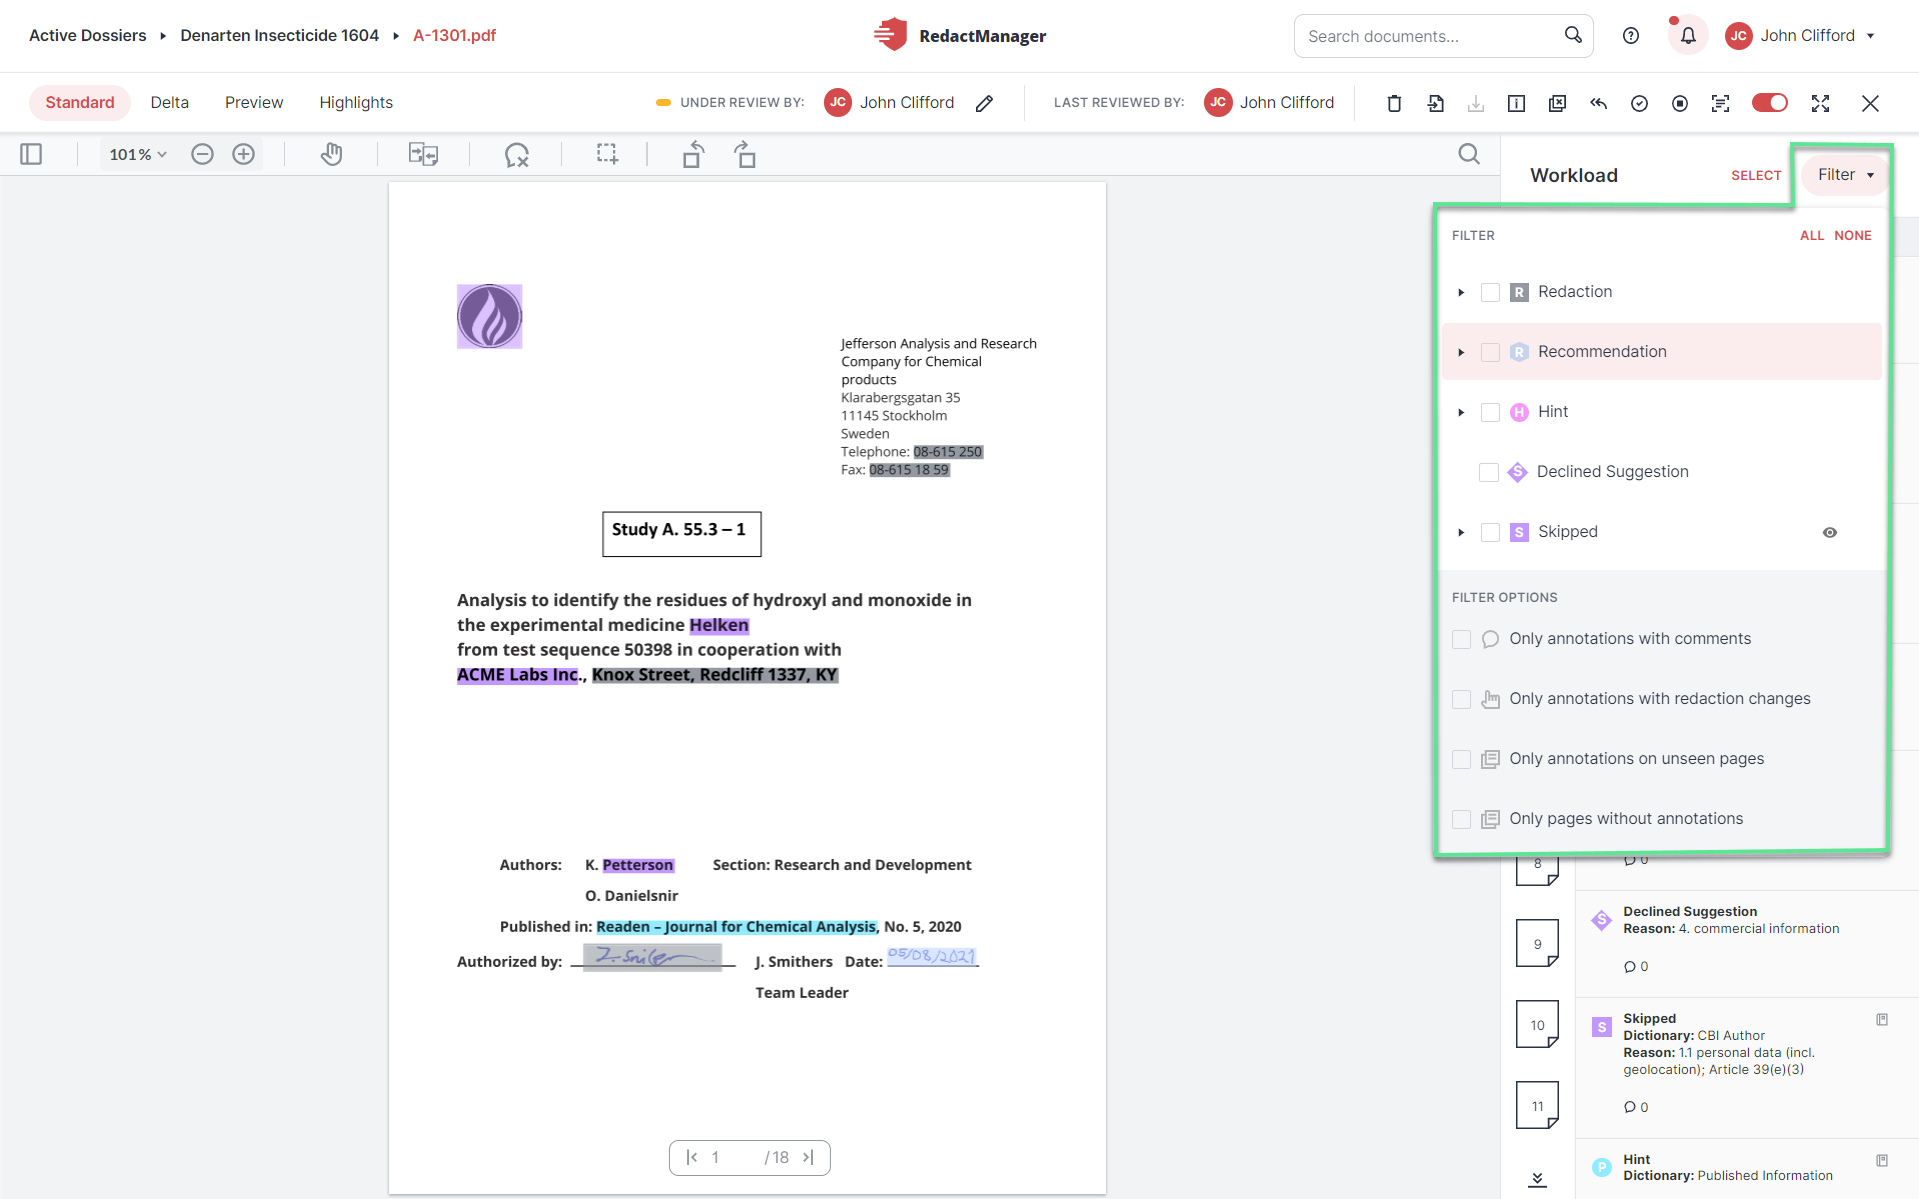
Filter in the Workload
Click Filters.
A drop-down menu opens with the available filter options.
RedactManager distinguishes the following types of hints:
Redaction (+ different subtypes)
Suggestions (+ different subtypes)
Images (+ different subtypes)
Recommendations (+ different subtypes)
Hints (+ different subtypes)
Skipped
Only annotations with comments
Only redactions with reason changes
Annotations on unseen pages.
Pages without annotations
The document features in the Editor are linked to the corresponding permissions.
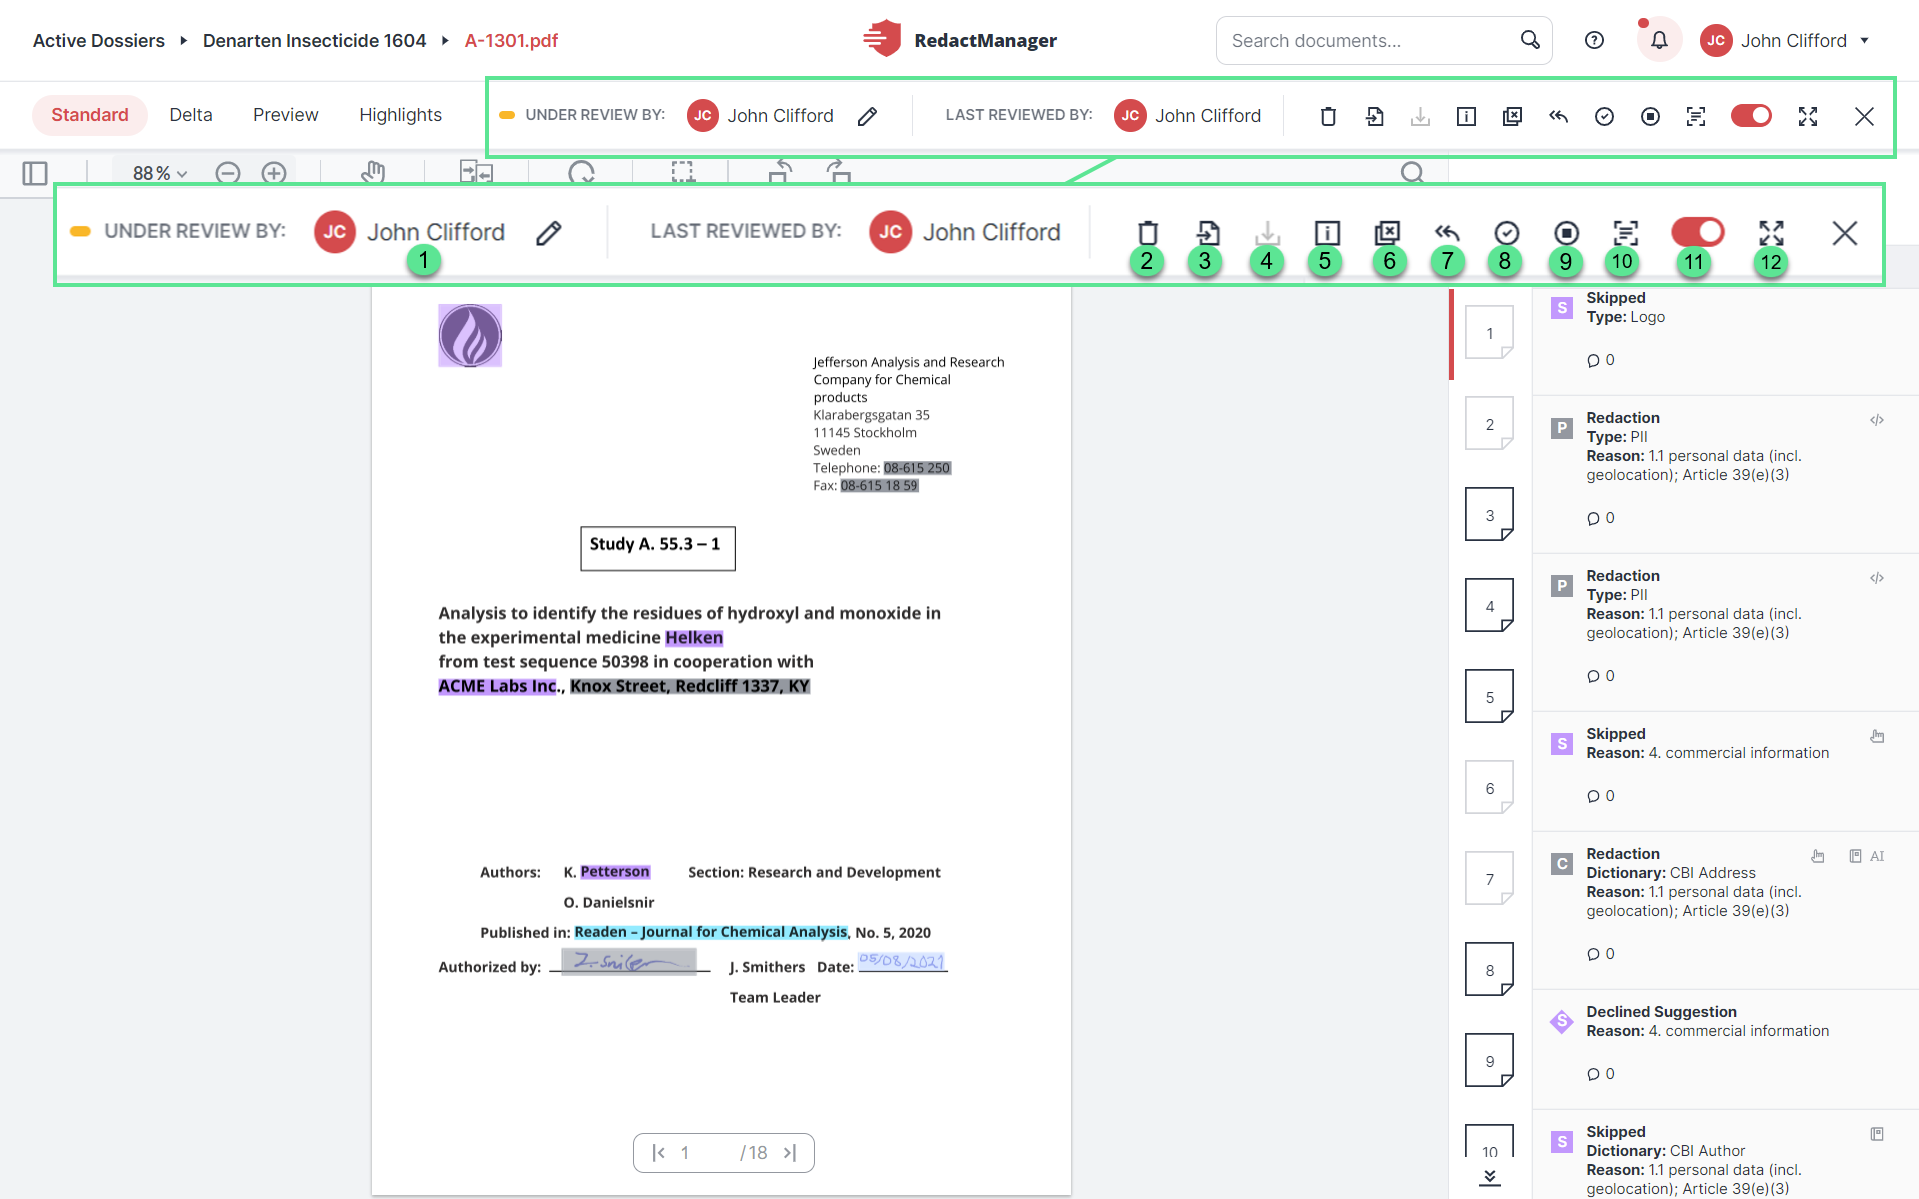
Document features for Reviewers
Reviewer's/Approver's username
Delete
Import redactions from other file
Download
Document Info
Exclude pages from redaction
Back to New
For Approval
Disable auto-analysis
OCR
Toggle for disabling automatic redactions
Full Screen
You open a document in the Editor.
If you are the Reviewer of the document, the document feature bar contains the following information and editing options:
Click on the edit icon
to assign the document to a Reviewer.Click the Delete icon
to delete the document.Click the import redactions from other file icon
 to import from a redacted version of the source document.
Click the Download icon
 to download a reviewed and approved dossier. If the Dossier has not yet been approved, RedactManager will inform you that you can only download approved dossiers.
Click the Document Info icon
 to have a look at the Document Info. It is displayed on the right in the Document Info section.
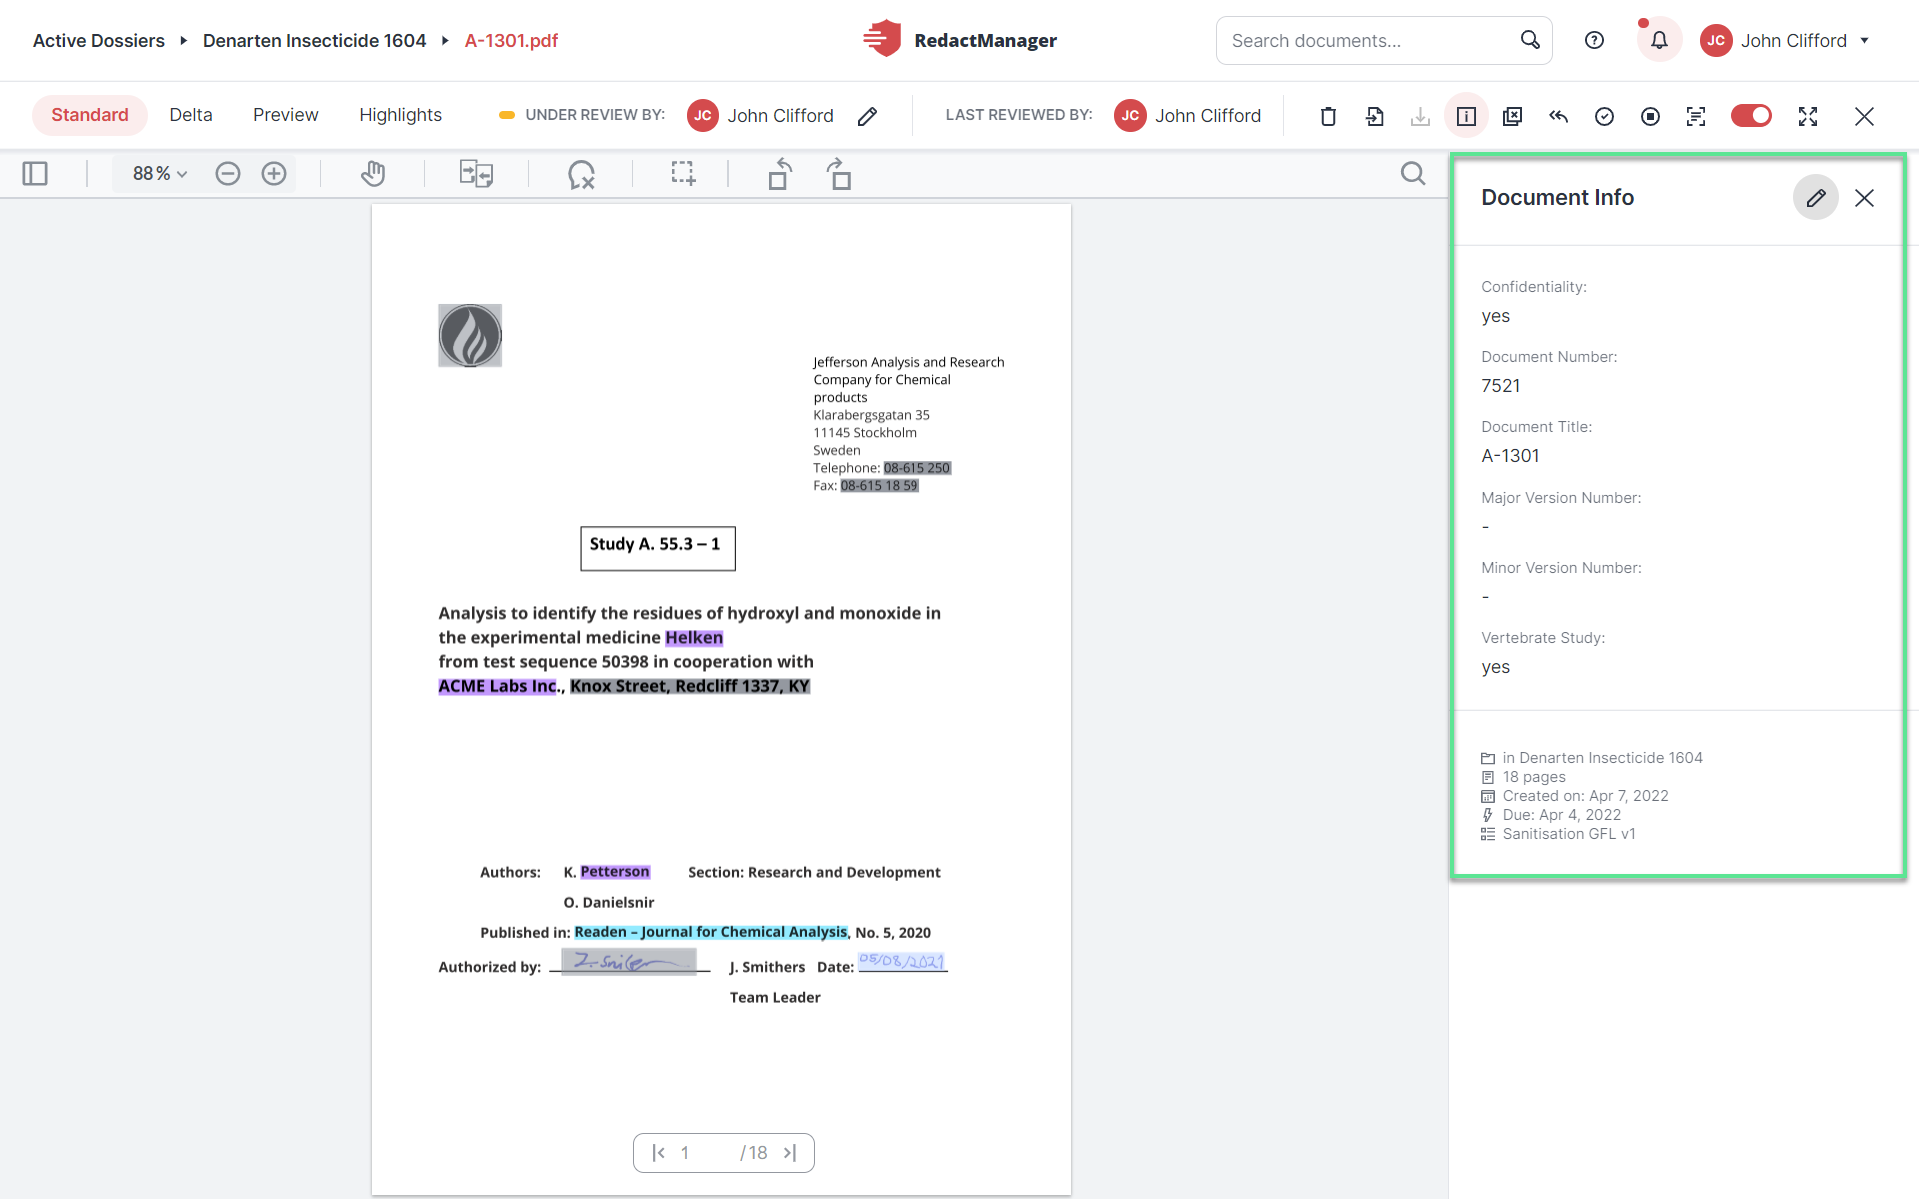
Document Info
Click the Edit icon
(Edit Document Info) to edit the file attributes.You can use this function to determine values for the file attributes.
These values are then displayed under Document Info.

Edit Document Info
The "Enter file attribute" dialog opens.
Enter the desired value in the input field of the respective file attribute and save your selection.
The value appears on the right side of the page next to the respective file attribute.
File attributes provide additional information about the document. This is metadata such as the title and the version number.
Customized display of file attributes: It is possible to mark file attributes as Filterable. These attributes can then be used as filters for documents. All values that exist for an attribute will then be displayed as filter options. Only the file attributes that have been marked as Displayed in File List are displayed.
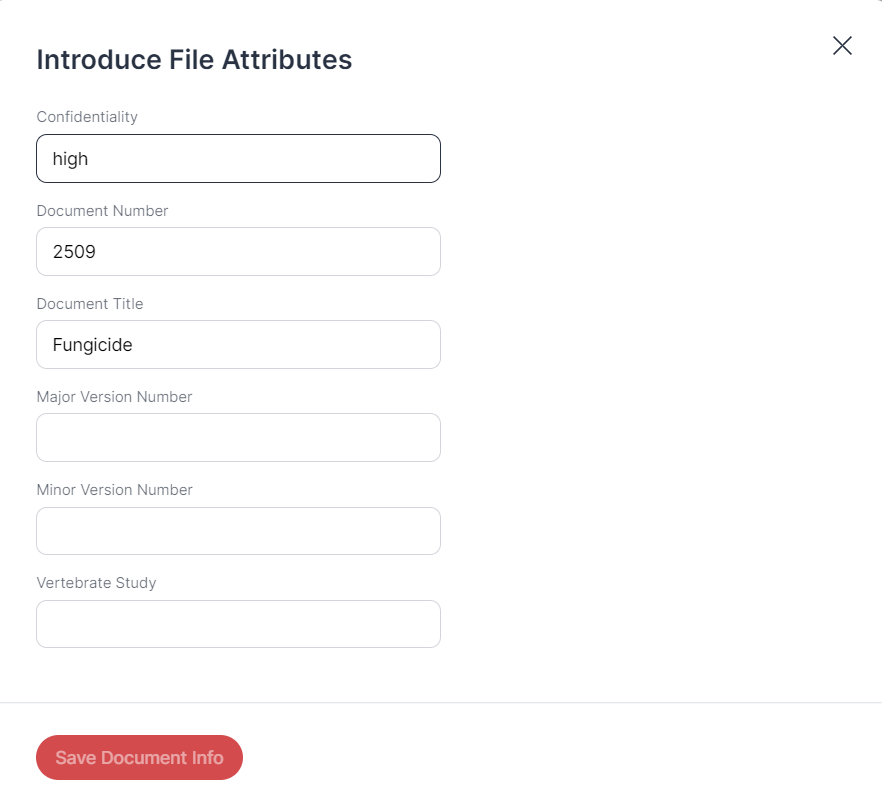
"Enter File Attributes" dialog
Only users with the Admin role can create new file attributes via their user menu and profile and mark them as Filterable and Displayed in File List.
Click Exclude Pages
 to exclude pages in the document from redaction.
A dialog opens, and you can enter the pages you want to exclude from redaction. The hyphen between numbers indicates a range of pages. Use a comma to list pages. You can include the pages again by clicking the Undo icon
to exclude pages in the document from redaction.
A dialog opens, and you can enter the pages you want to exclude from redaction. The hyphen between numbers indicates a range of pages. Use a comma to list pages. You can include the pages again by clicking the Undo icon  next to the respective entry in the Workload.
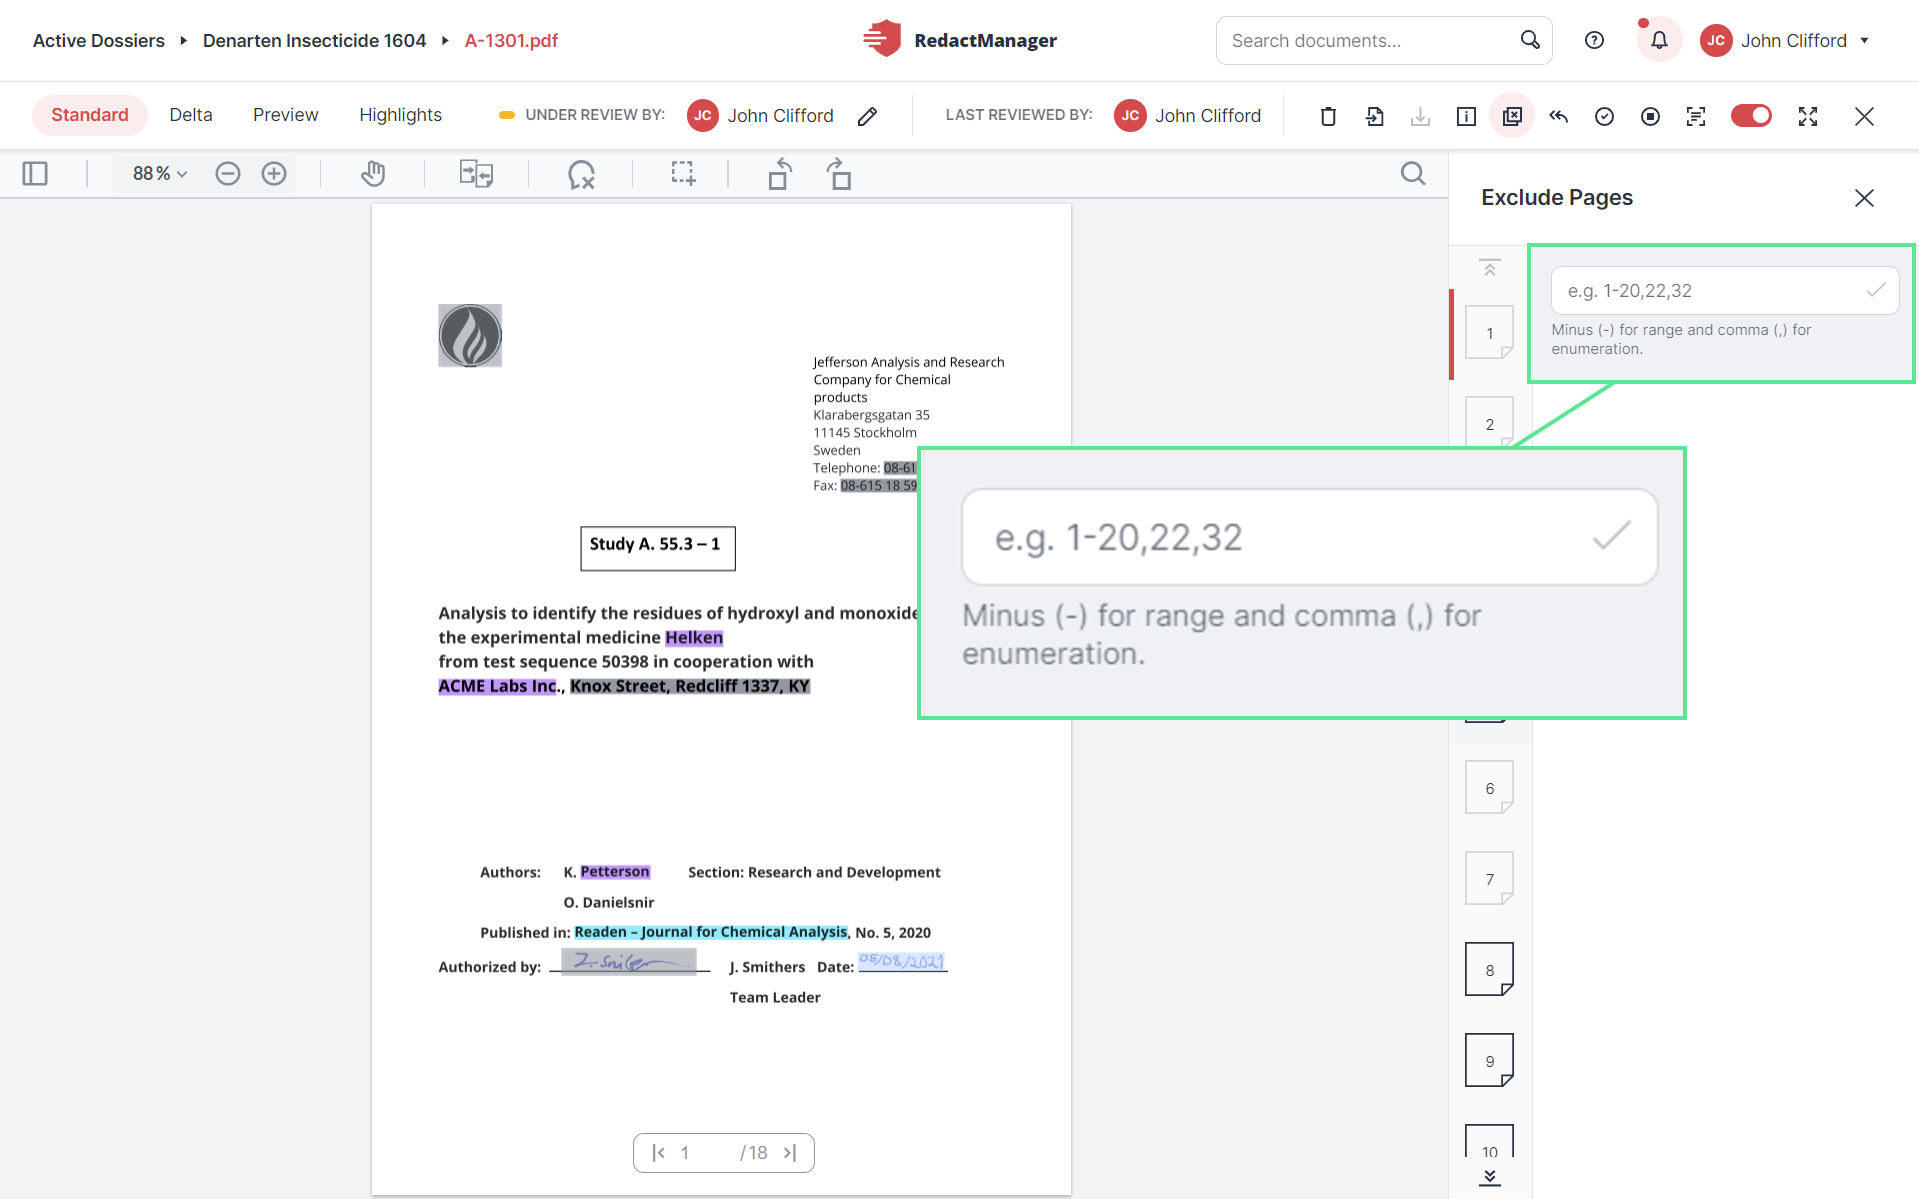
Exclude pages
Pages excluded from redaction can easily be identified: They carry the "excluded" watermark.
You can perform manual redacting on excluded pages.
Click the For Approval icon
 to complete the review.
The document enters the approval process.
As a Dossier Owner and Approver, you can select the Under Review option to send the document back to review.
Click the Disable auto-analysis icon
 to disable the automatic reanalysis.
In case of disabled reanalysis, you can start the reanalysis manually: To do this, click on the Analyze File icon
 that will then be displayed to the right of the OCR icon.
Click the Enable auto-analysis icon
 left of the OCR icon to re-enable the automatic reanalysis of the file.
Click the OCR icon
 to perform automatic text recognition for the document. In case this feature is not available, an automatic text recognition has already been carried out for the document.
Click the Enable/Disable toggle
 to turn on/off redactions for the document. The document will not be considered for future redaction and reanalysis runs.
Click the Full Screen icon
 to display the document in full-screen mode.
Click the Close icon
 to close the document and the Editor view.
As an Approver, you can use the same features as a Reviewer. Additionally, you can edit the document in the Under Approval status and change the document's status to Approved.
Your name appears next to Under Review by.
Click the Edit icon
next to it to change the Approver. Then, confirm your selection.Good to know:
If no Reviewer has been assigned to the document yet, you can see the Assign Reviewer option.
Click Assign Reviewer to display a drop-down menu of available Reviewers.
Click the Trash icon
to delete the document.Click Undo
to change the status from Under Approval back to Under Review. The "Manage Document Reviewer" window opens. Select the Reviewer for the document and confirm your selection by clicking Save.Click the Approved icon
 to change the status from Under Approval to Approved.
Click Undo
to change the status from Approved back to Under Approval.
During the approval process, the Dossier Owner or the Approver checks the Reviewer's work.
Start the approval process:
Starting the approval process: Click the Approve icon (For Approval) in the document features. Only the Dossier Owner and the Approver can edit a document that has been changed to Under Approval. The Reviewer can no longer edit the redactions and skipped (redactions).
Once a document's status has changed to Under Approval, the Dossier Owner and the Approver can access two additional document features.
Under Review:
Click the Under Review icon
to restart the review.
A form opens in which you must specify the Reviewer and can enter a comment.Confirm by clicking Save. The document is set back to the Under Review status and is returned to a Reviewer.
For a detailed description of the document features for Reviewers, please see here.
How to approve a document:
The Dossier Owner or the Approver gives their final approval to a document. The document features in the Under Approval status are largely similar to the document features in the Approved status. There is only one difference: The Approver or Dossier Owner sees the Approve icon instead of the Under Approval icon .
Click Approve
to give final approval to a document.
The document does not require any further review and can be released. Its status changes to Approved. You can withdraw the approval at any time.Click the Download icon
to download the redacted document.Click the Undo icon
to switch back to the approval process.
For a detailed description of the document features for Approvers, please see here.