General features and actions
You open a document in the Editor.
The following features and actions are available in the Editor:
Views
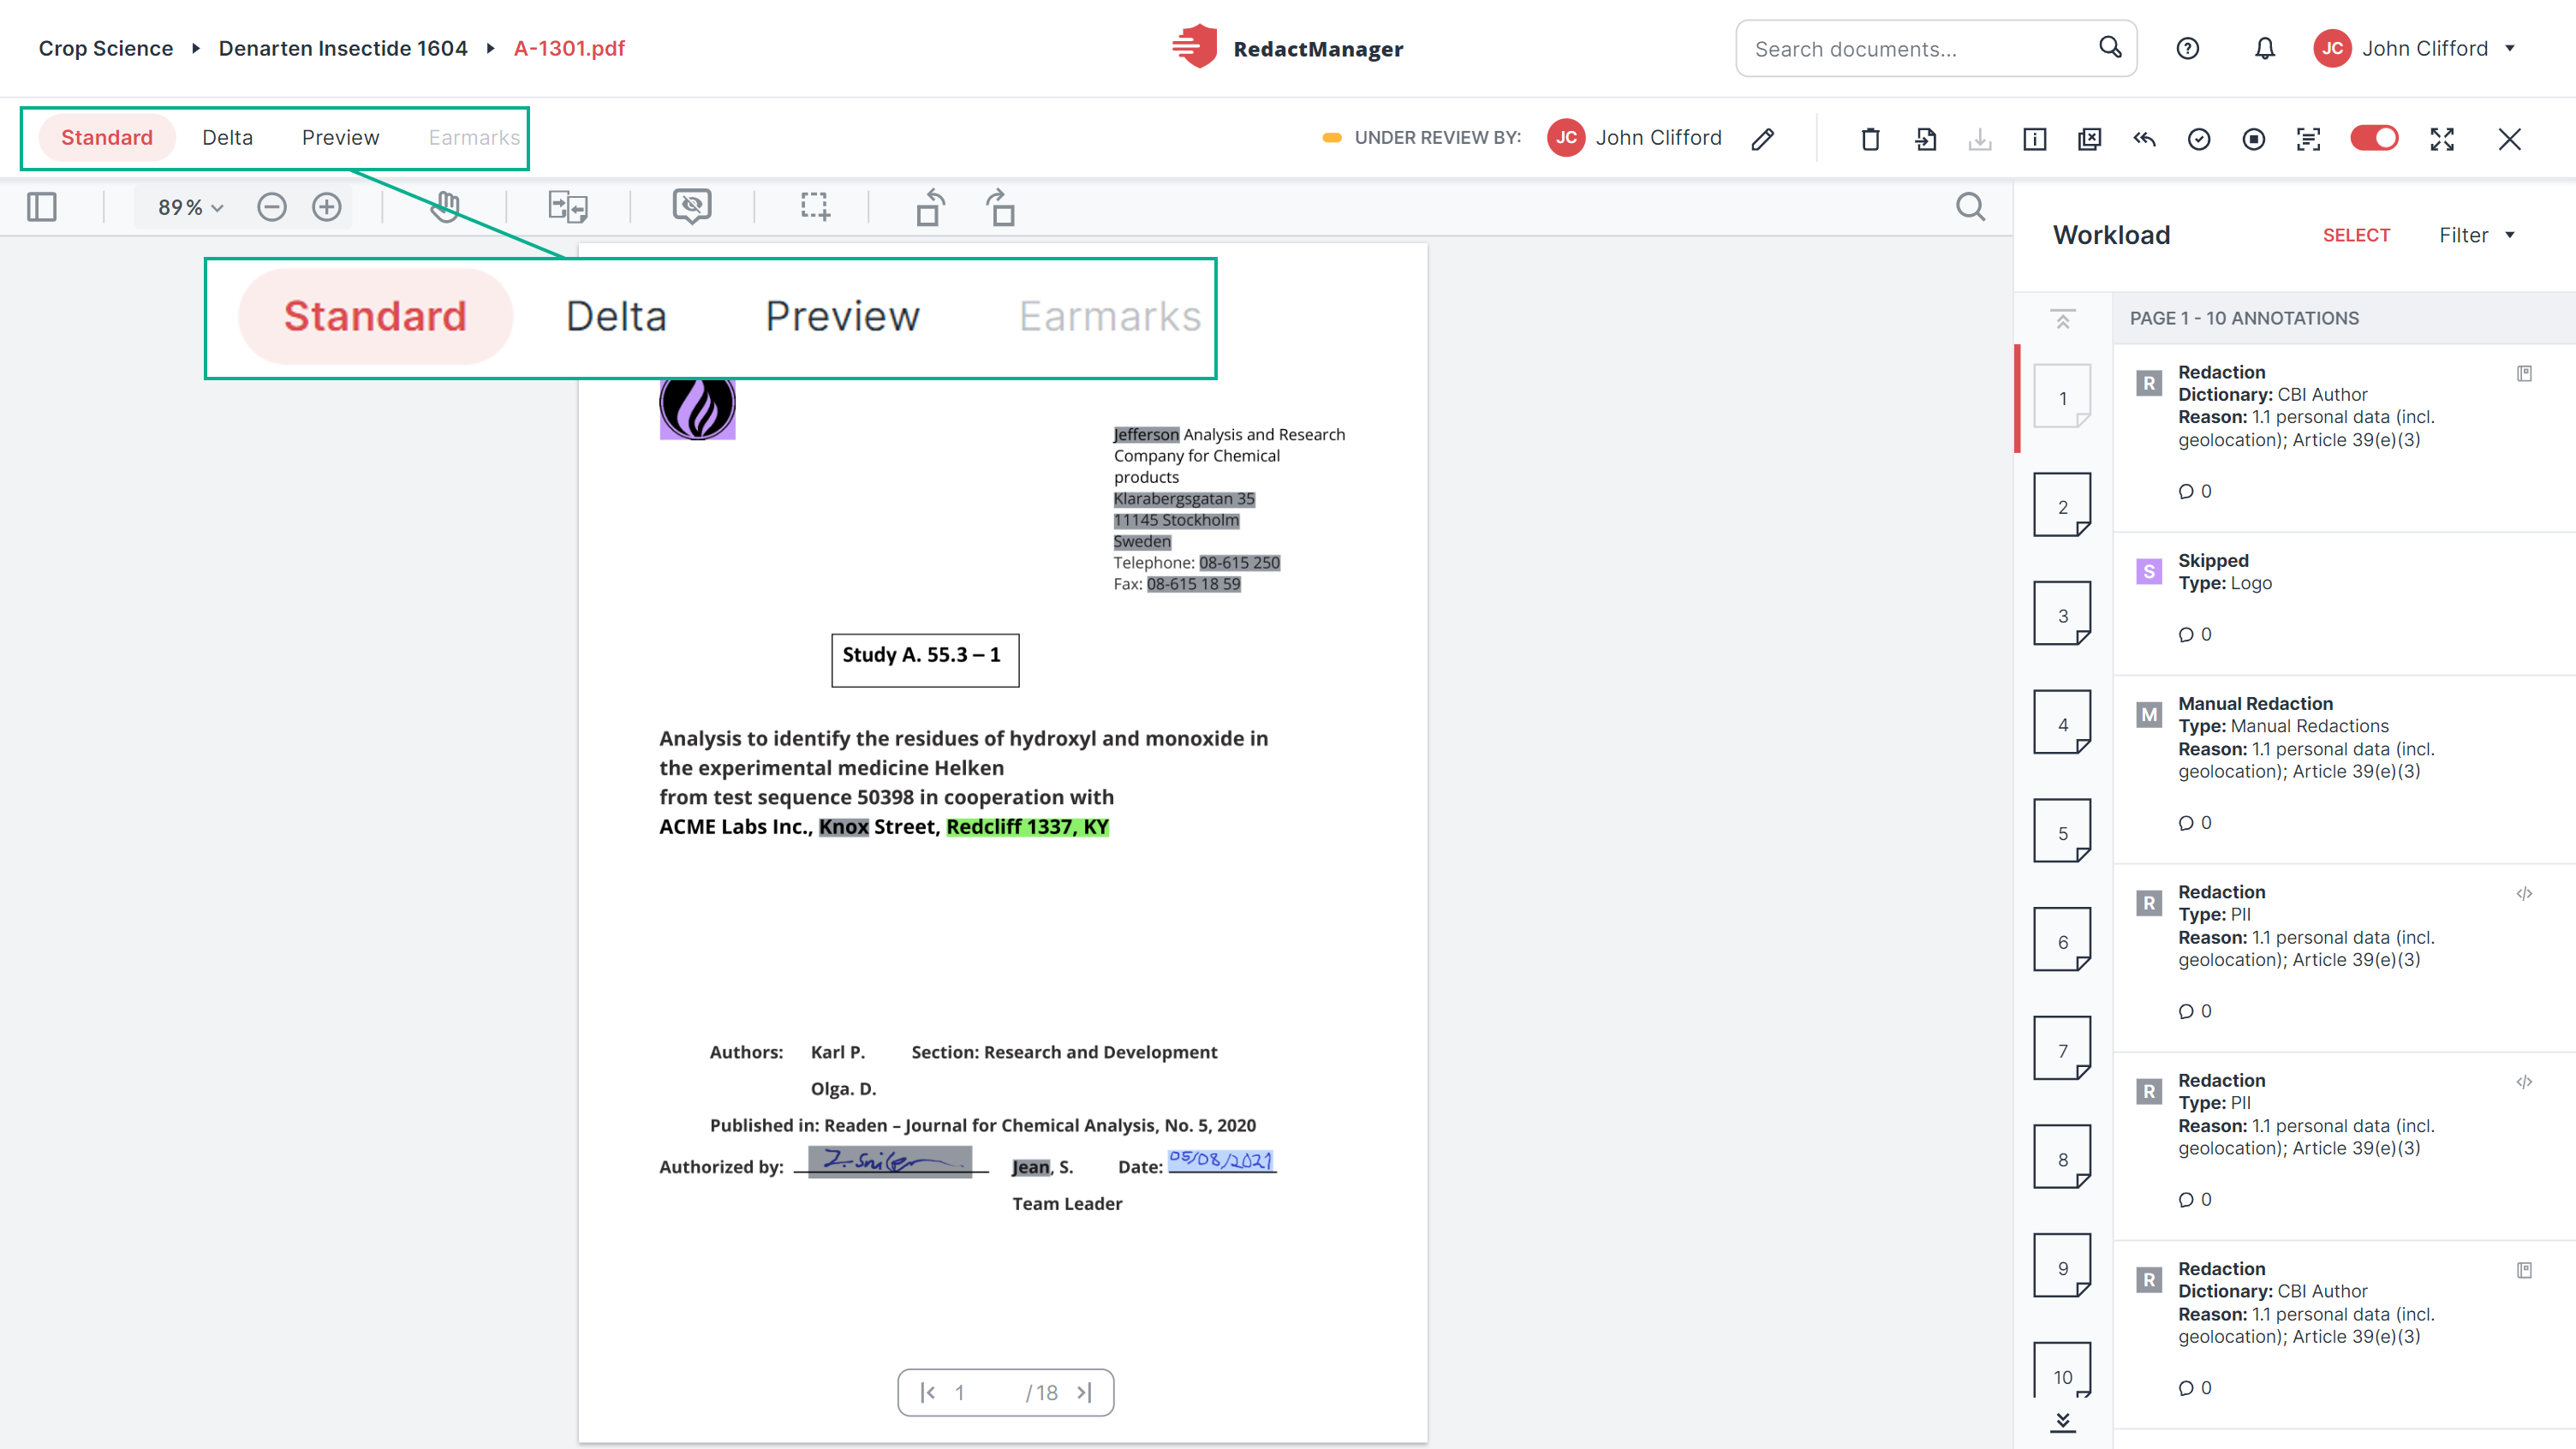
The document is displayed in the Standard view when you open the Editor.
In the upper left corner, you can choose between three different views. Left-click on one of the options to change the view.
In the bar below the different views, you will find a zoom option and the Panel view  that allows you to access the individual pages directly.
Standard view
The standard view is primarily intended for editing. It shows all hints, redactions, redaction suggestions, and dictionary entries from Reviewers and allows you to edit the documents. For detailed information, please see Review and edit redactions and Manual redactions and dictionary entries.
Delta view
The Delta view of a page shows all unseen changes that have occurred since your last visit to the respective page. That means: You can see what changes have occurred after a reanalysis triggered by changes to the dictionaries and rules.
You can only select this view if there has been at least one change since the last reanalysis. The view shows only changes on pages that you have already visited before the reanalysis.
If you open the Delta view of a page and then jump to another page, the Delta version of the first page remains available for another 10 minutes. During this time, you can jump back to the page and will still access the same Delta version.
Preview
The Preview shows the redactions. It is a preview of the final, redacted version of the document. The Preview is only available if no reanalysis is pending.
Earmarks view
The Earmarks view shows colored text earmarks that were inserted into the original version of the document. You can convert the earmarks into redactions or delete them.
The view can only be selected if the document contains at least one colored earmark.
The bar below the Views contains several PDF features.
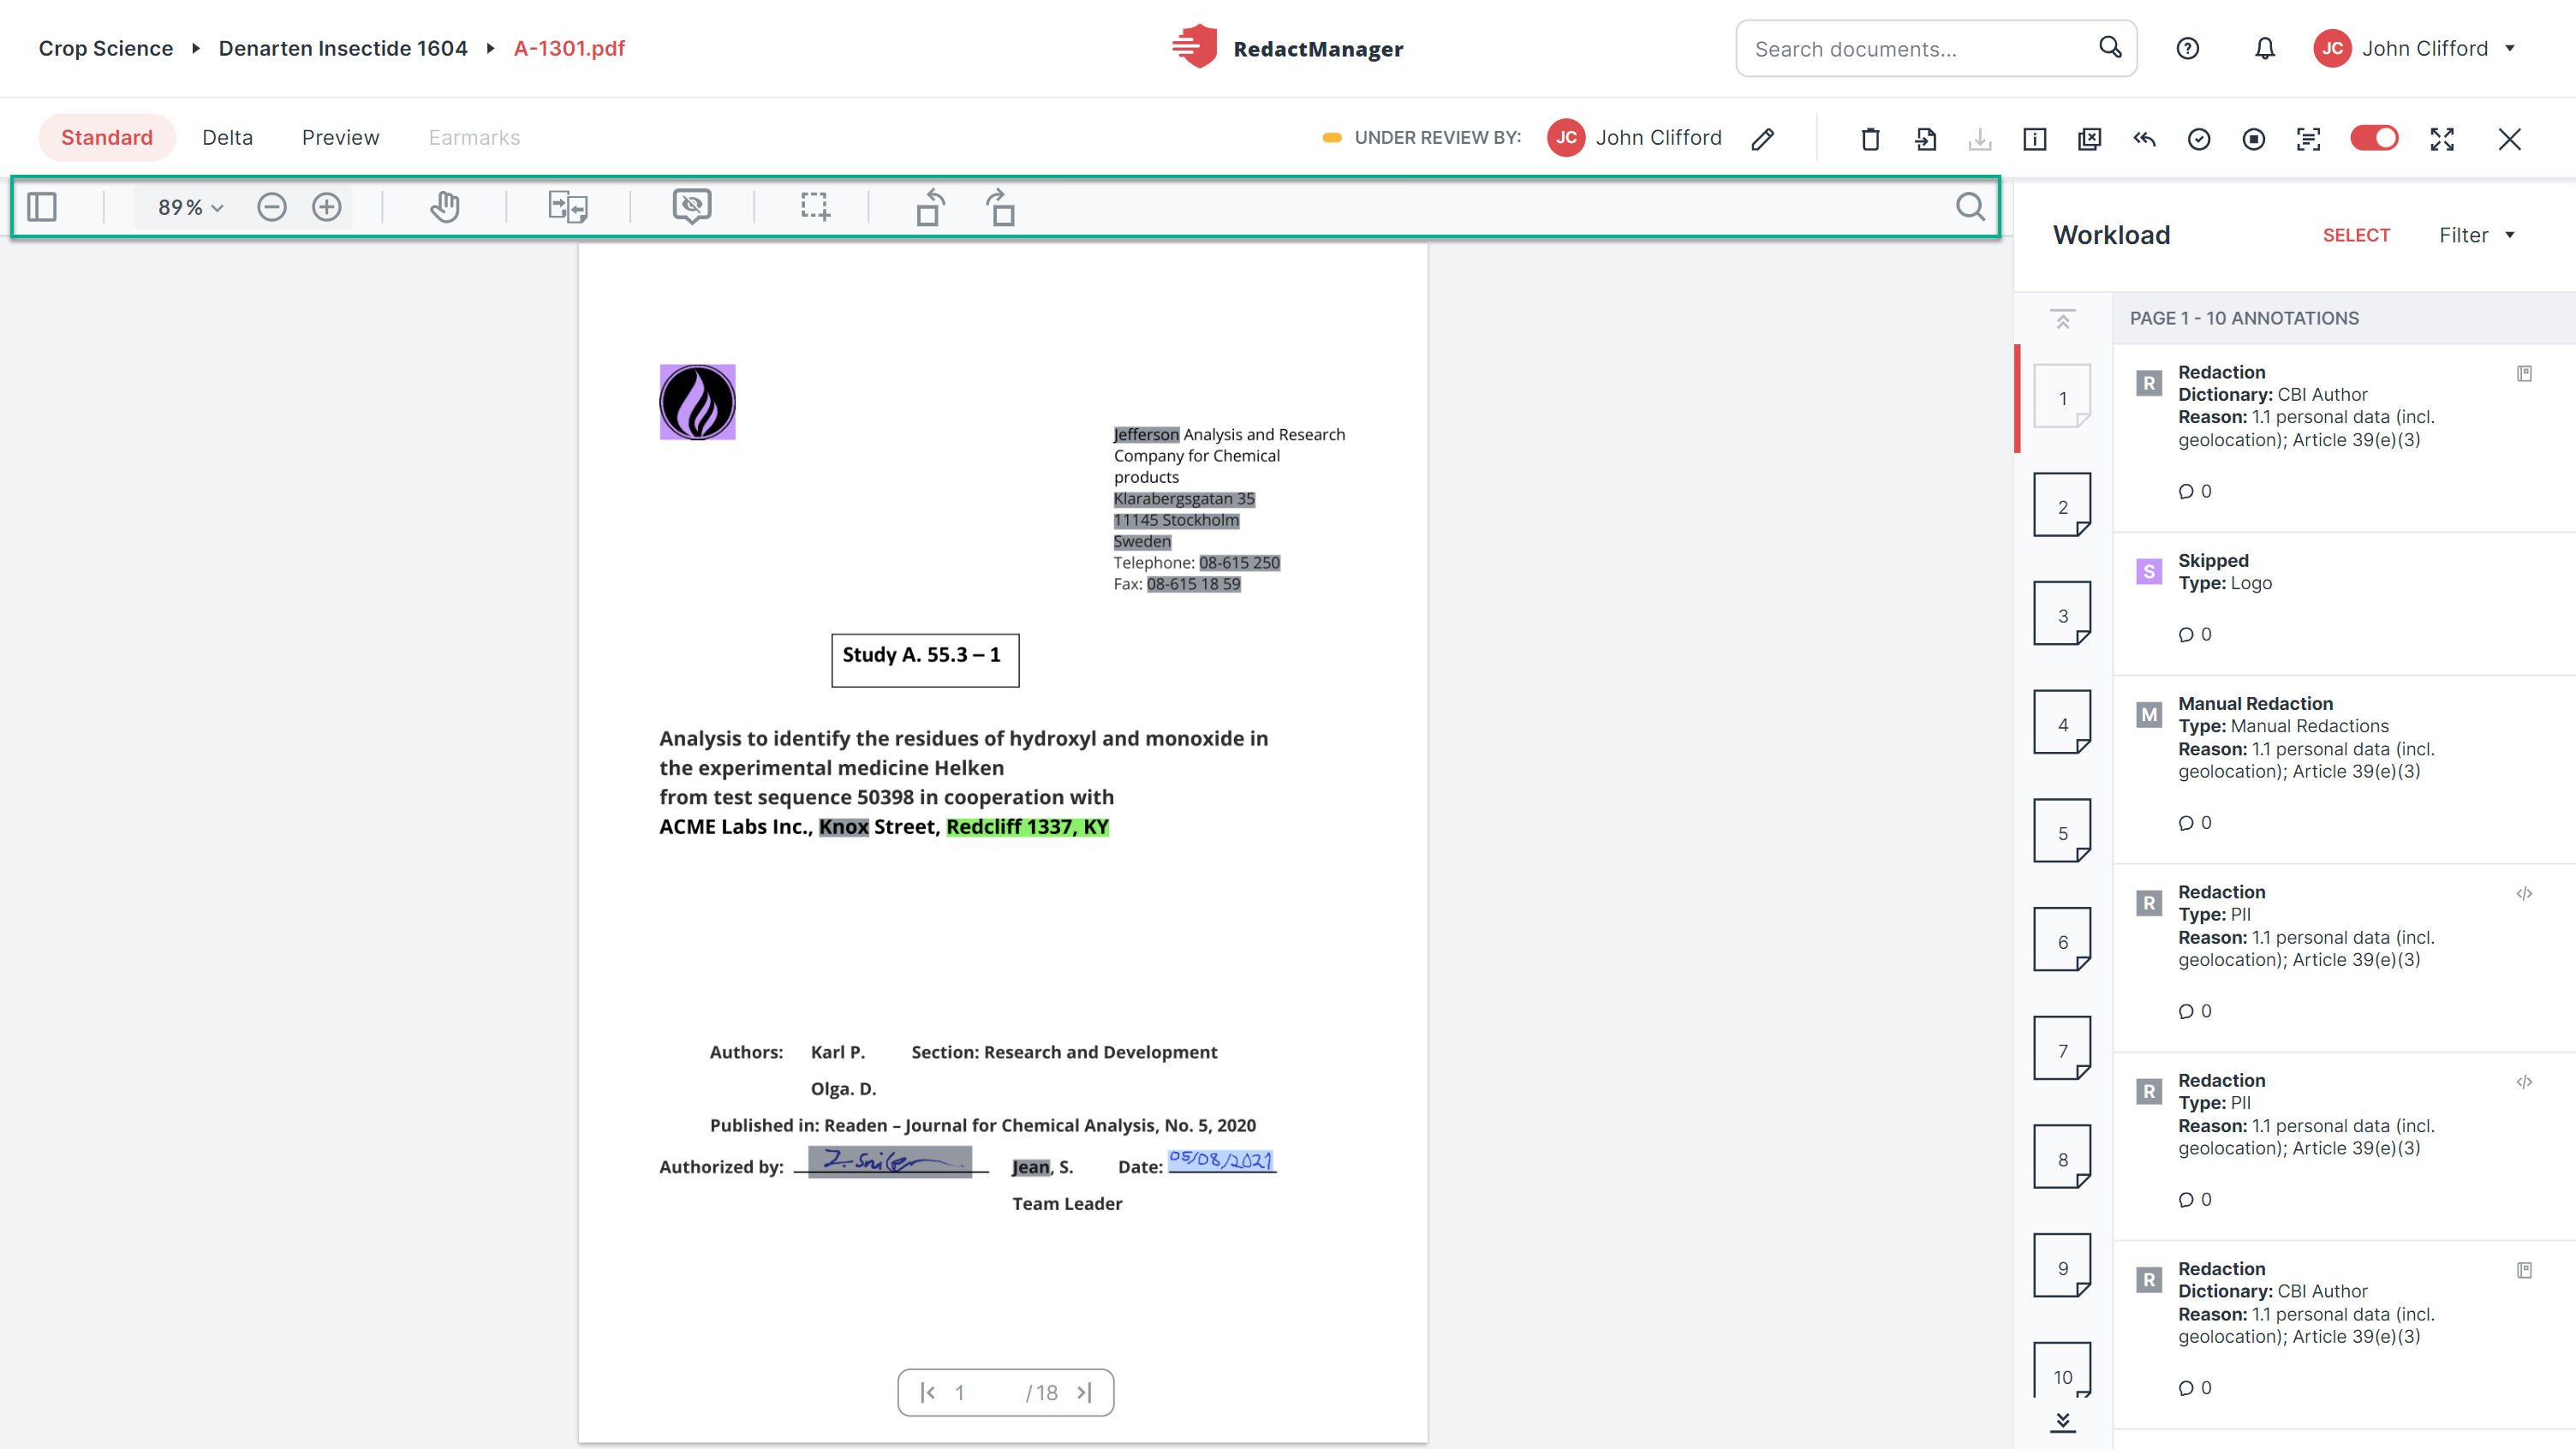
PDF features
What can you do here?

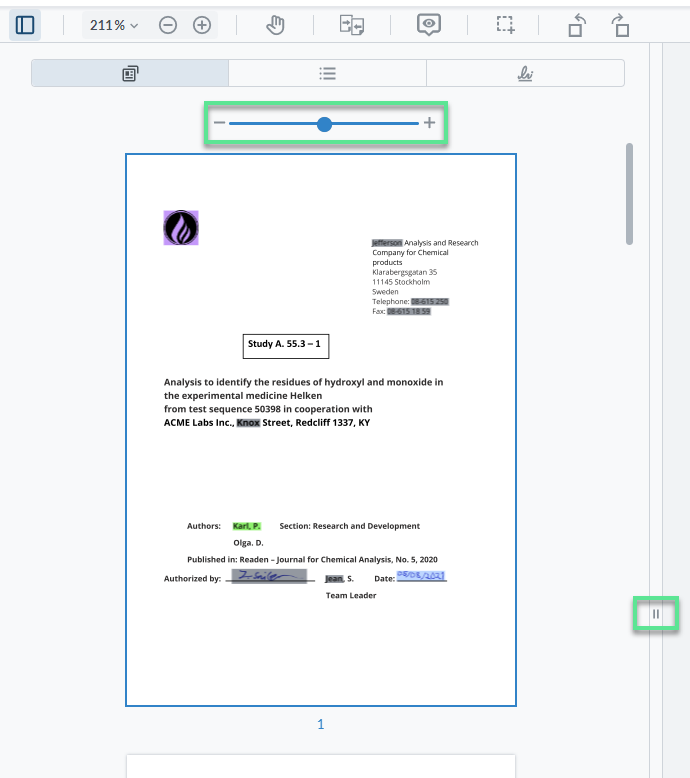
Panel and page zoom icons
The panel view shows thumbnails of the document pages and allows you to access the individual pages by clicking on one of the thumbnails.
Once you have enabled the panel view, you can adjust the size of the thumbnails using the slider at the top.
If you hover over the right border of the panel view, the cursor turns into a double-sided arrow. You can then use drag & drop to change the width of the panel view.
 |
Thumbnail zoom
Good to know:
RedactManager reloads the content dynamically (on demand and pagewise).
That is why the thumbnails in the panel view show the markings only on the pages you have already visited.
If you click on the thumbnail of a page you have not yet visited, the markings on that page will appear as well.
Refreshing the page is equivalent to restarting the app. It will reset the display, i.e., the markings on the thumbnails of pages you visited before refreshing the browser will disappear.
That is one of the reasons why we recommend not to refresh the browser if possible.
Next to the panel view, you will find the page zoom feature: It allows you to zoom in and out of the page using the drop-down menu or clicking +/-.

The Compare feature compares the currently opened document to another version of the same document redacted outside RedactManager. That allows you to check whether RedactManager would redact the same passages.
Click the Compare icon.

"Compare" icon
The file explorer opens, and you can select the document you would like to compare to. The document appears to the right of the document you've opened in RedactManager.
Click the backward arrow to leave the comparison mode.
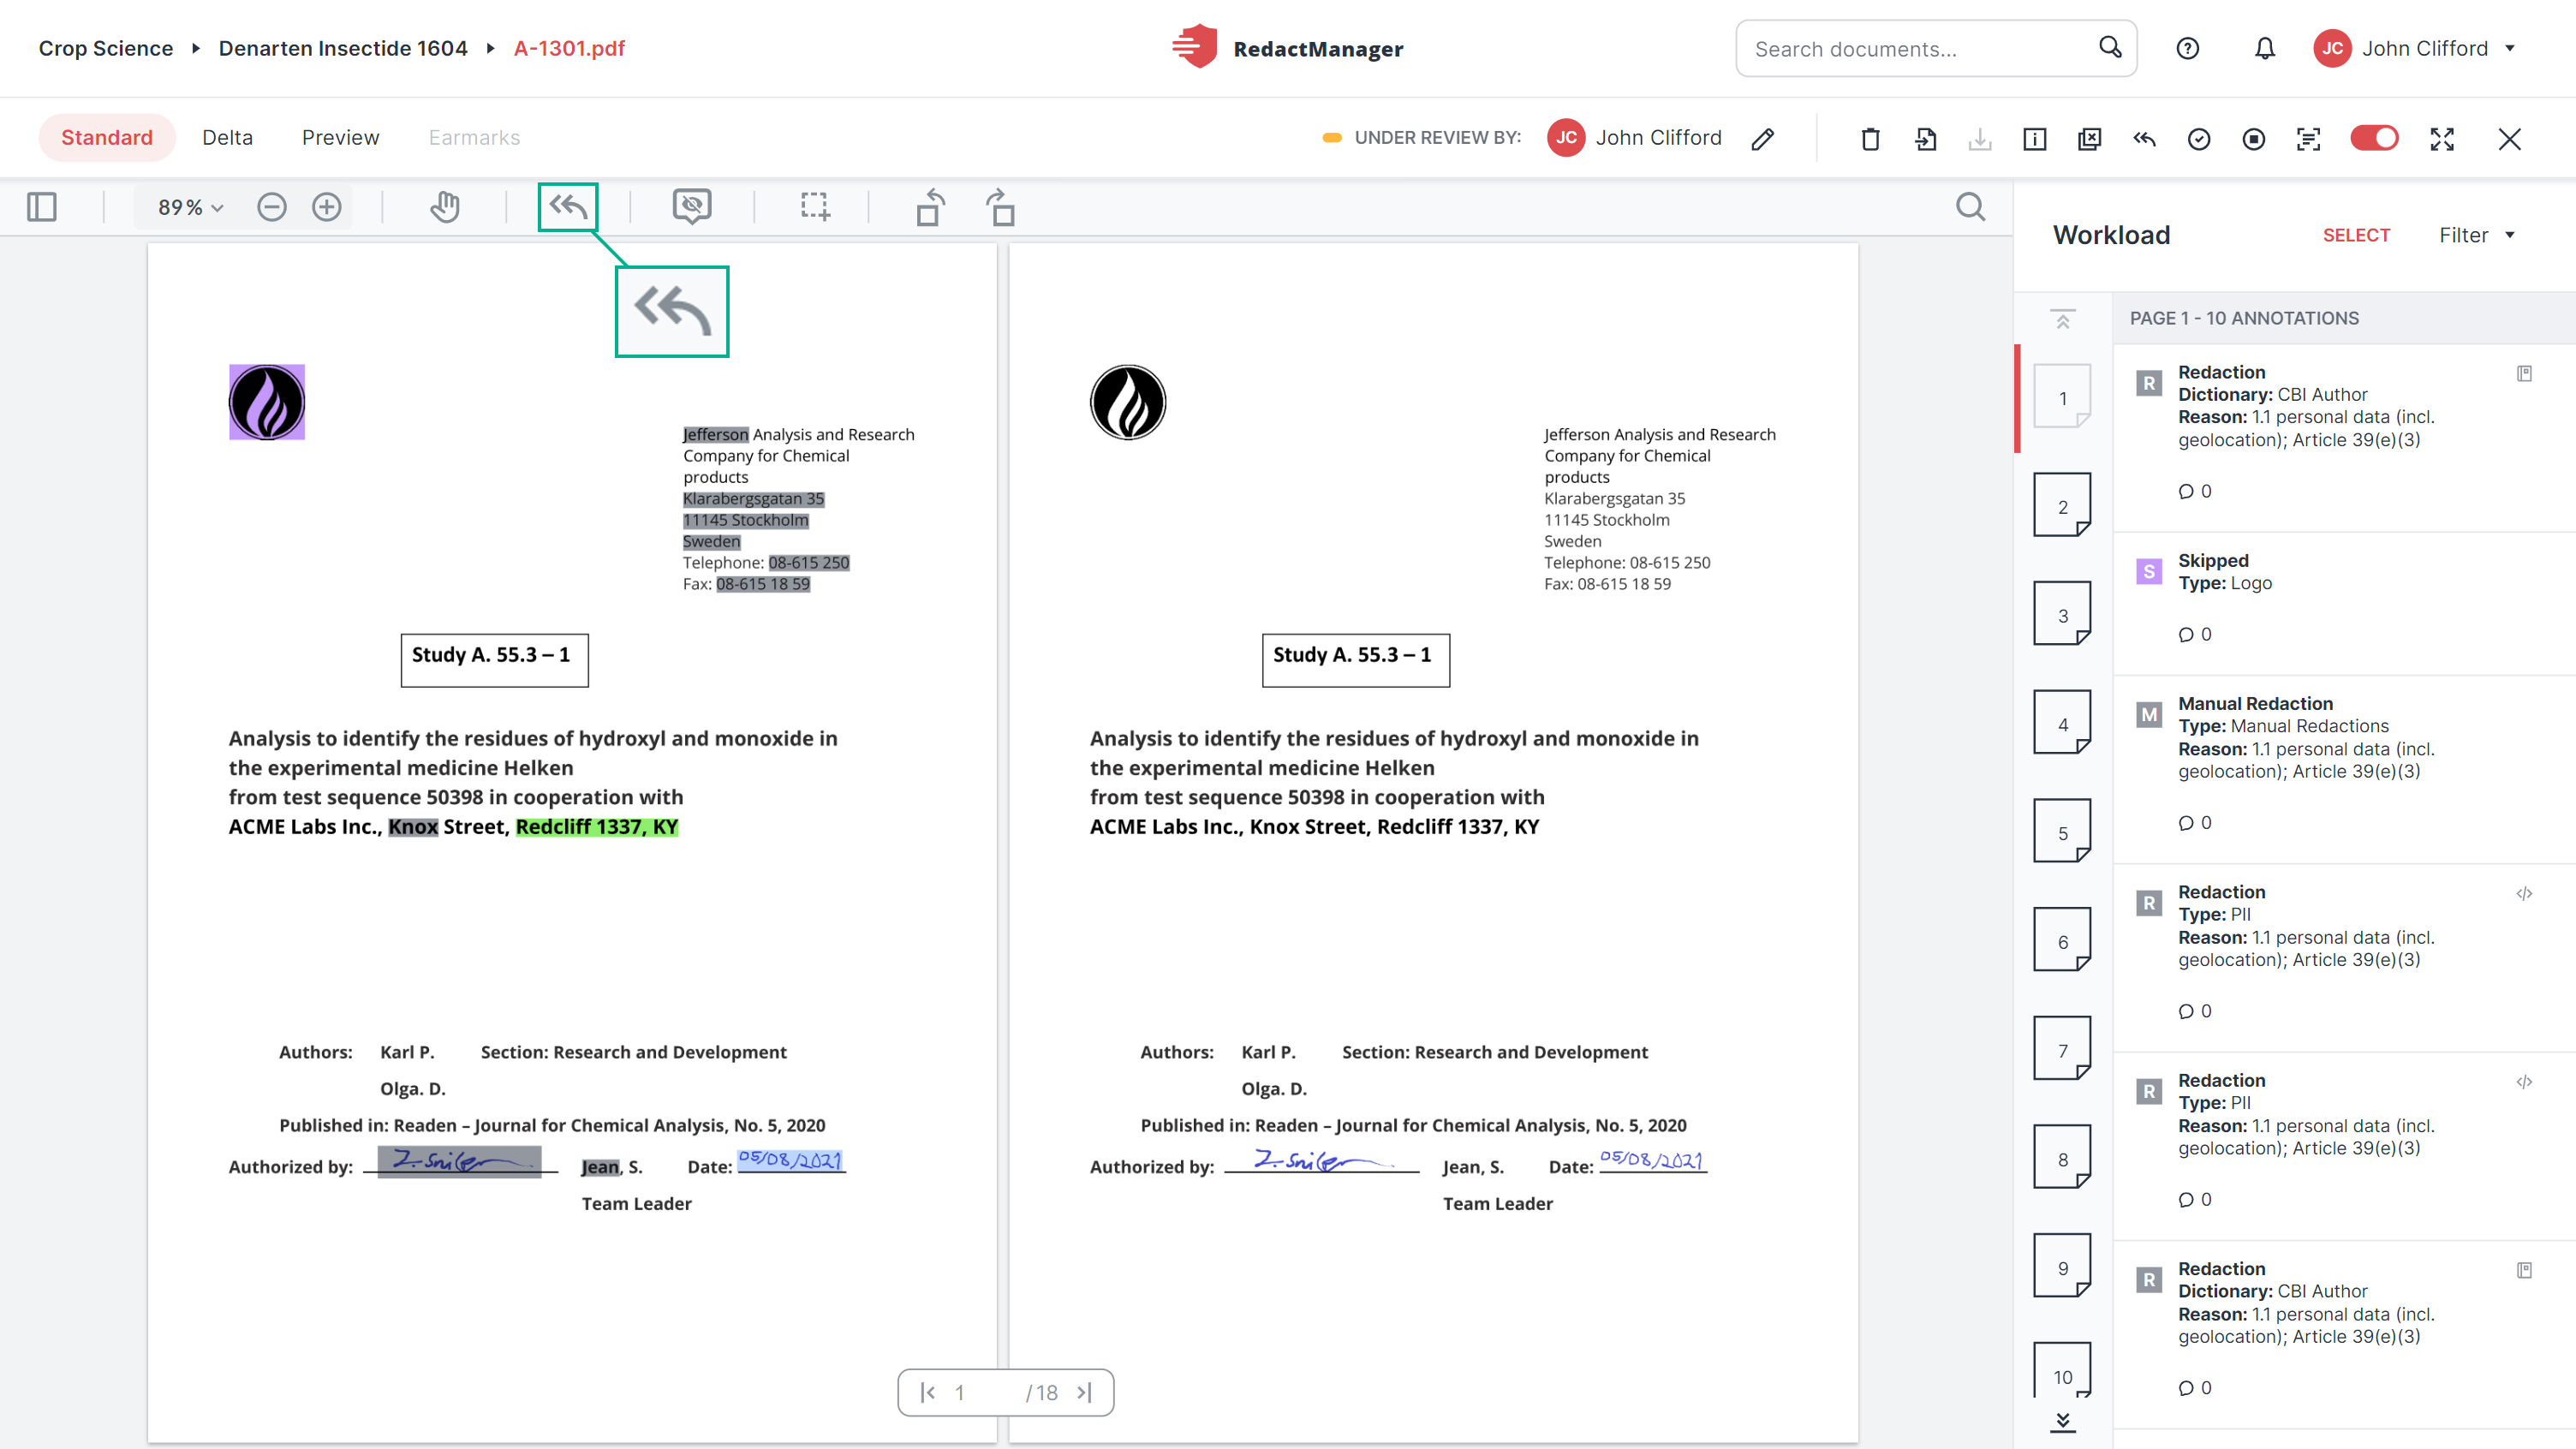
Leave comparison mode

Use the Rectangle feature to select and redact larger areas, e.g. graphics, logos, and paragraphs of text.

"Rectangle redaction" icon
Rectangle redactions are a type of manual redaction. For a step-by-step guide on how to create a rectangle redaction, please see Manual redactions and dictionary entries.
Click the Rotate page icon to rotate the current page.
Click Apply or Discard to confirm or discard the new page orientation. The two options will appear next to the Page Rotation icon once you have rotated a page.
Apply or discard page rotation
As long as you have not clicked on Apply the page will be marked with a small rotation arrow in the Workload page overview. That shows you that you still have to confirm the page rotation.
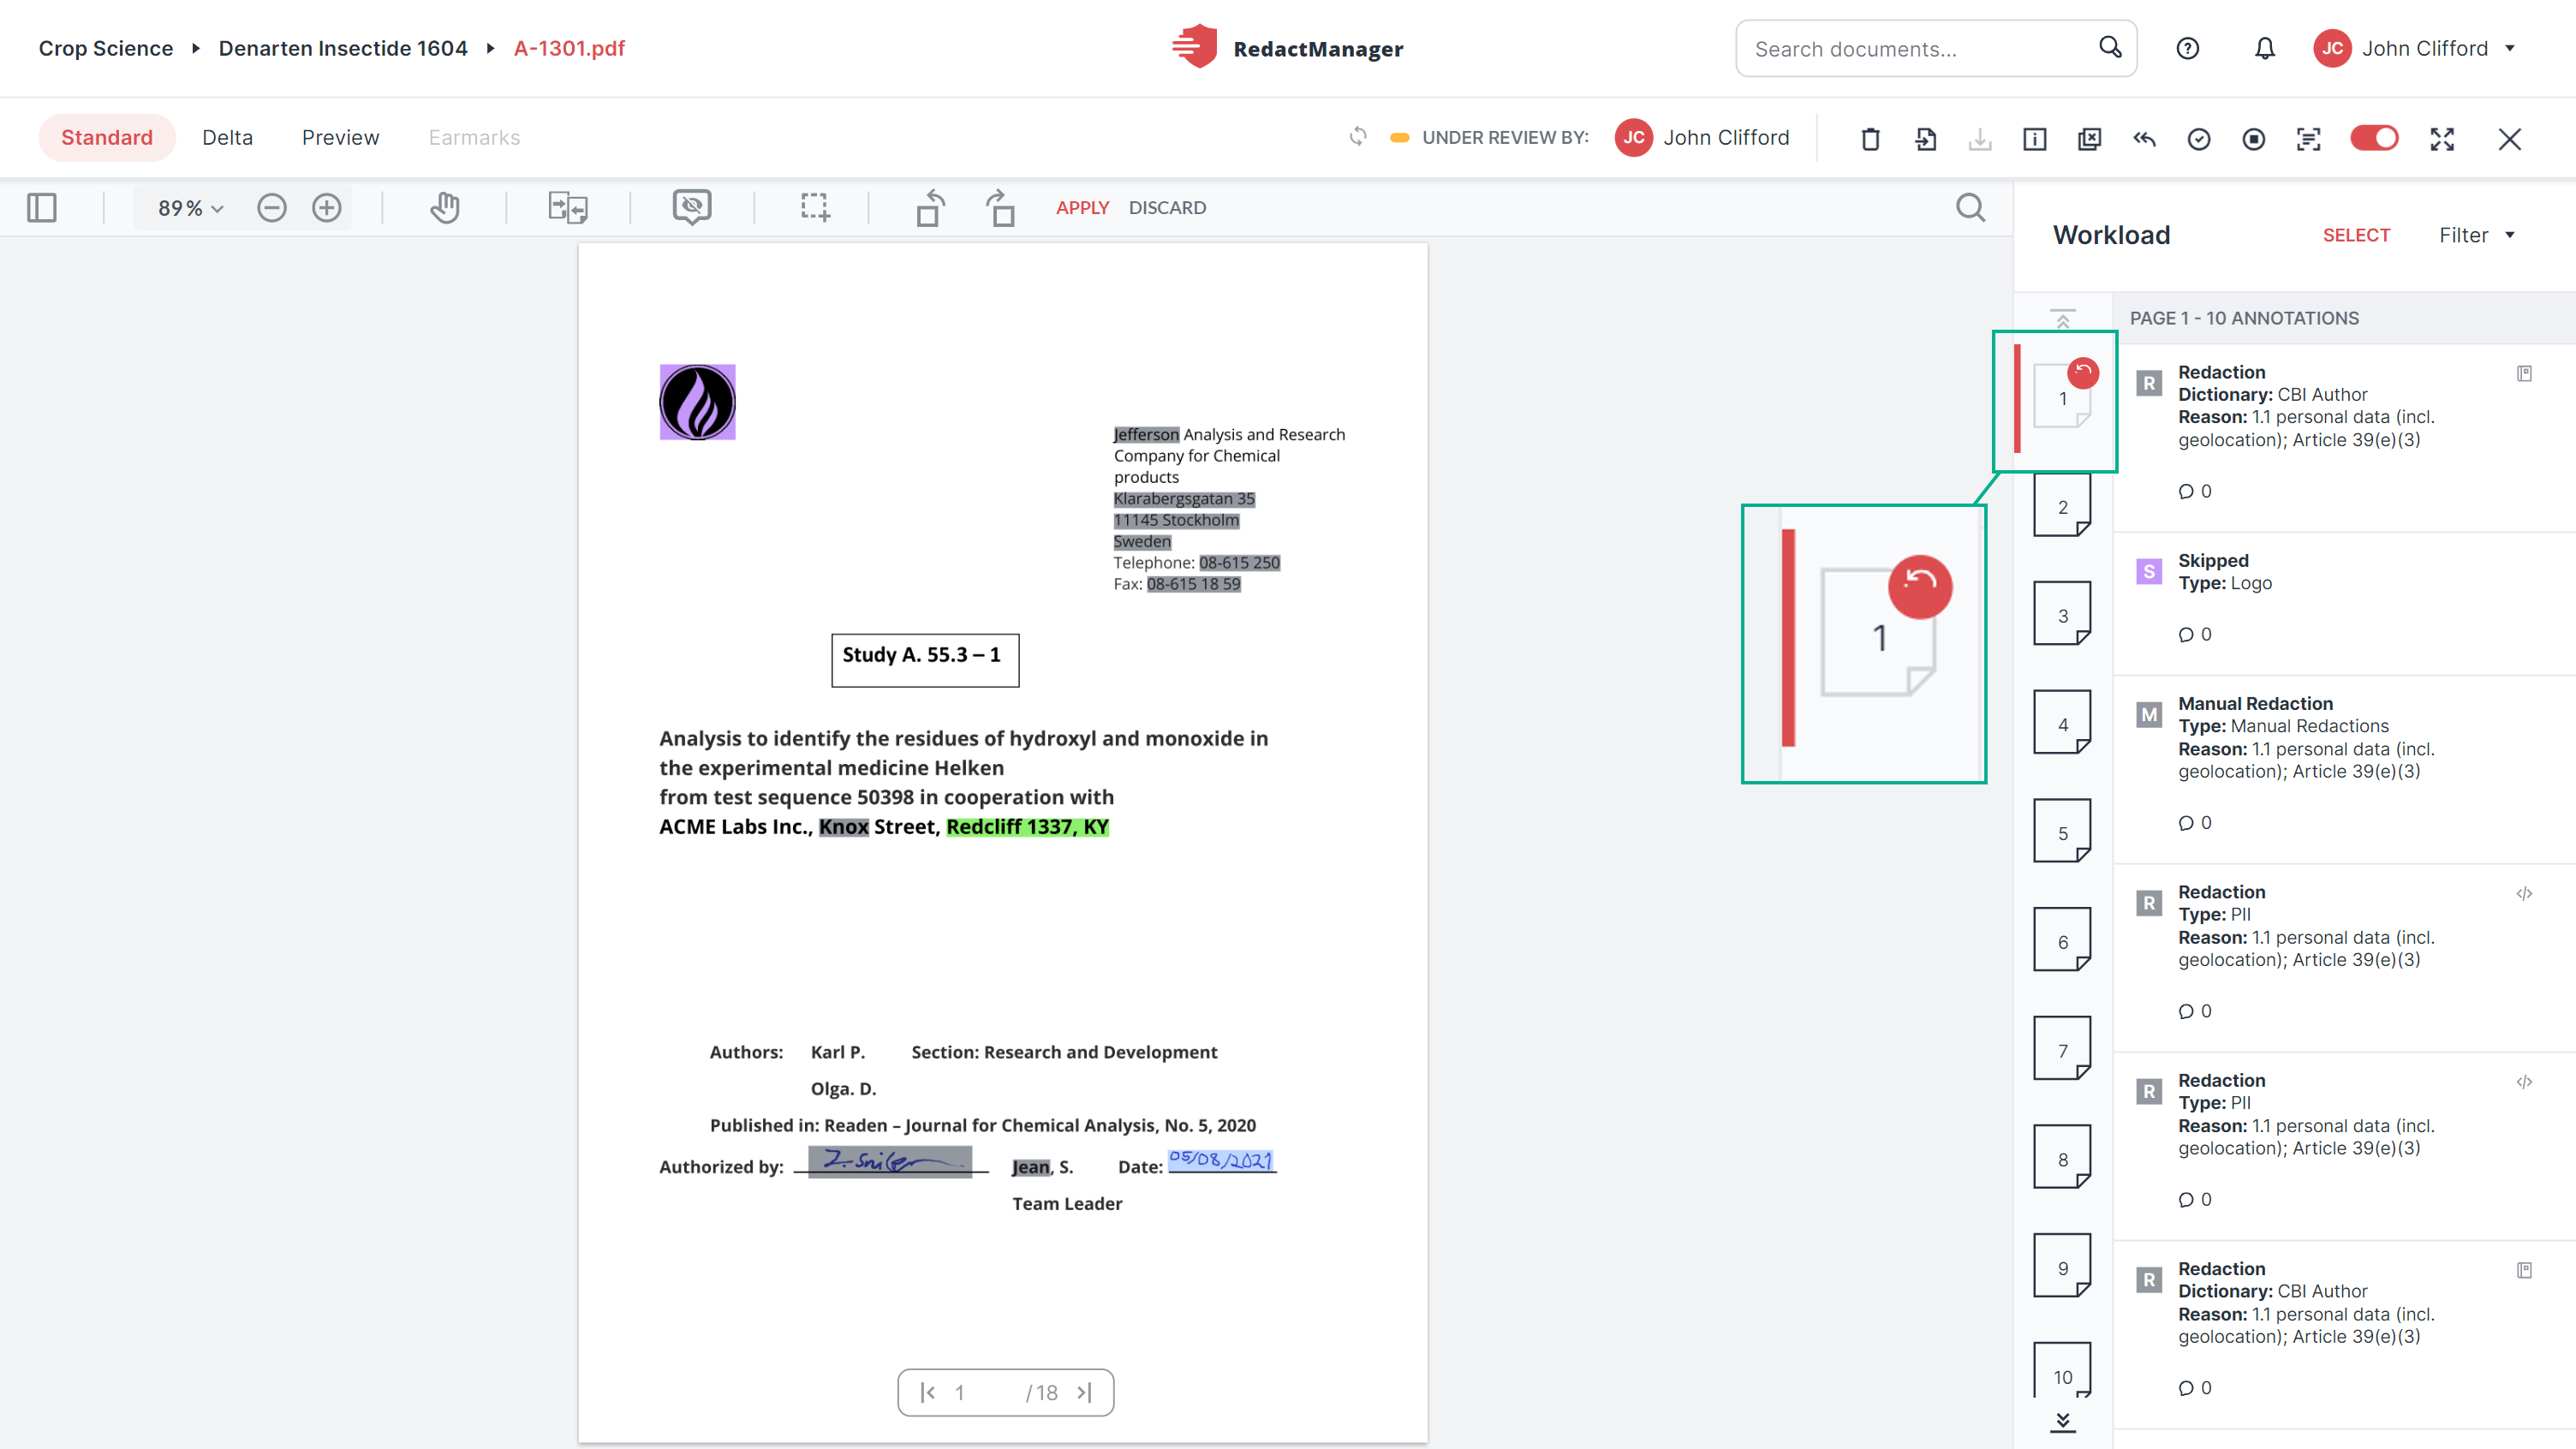
Confirmation of page rotation pending
Search the text:
Click on the magnifying glass and enter your search term.

"Search document" icon
Alternatively, you can mark a passage in the text. A magnifying glass appears under the text. Click the magnifying glass to look for the selected passage elsewhere in the document.
You can narrow your search as follows:
Case-sensitive filter:
Check the box to limit the search to exactly this character sequence and is case-sensitive.
Whole word filter:
Check the box to limit the search to whole words.
Copy text:
Mark a text passage and click the Copy icon  to copy the selected text. The copy feature is helpful if you want to use the selected text in another context.
Use the left/right arrow keys on your keyboard to jump between the document and the Workload.
Document: Use the up/down arrow keys to jump between pages.
Workload: Use the up/down arrow keys to jump between the annotations.
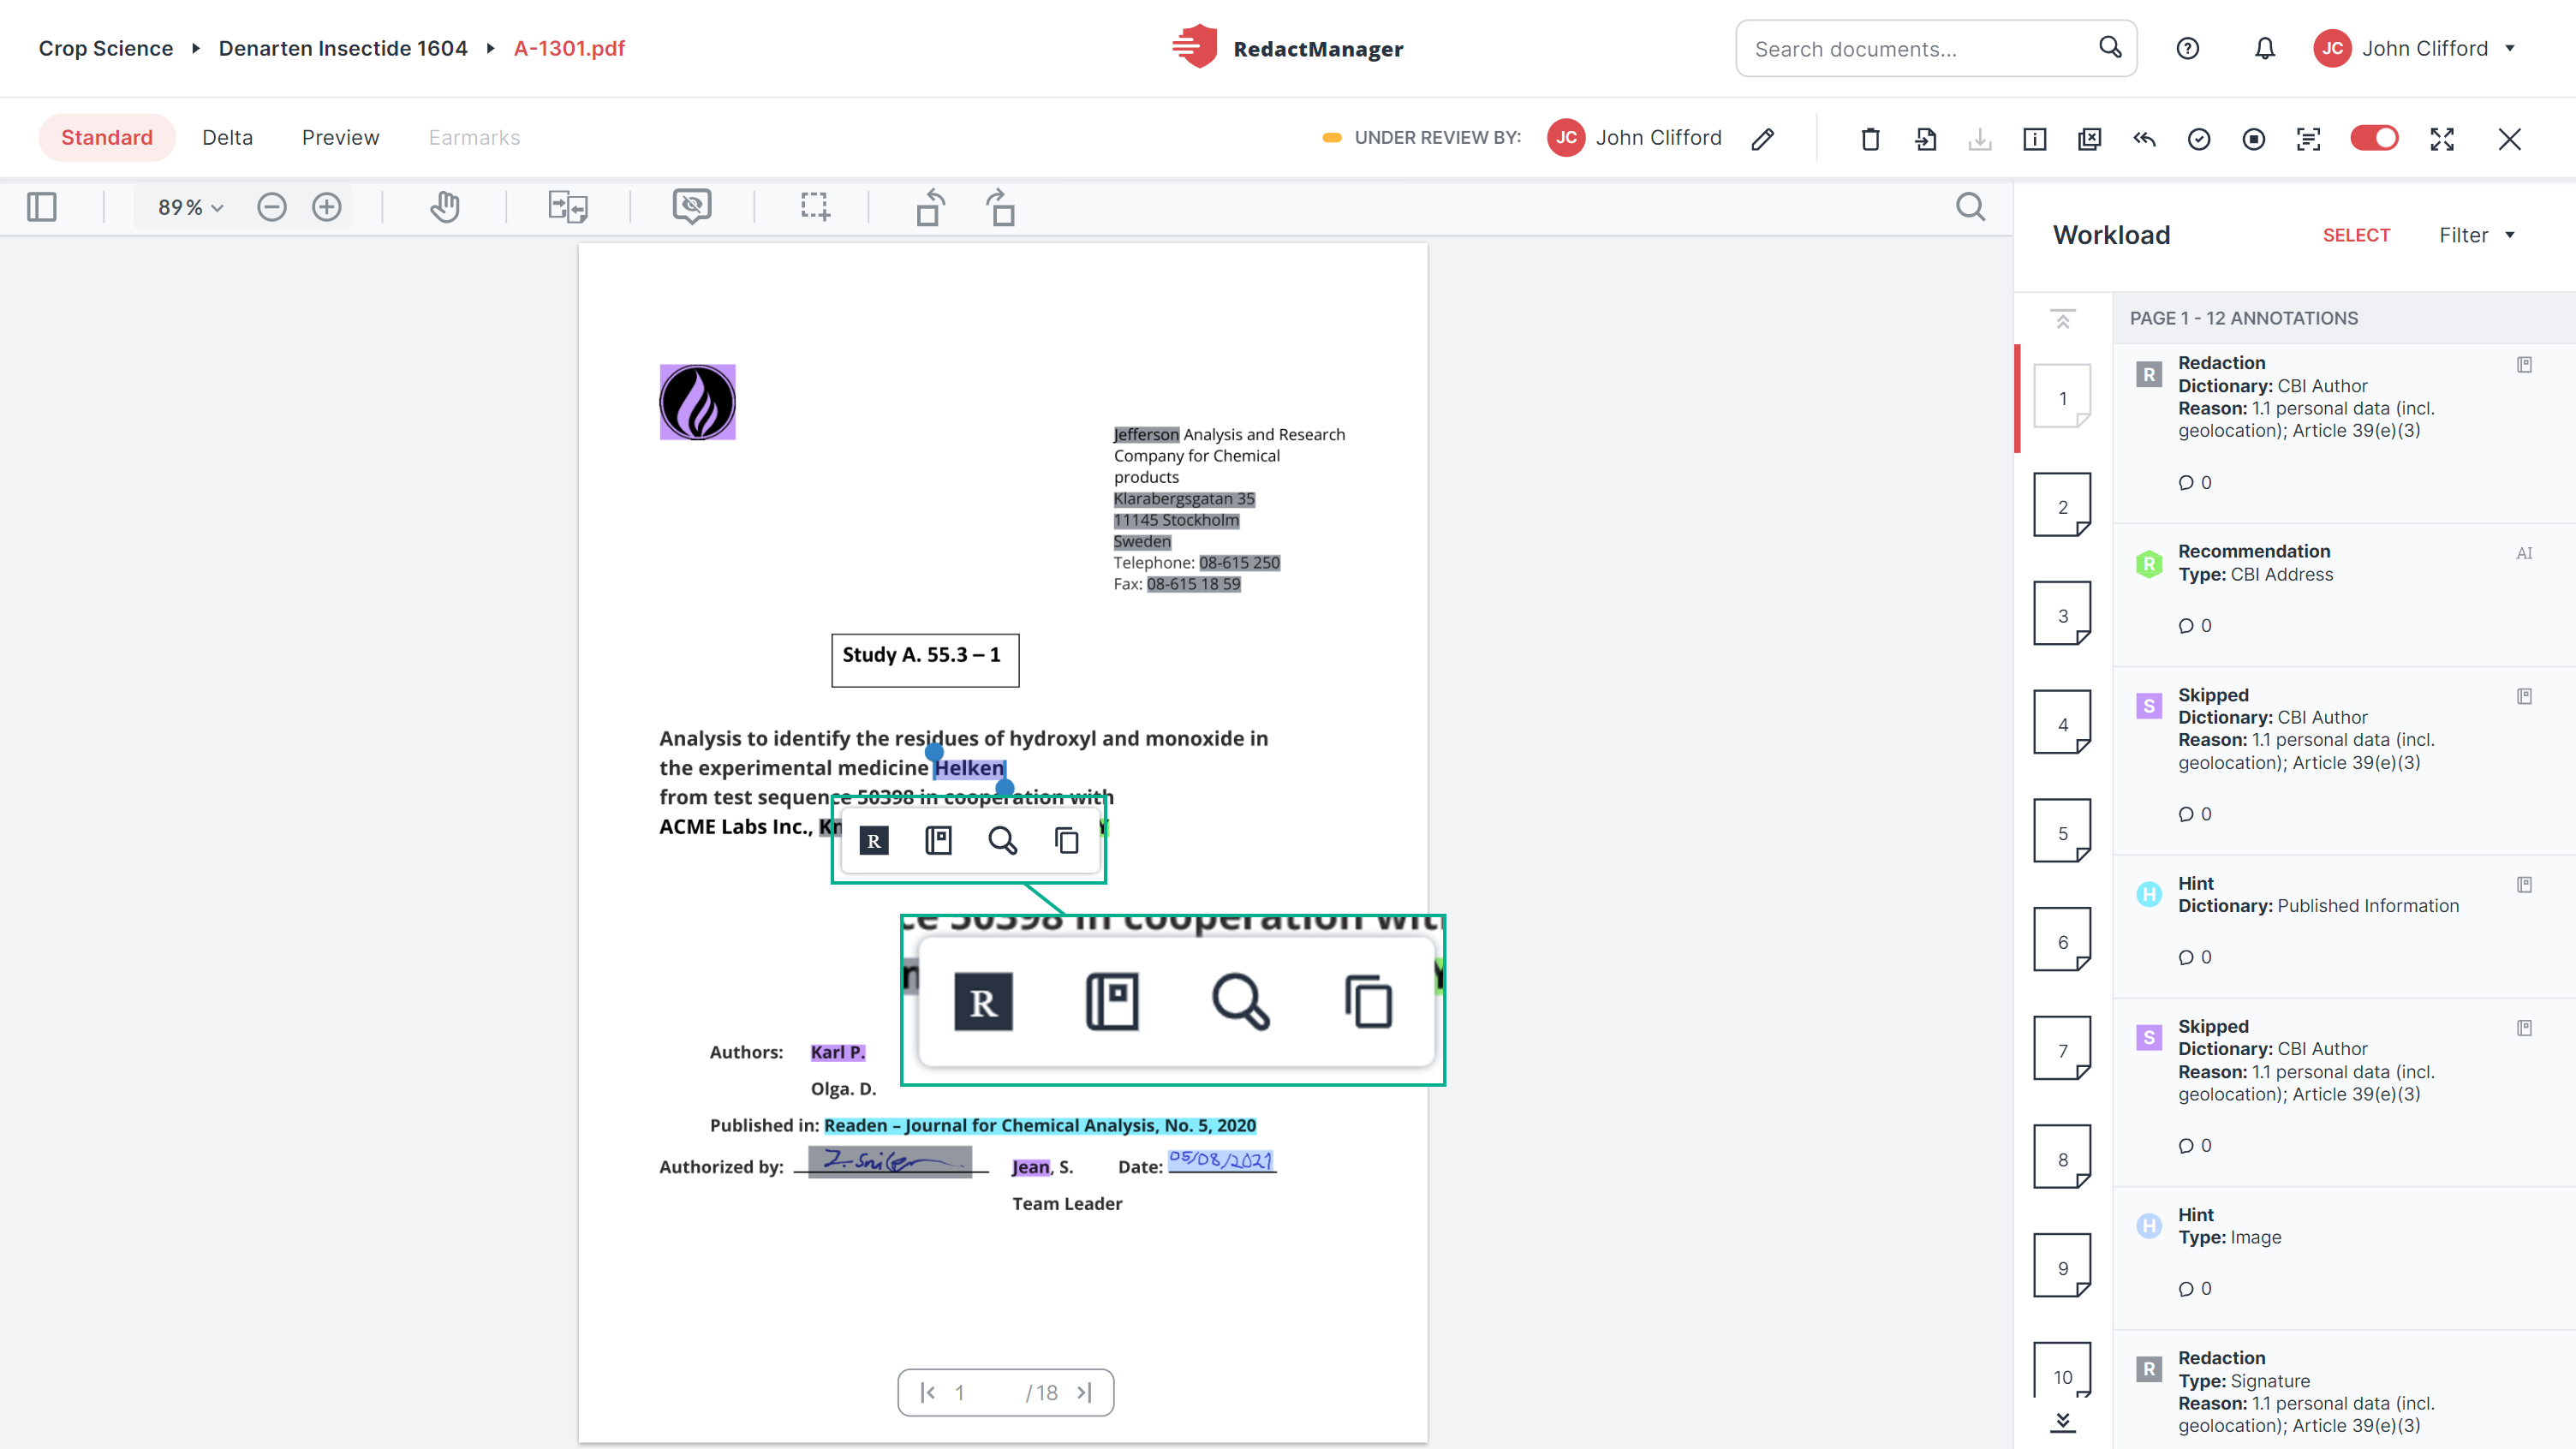
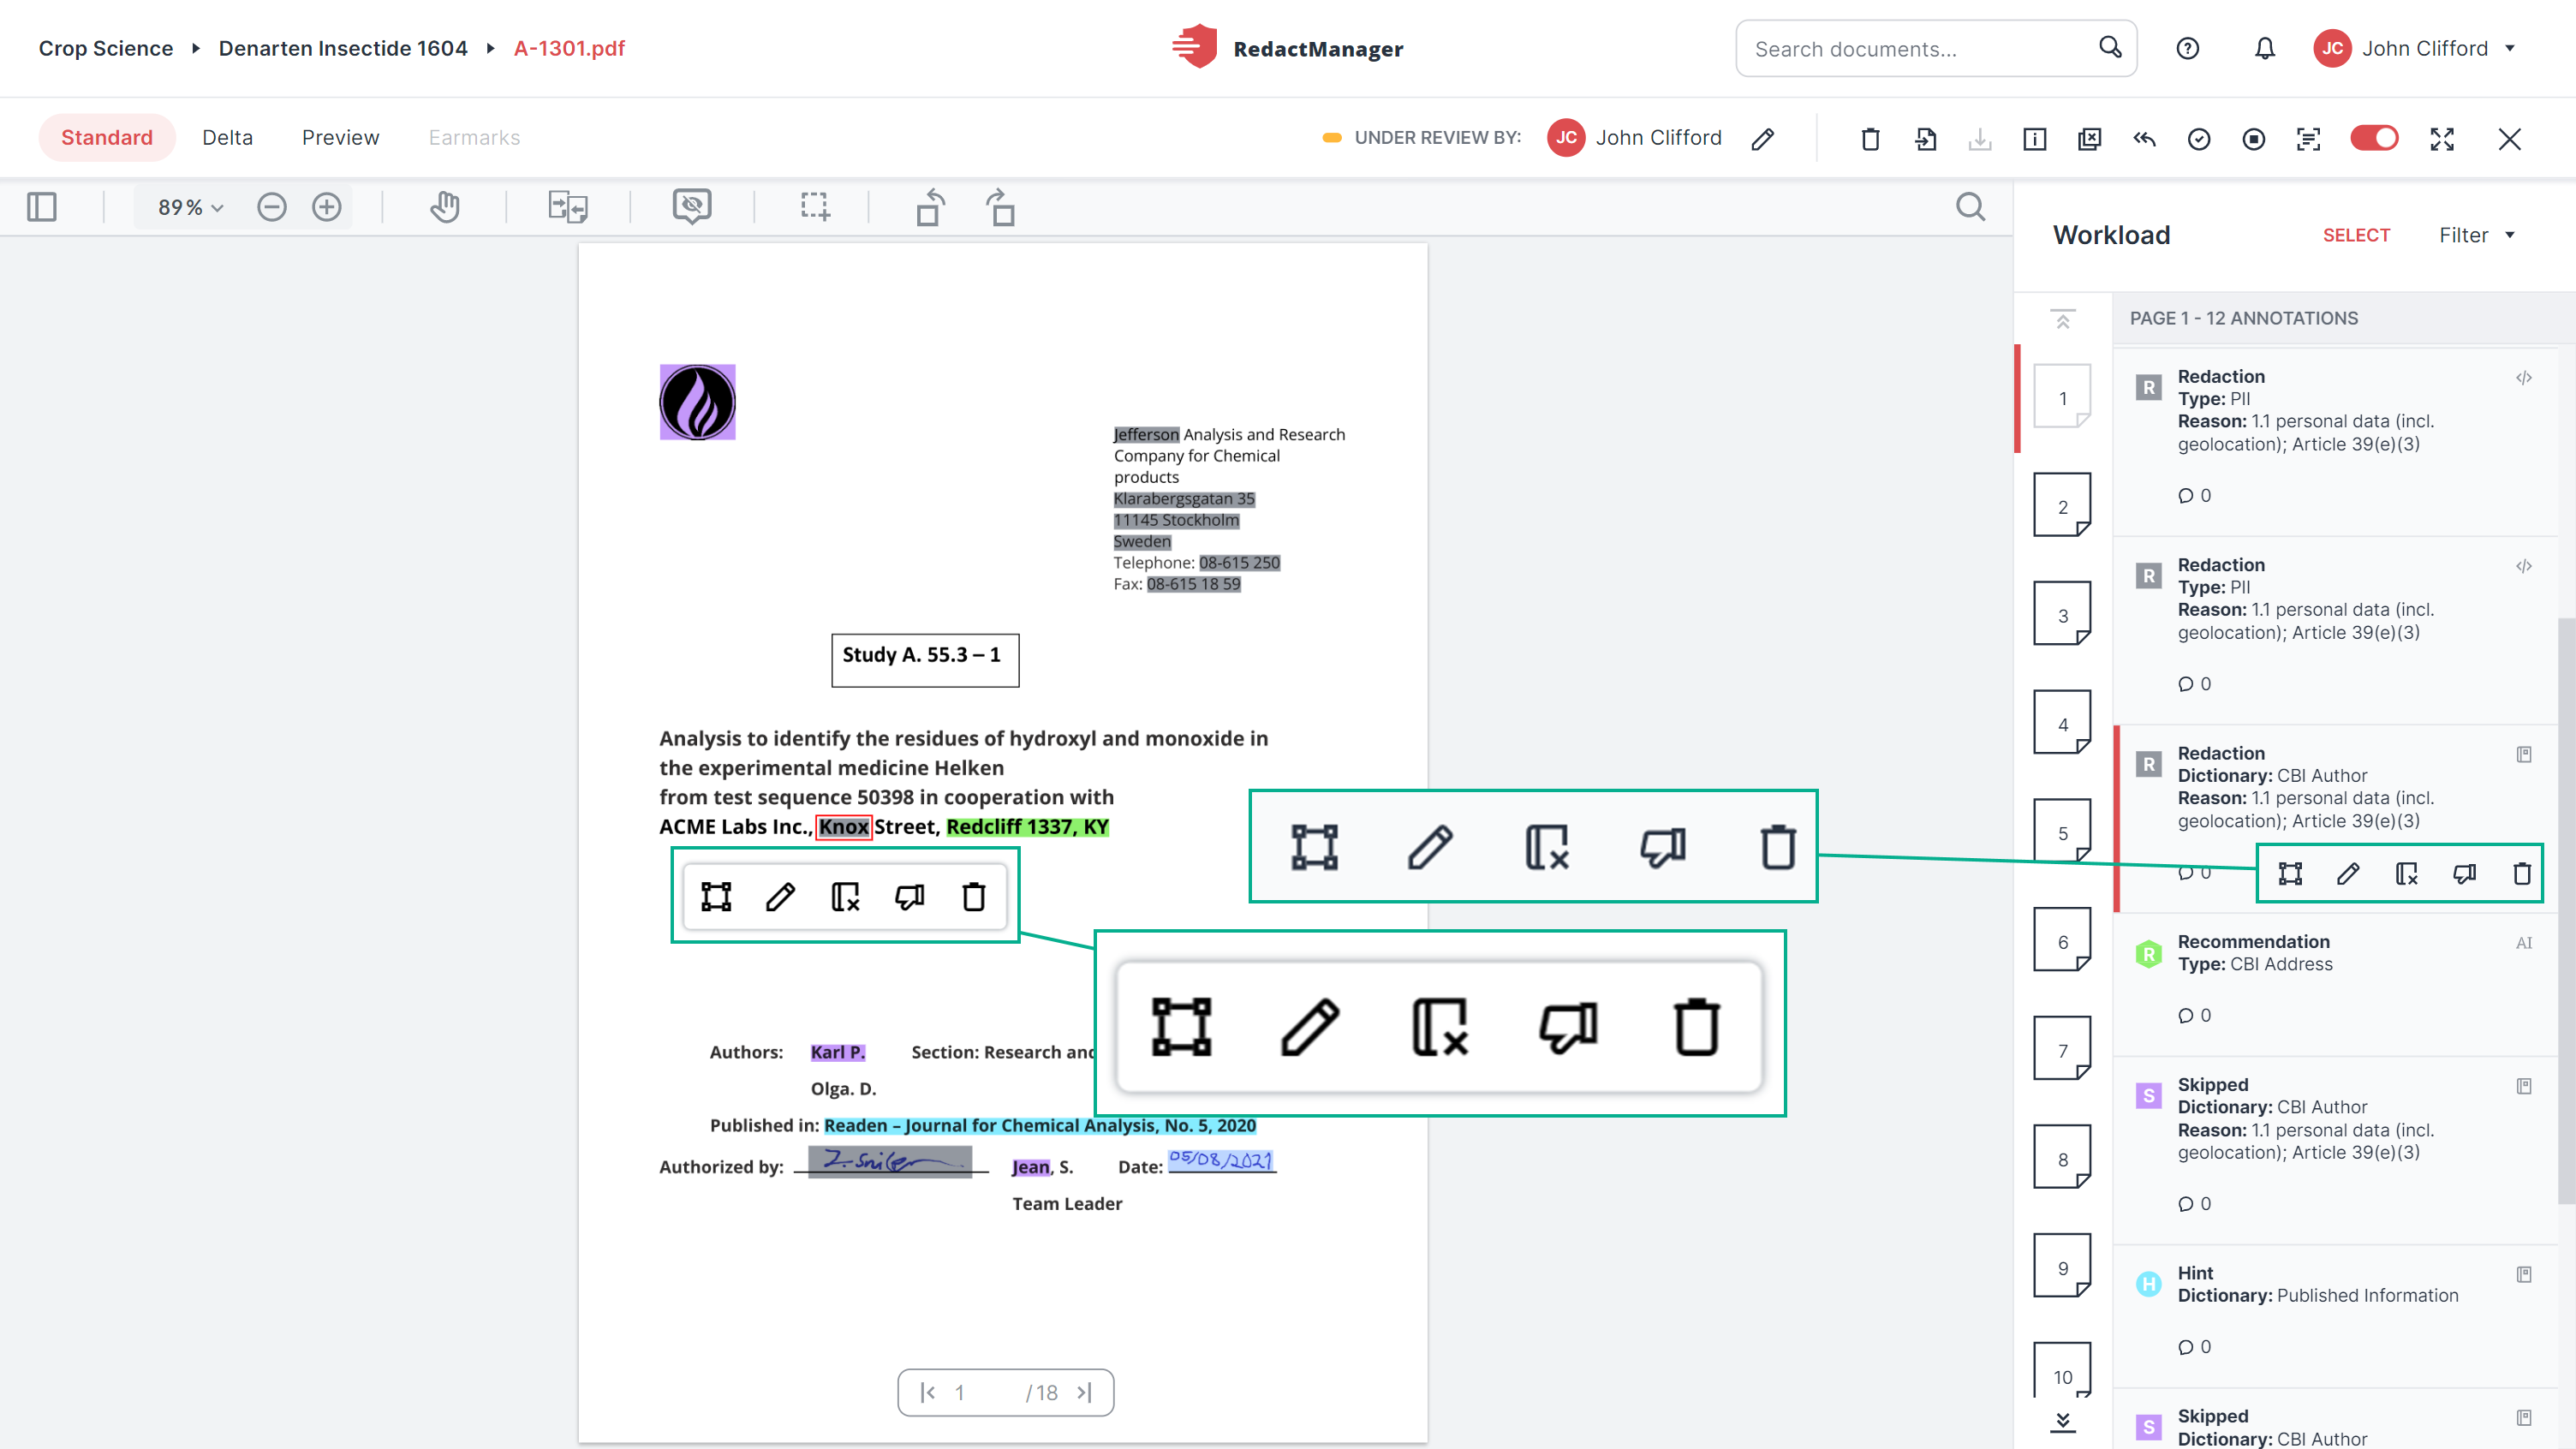
As Reviewers and Approvers, you manually check the markings and annotations generated by RedactManager. If necessary, you correct them, and add further redactions. To do so, select a marking from the text or an annotation from the Workload. The available editing options will be displayed once you have clicked on a marking in the text or once you hover over an annotation in the Workload.
In this section, you will learn how to mark and edit text passages in the Editor's Standard view.
Mark any text passage with the cursor. A small menu bar with the following features opens:
Redaction
Add to dictionary
Search for selected text
Copy
The features are explained in the editing options section.
Editing features in the text
Workload
You open a document in the Editor. If another Reviewer or Approver is assigned to the document, you have read-only permission.
The Workload column can be found on the right.
On the left-hand side of the Workload, you see a list of pages with redactions. If you select a page, it will be highlighted in red in the page list.
Next to this, you will see a list of the annotations that refer to the markings (redactions, notes, skipped redactions, etc.) on the respective page.
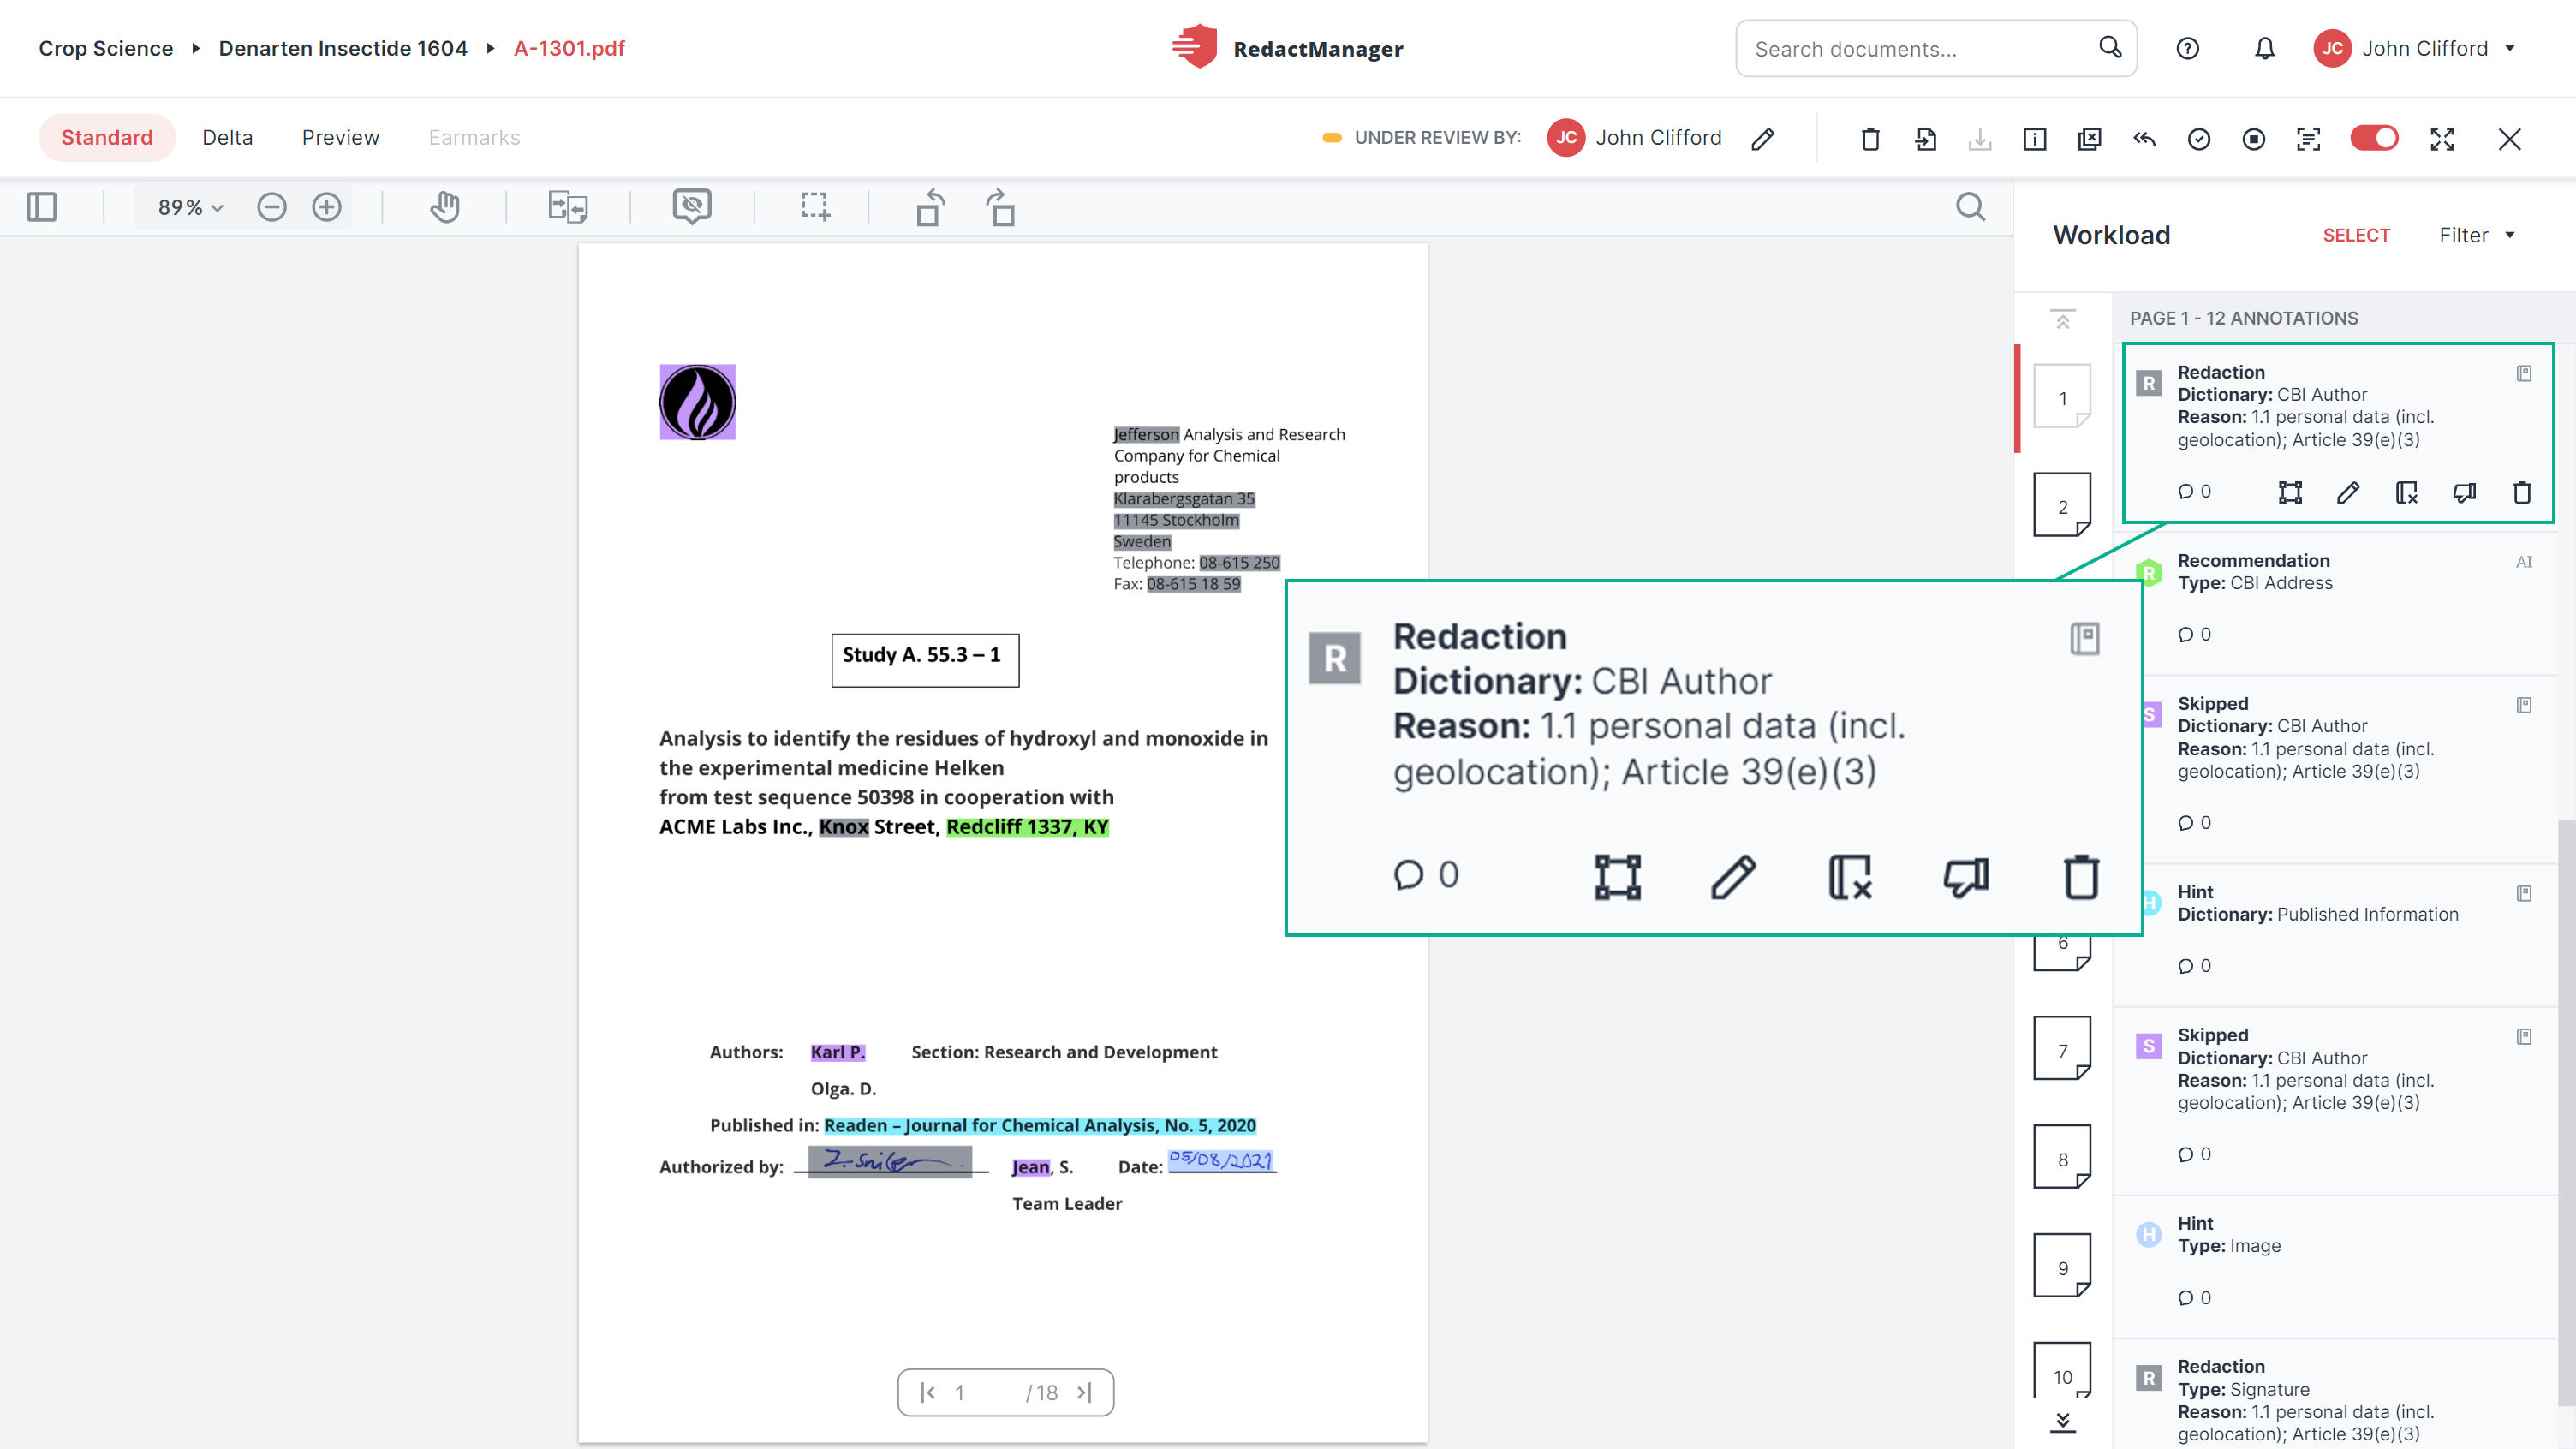
Editing options in the Workload
The editing options displayed in the Workload are identical to the editing options that are displayed when you click on the respective marking in the text.
Identical editing options in text and Workload
For further information on editing redactions please see Reviewing and editing redactions.
The icons at the top right of the annotations provide additional information:

Info icons in the annotations
Manual changes
 : There have been manual changes. The redaction has been forced or removed, or the reason or the size of the redaction has been changed.
Dictionary-based
 : The redaction / skipped redaction / hint is based on a dictionary.
AI-based
 : The redaction / skipped redaction / hint is based on artificial intelligence.
Rule-based
 : The redaction / skipped redaction / hint is based on a rule.
How to bulk-select several annotations:
You can bulk-select several annotations to edit them simultaneously. Click Select, to enable bulk selection.

Select button for bulk selection in the Workload
Next, select multiple annotations. The actions that can be performed simultaneously for all selected annotations are displayed in the red menu bar on top of the annotation list. The displayed features are the same features that are shown in the individual annotations.
You can also bulk-select annotations across several pages.
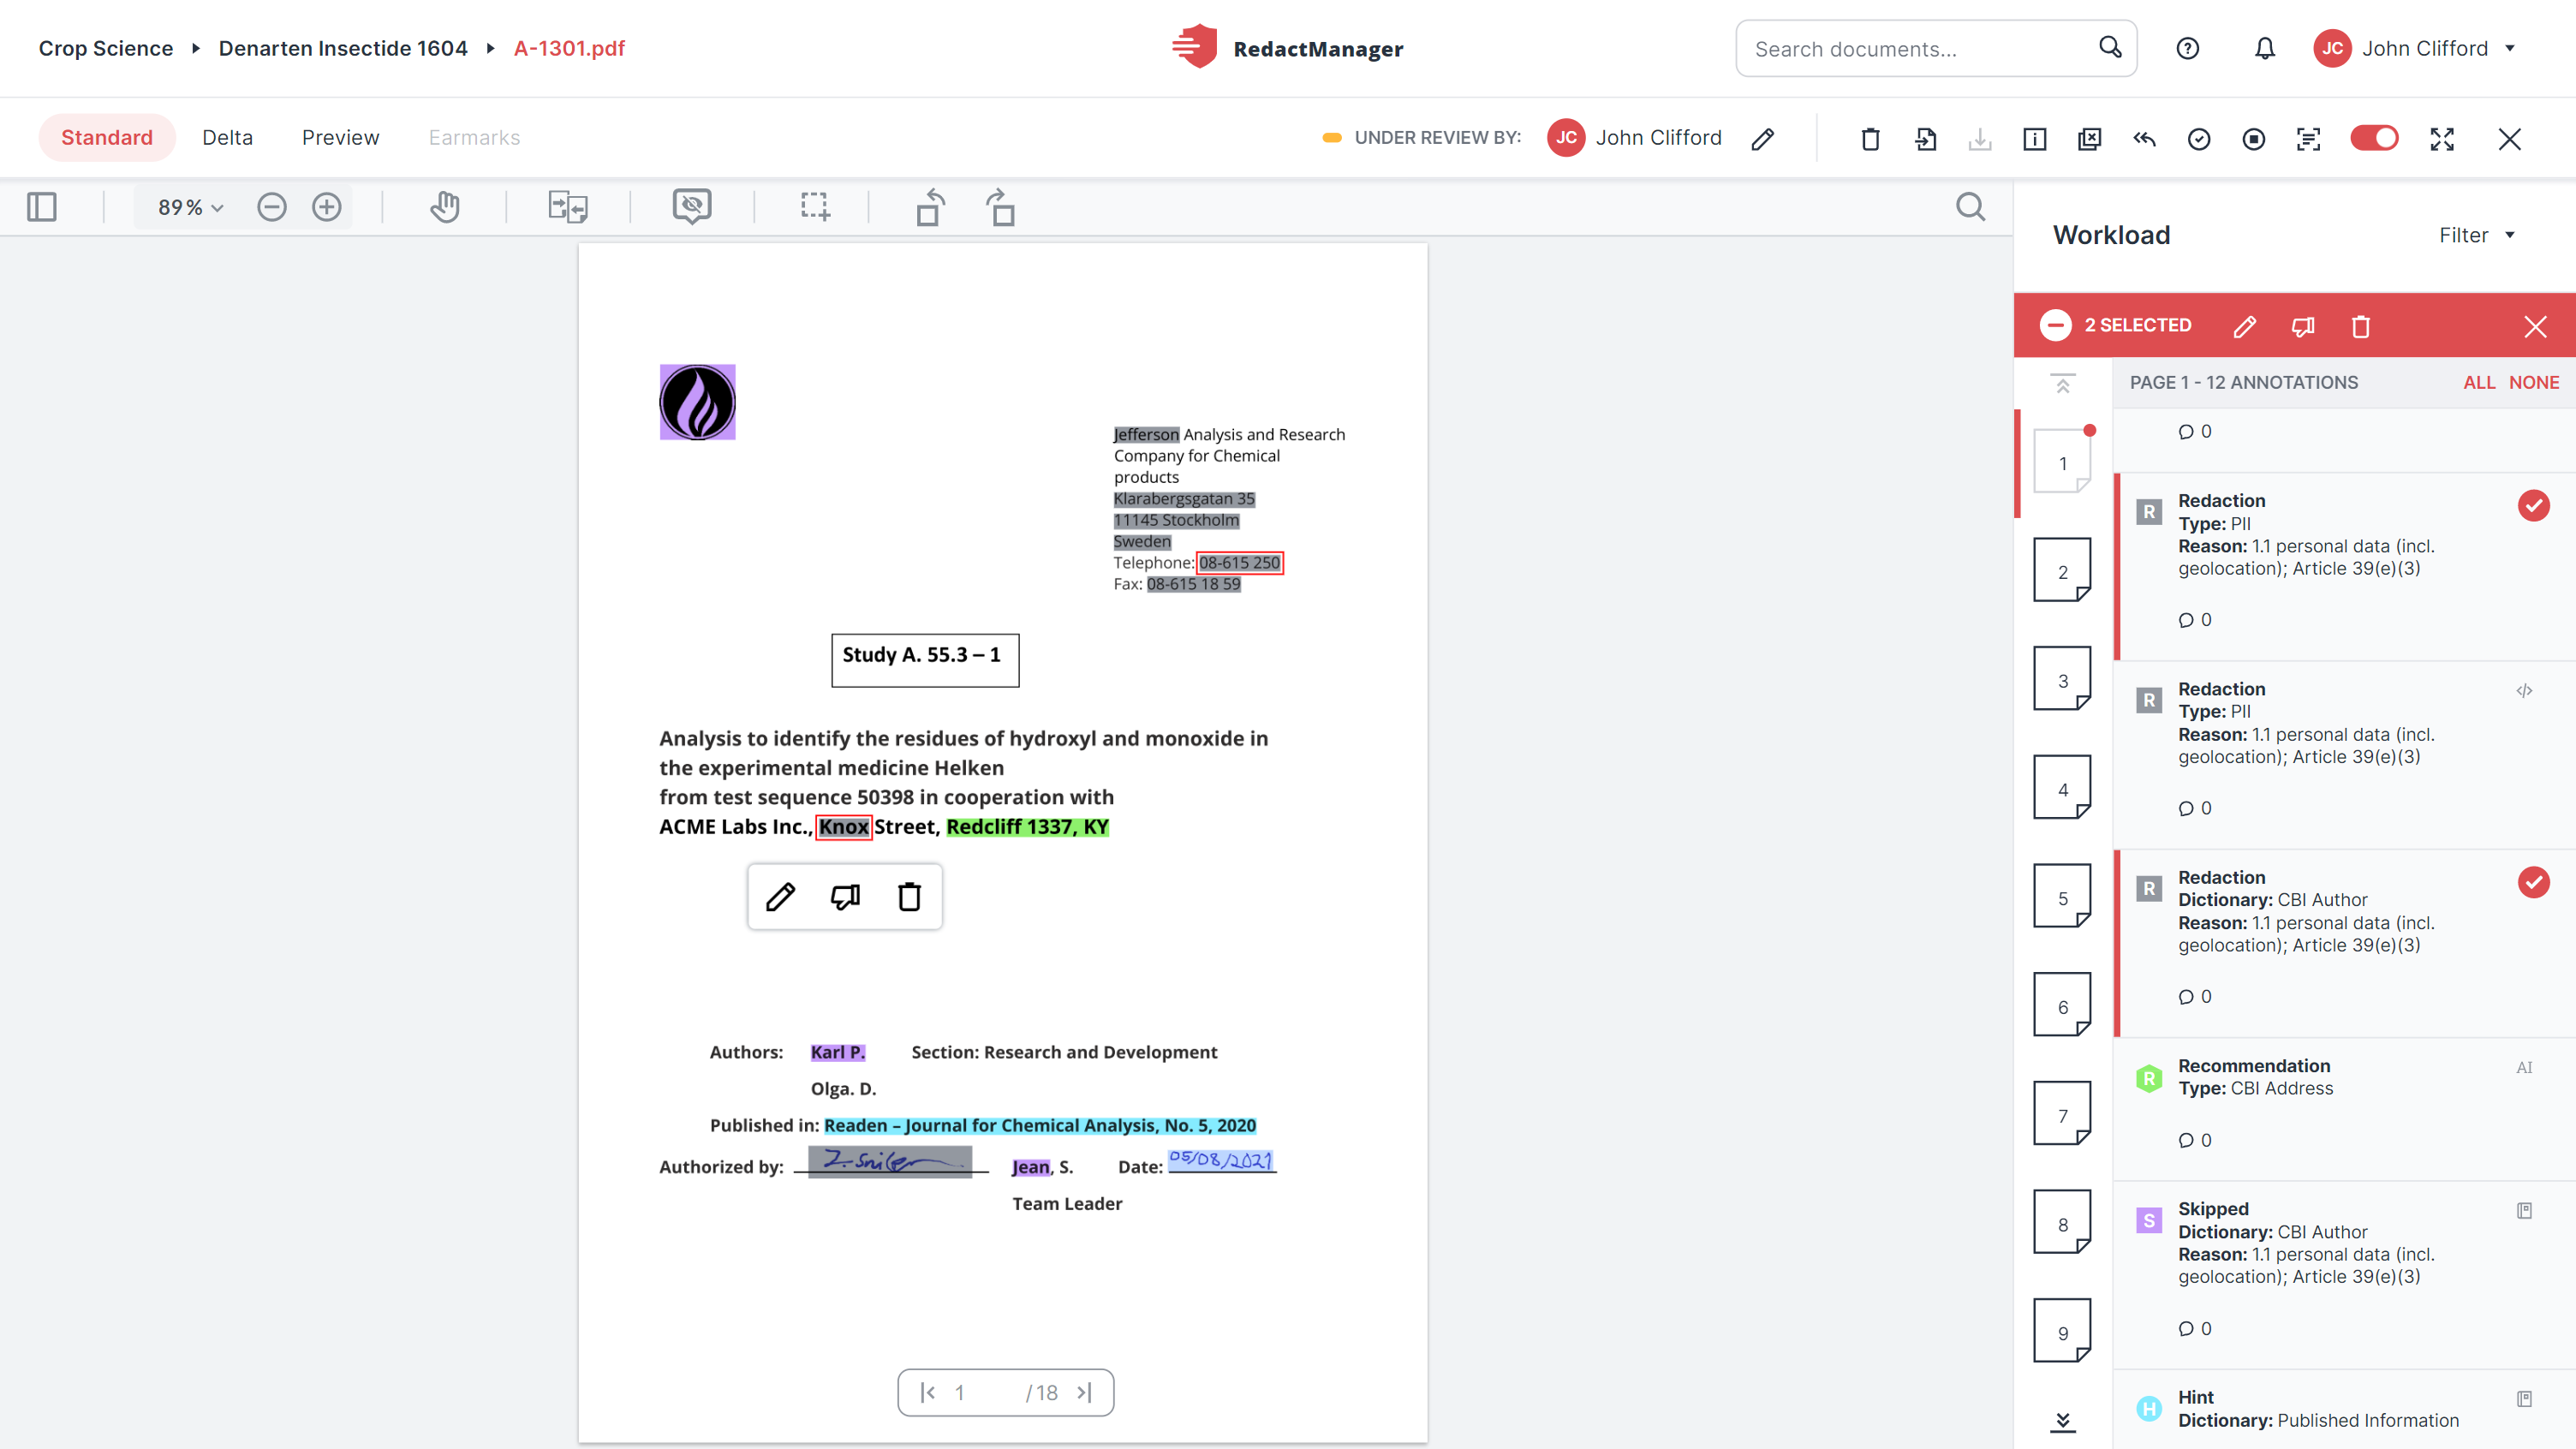
Bulk selection in the Workload
How to filter the annotations in the Workload:
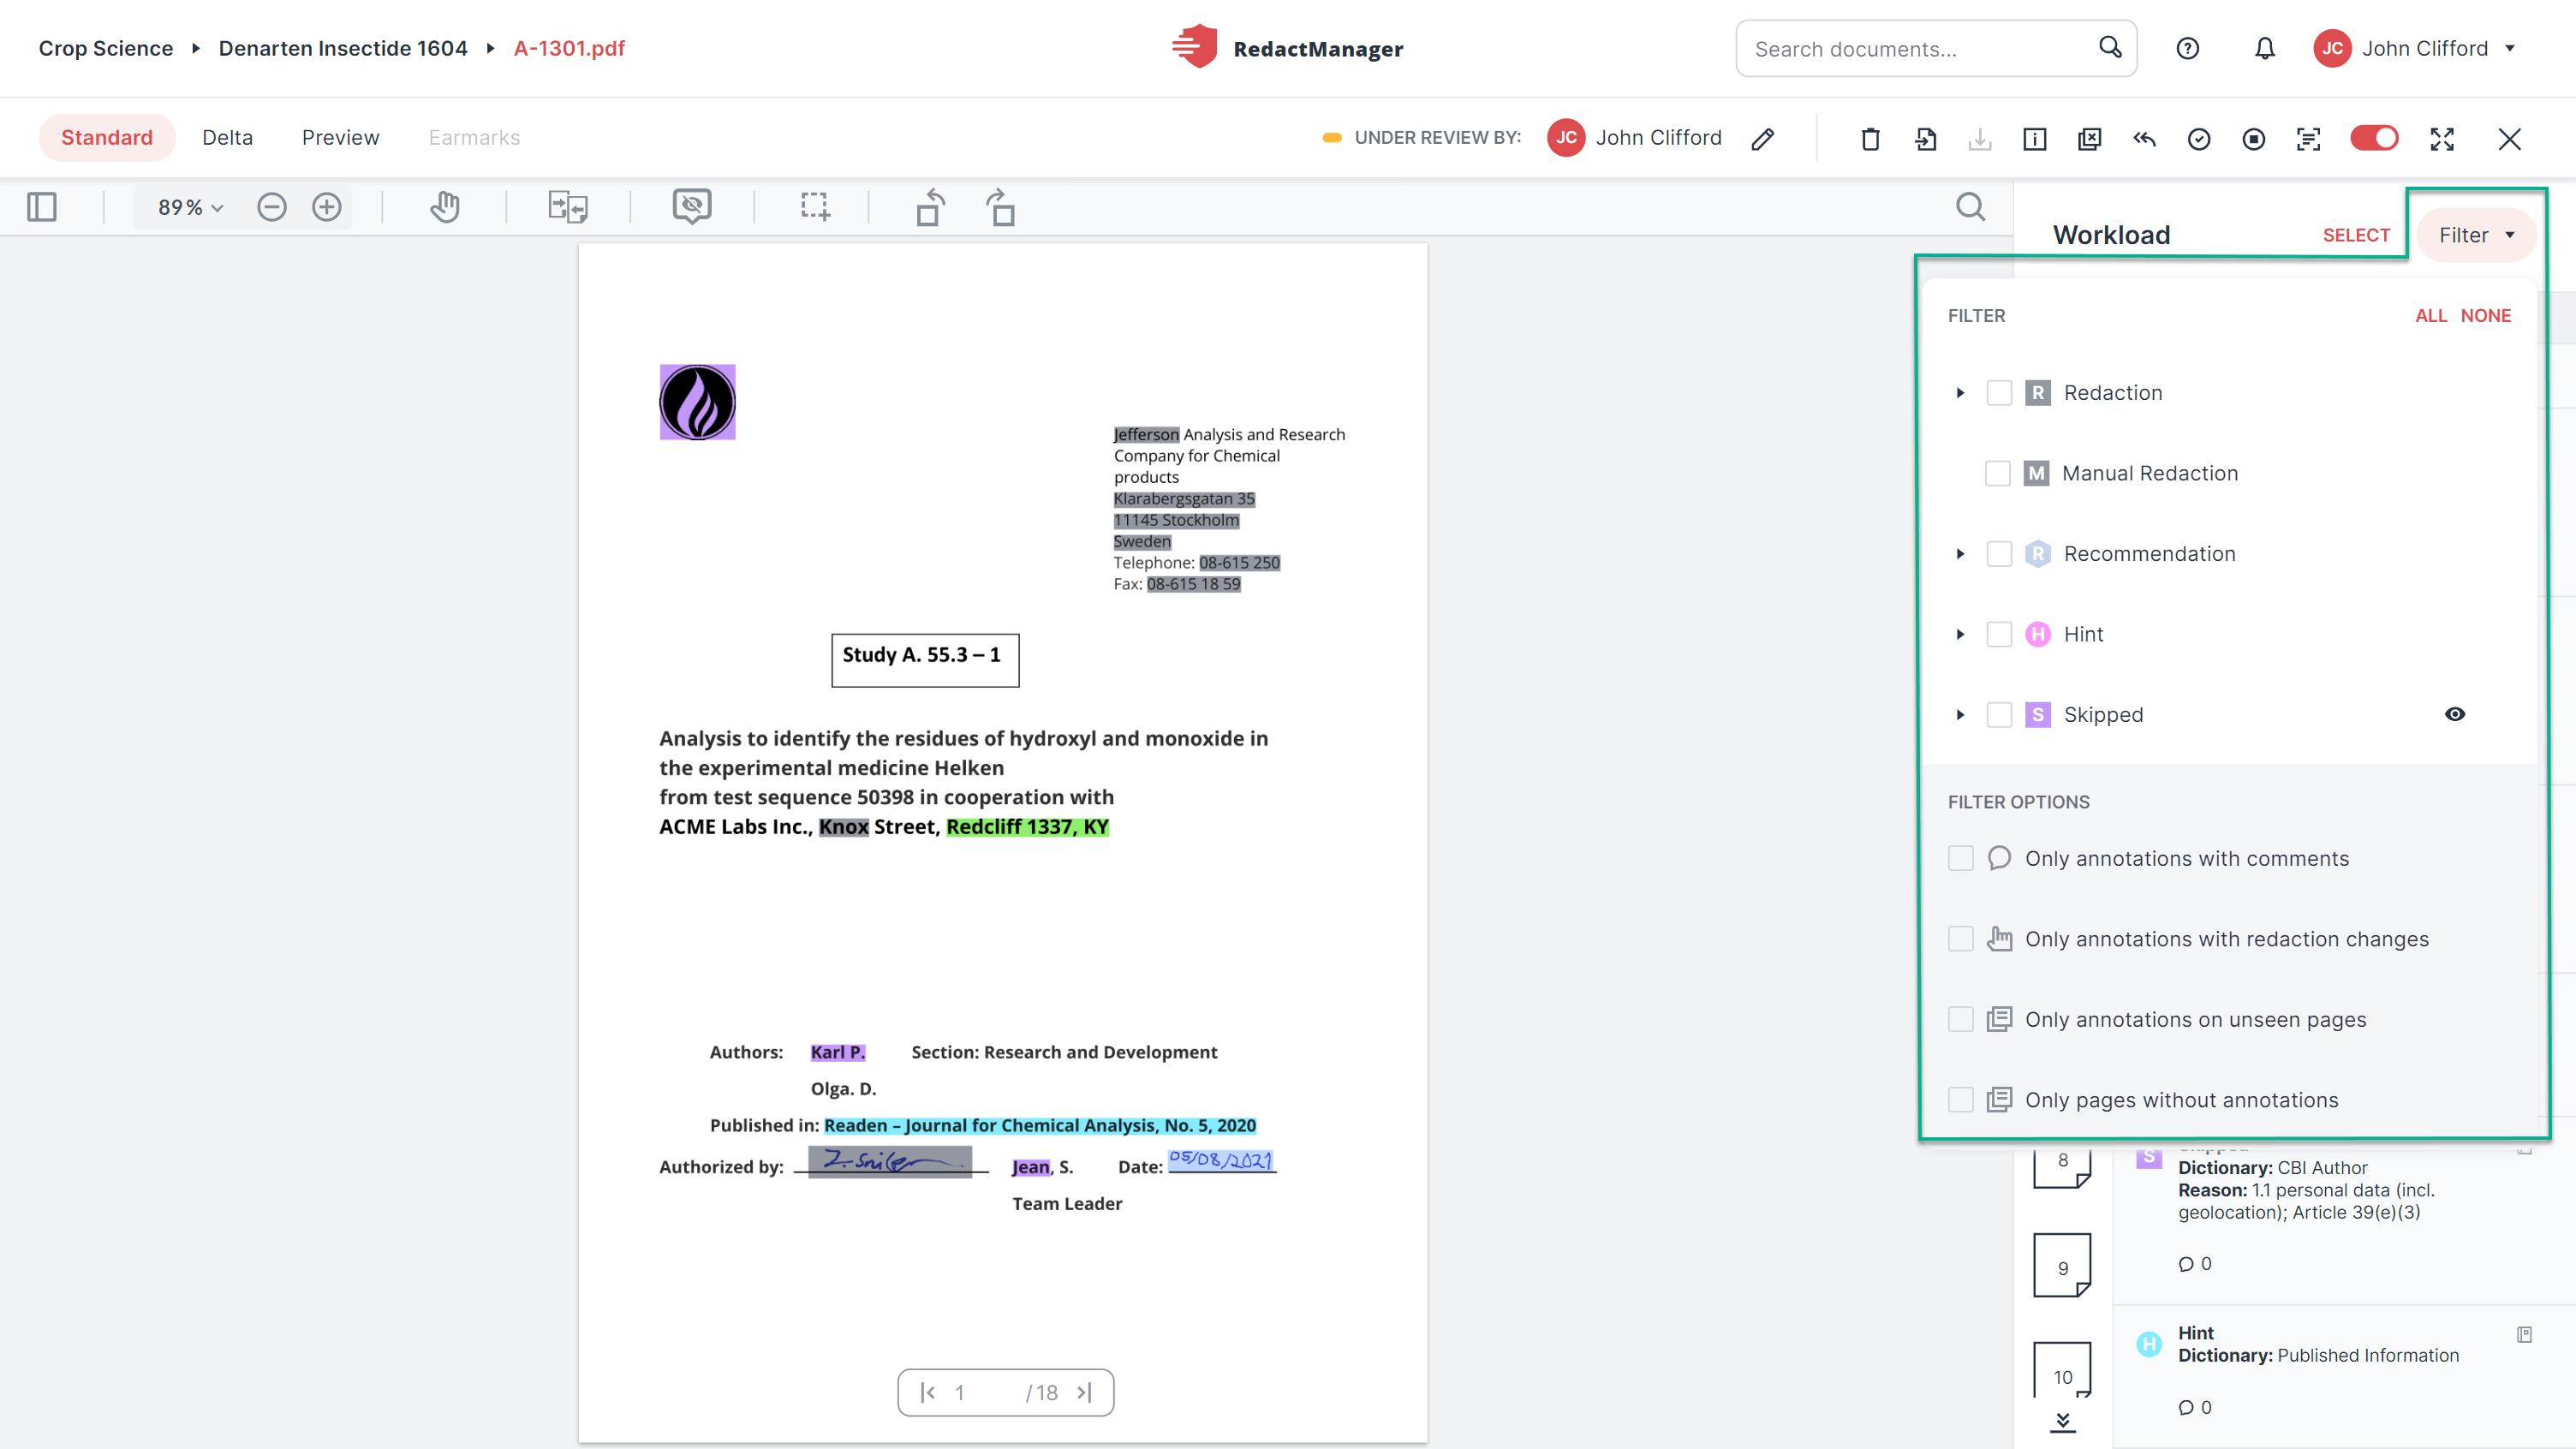
Filter in the Workload
Click Filters.
A drop-down menu shows the available filters:
Redaction (+ different subtypes)
Suggestions (+ different subtypes)
Images (+ different subtypes)
Recommendations (+ different subtypes)
Hints (+ different subtypes)
Skipped
Only annotations with comments
Only redactions with reason changes
Annotations on unseen pages
Pages without annotations
You can find the document features in the upper right of the Editor:
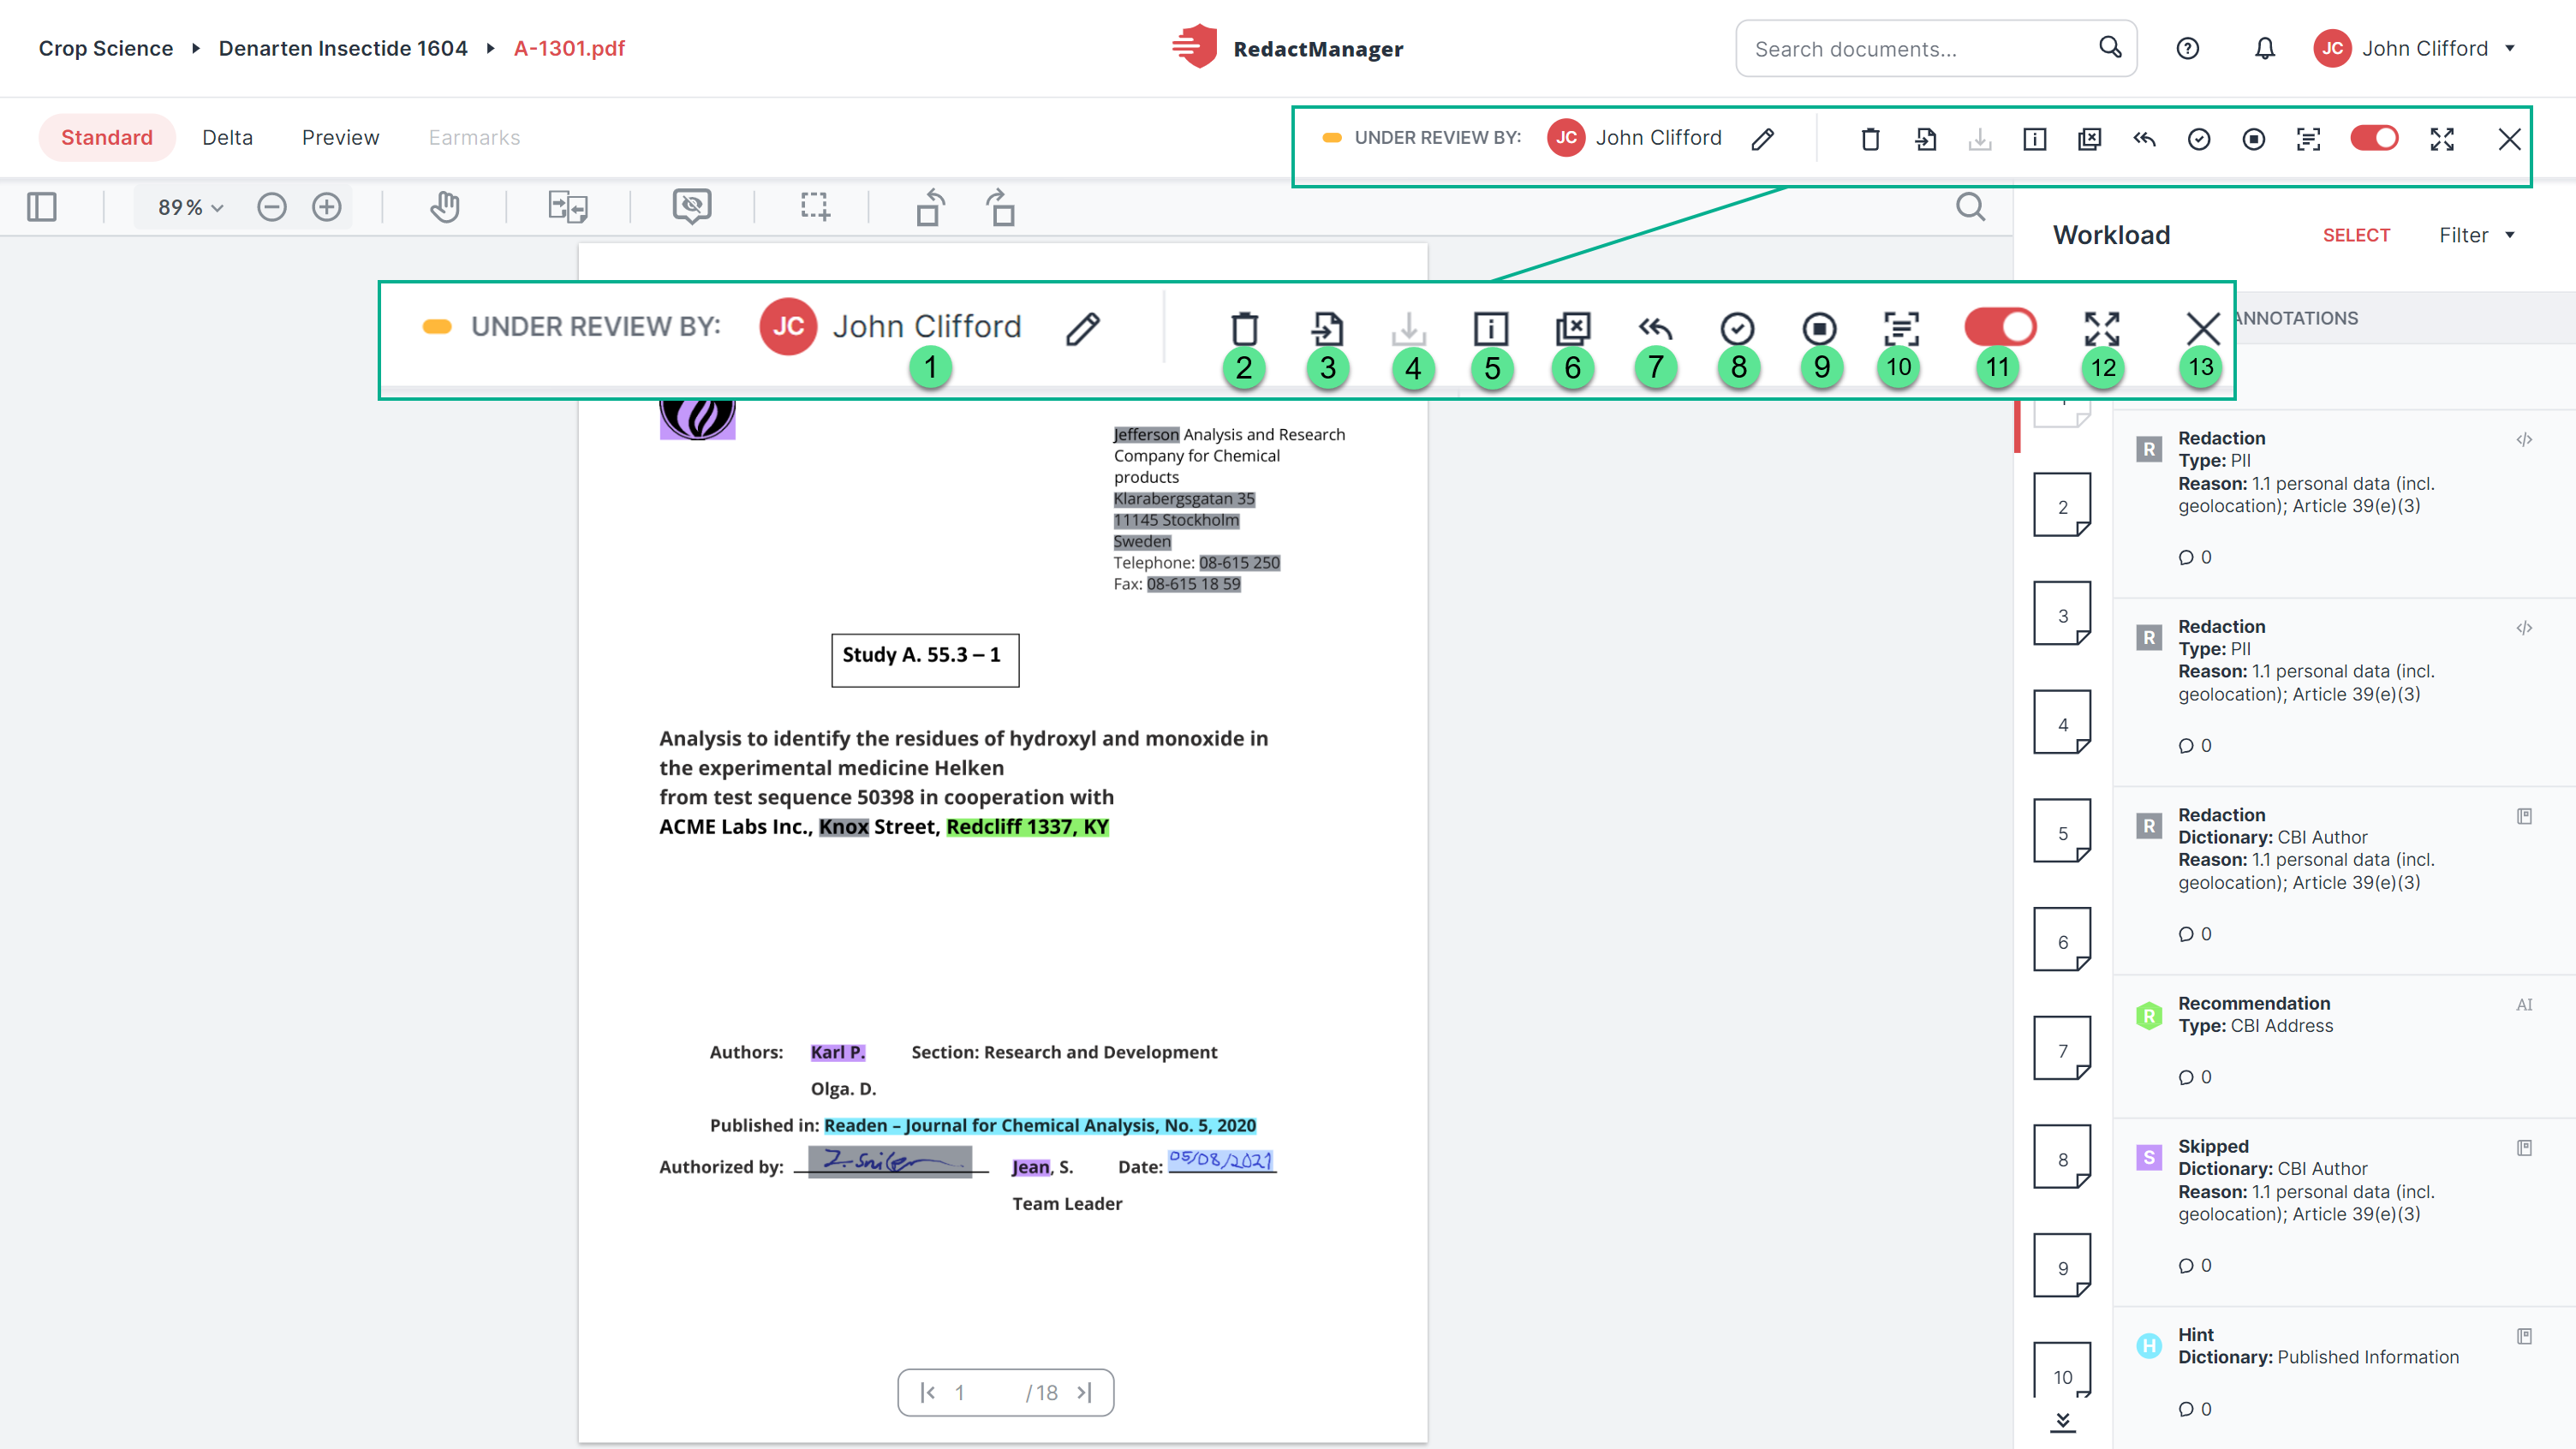
Document features
Assign User
 :
:Define the Reviewer or Approver for the document or change the Reviewer or Approver (depending on the document status).
Delete
 :
:Delete the document.
Import redactions
 :
: Import the redactions from a redacted version of the source document.
Download
 :
:Download the document. If the document has not yet been approved, you will be informed that you can only download approved documents.
Document Info
 :
: Open the Document Info showing the file attributes. File attributes provide additional information about the document (metadata such as the title and the version number).
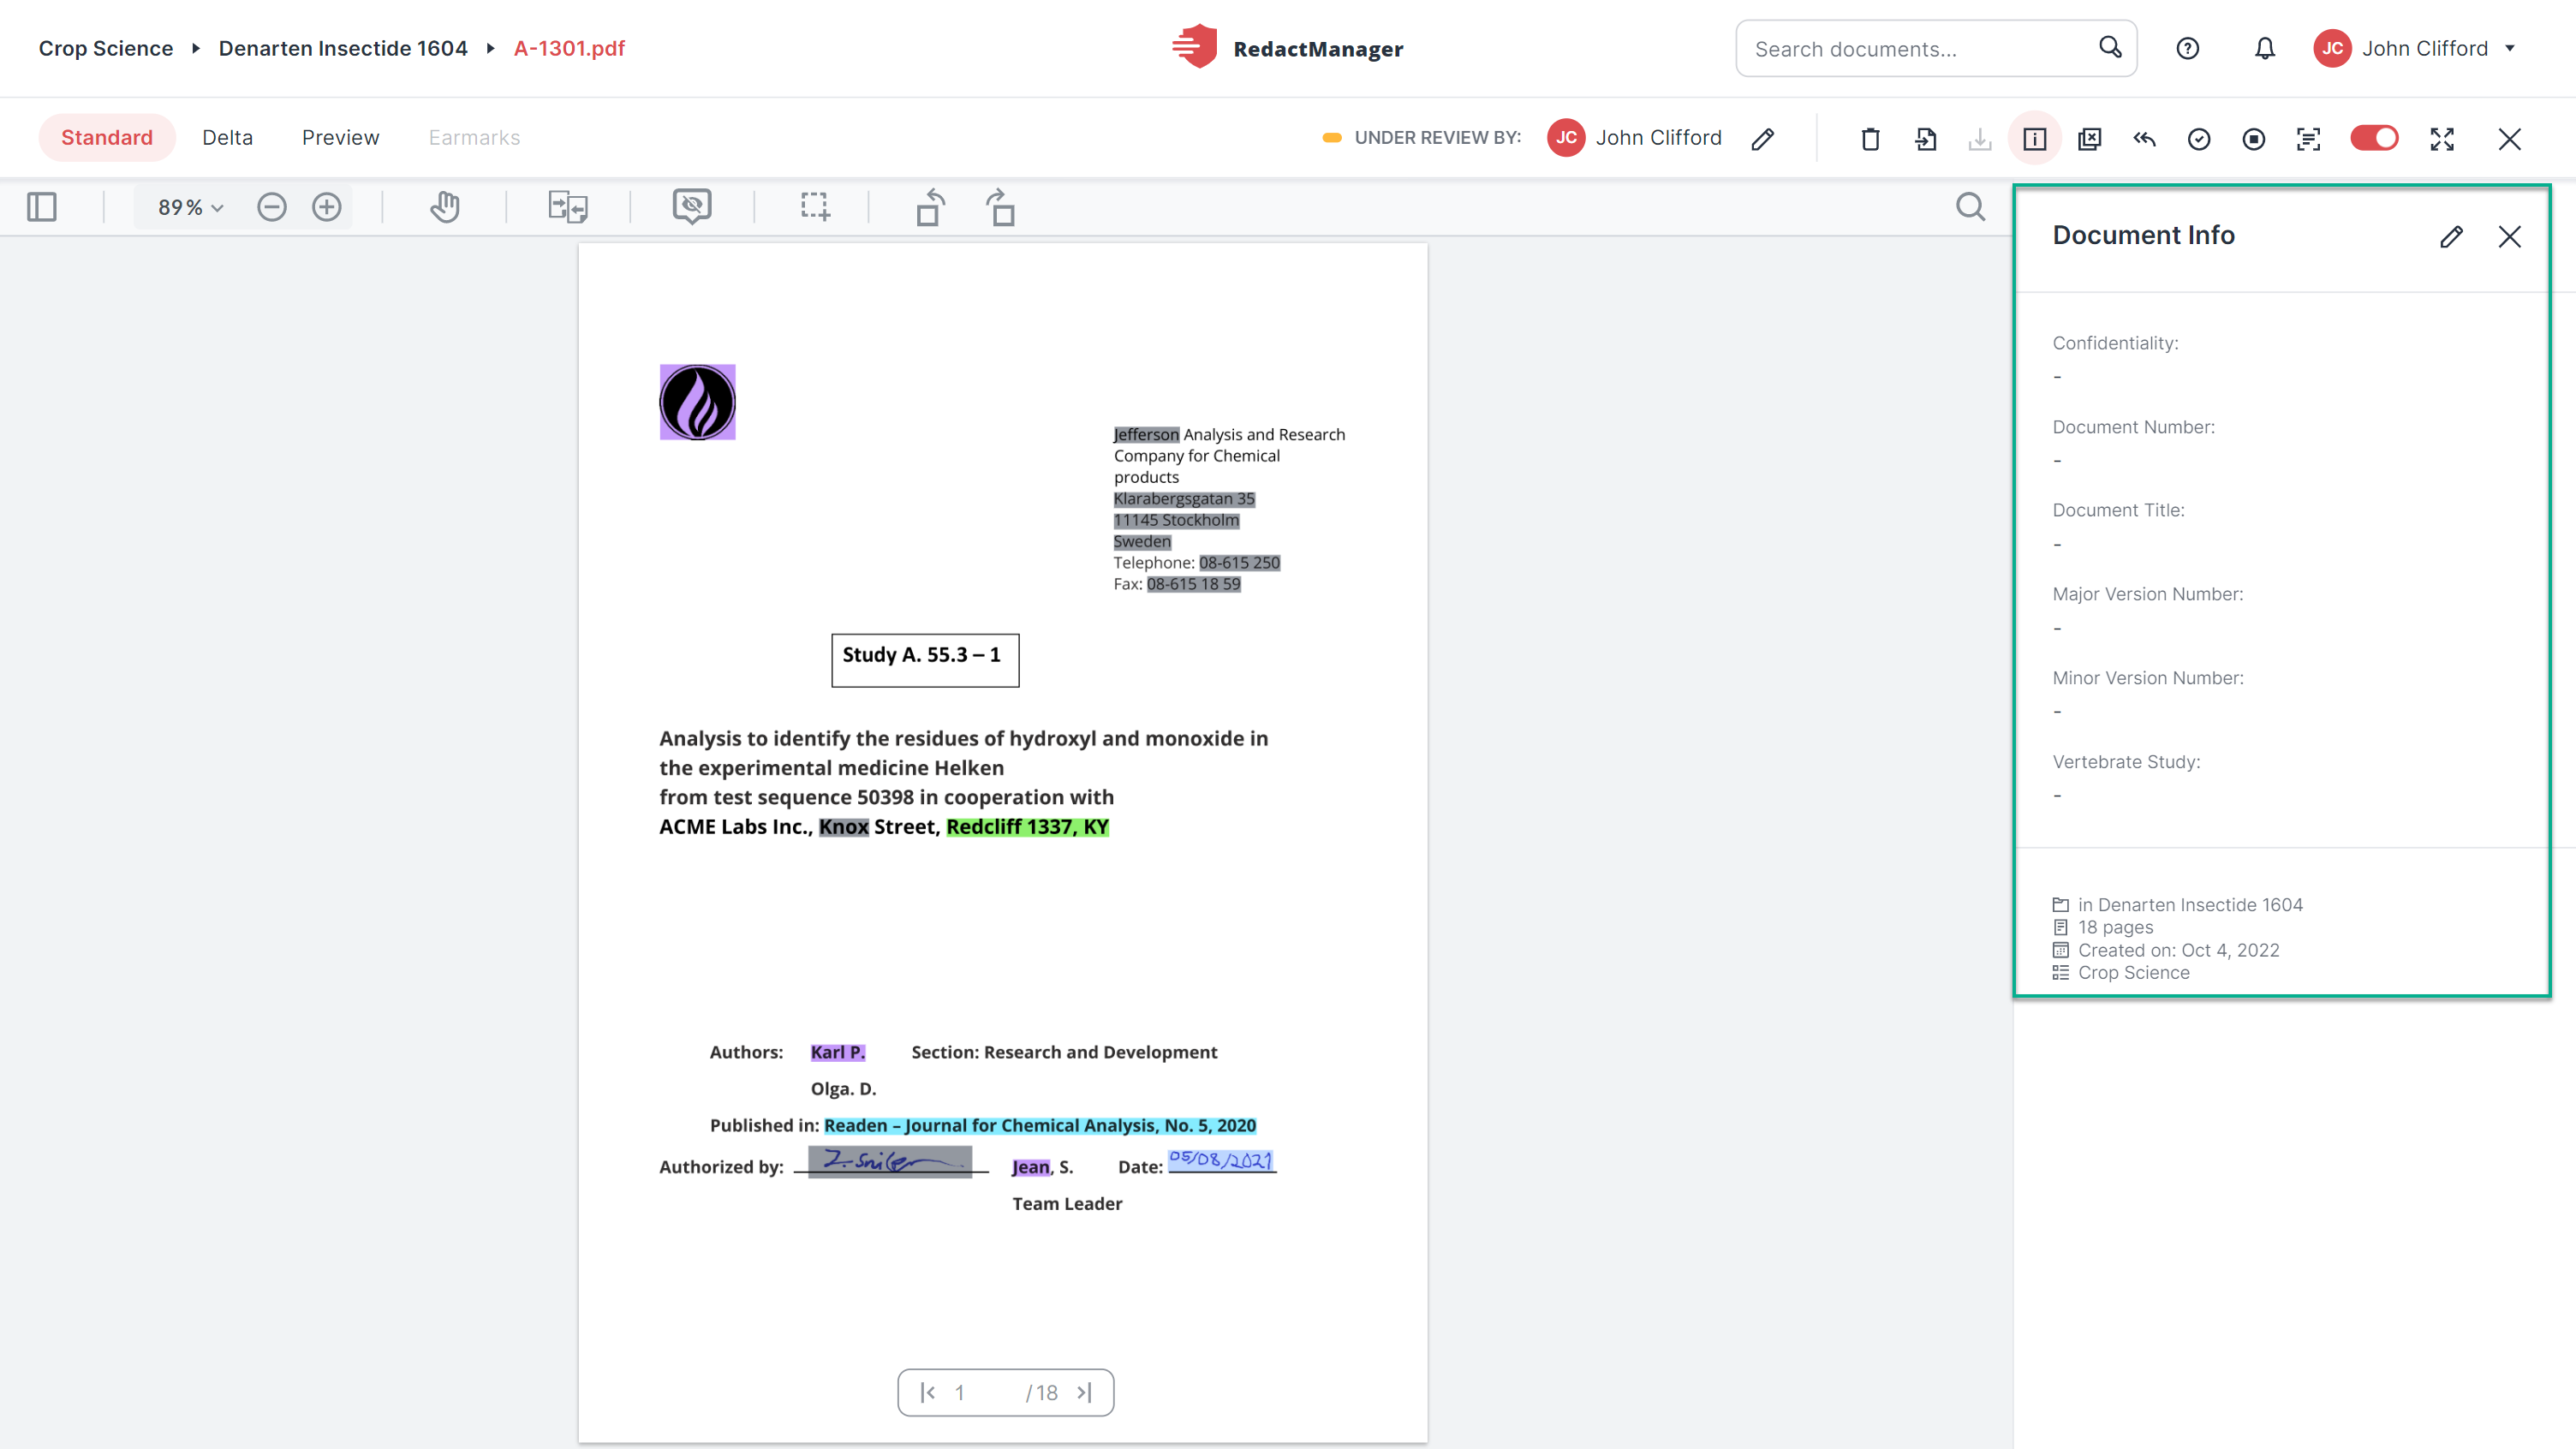
Document Info
Click the Edit Document Info icon
in the upper right corner of the Document Info to edit the file attributes.The "Enter file attribute" dialog opens.
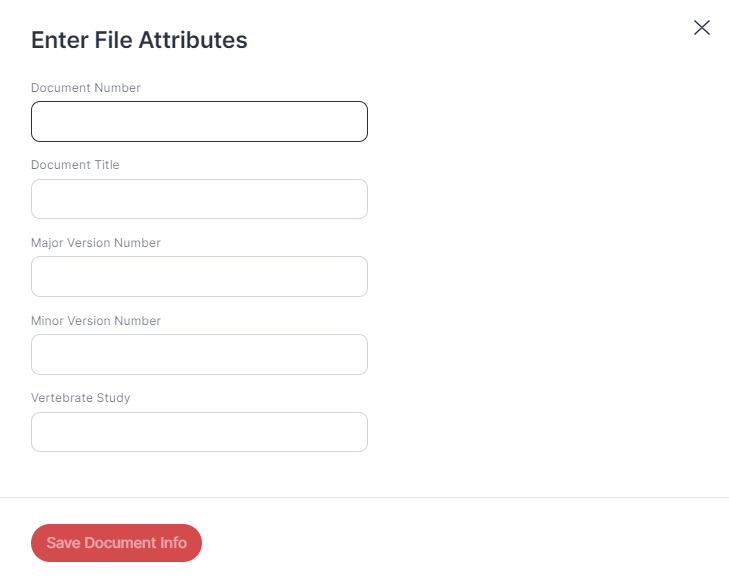
"Enter File Attributes" dialog
Enter the values for the different file attributes.
Only users with the Admin role can create new file attributes. They can also mark them as Filterable and Displayed in File List.
Customized display of file attributes:
Attributes marked as Filterable can be used as filters for documents. All values that exist for an attribute will be displayed as filter options. Only the file attributes that have been marked as Displayed in File List are displayed.
Exclude pages from redaction
 :
:Exclude pages in the document from the automatic redaction by RedactManager.
Click on the icon. A dialog opens, and you can enter the pages you want to exclude from redaction. Use the hyphen (-) to define a range of pages. Use a comma to create a list of pages to be excluded from redaction.
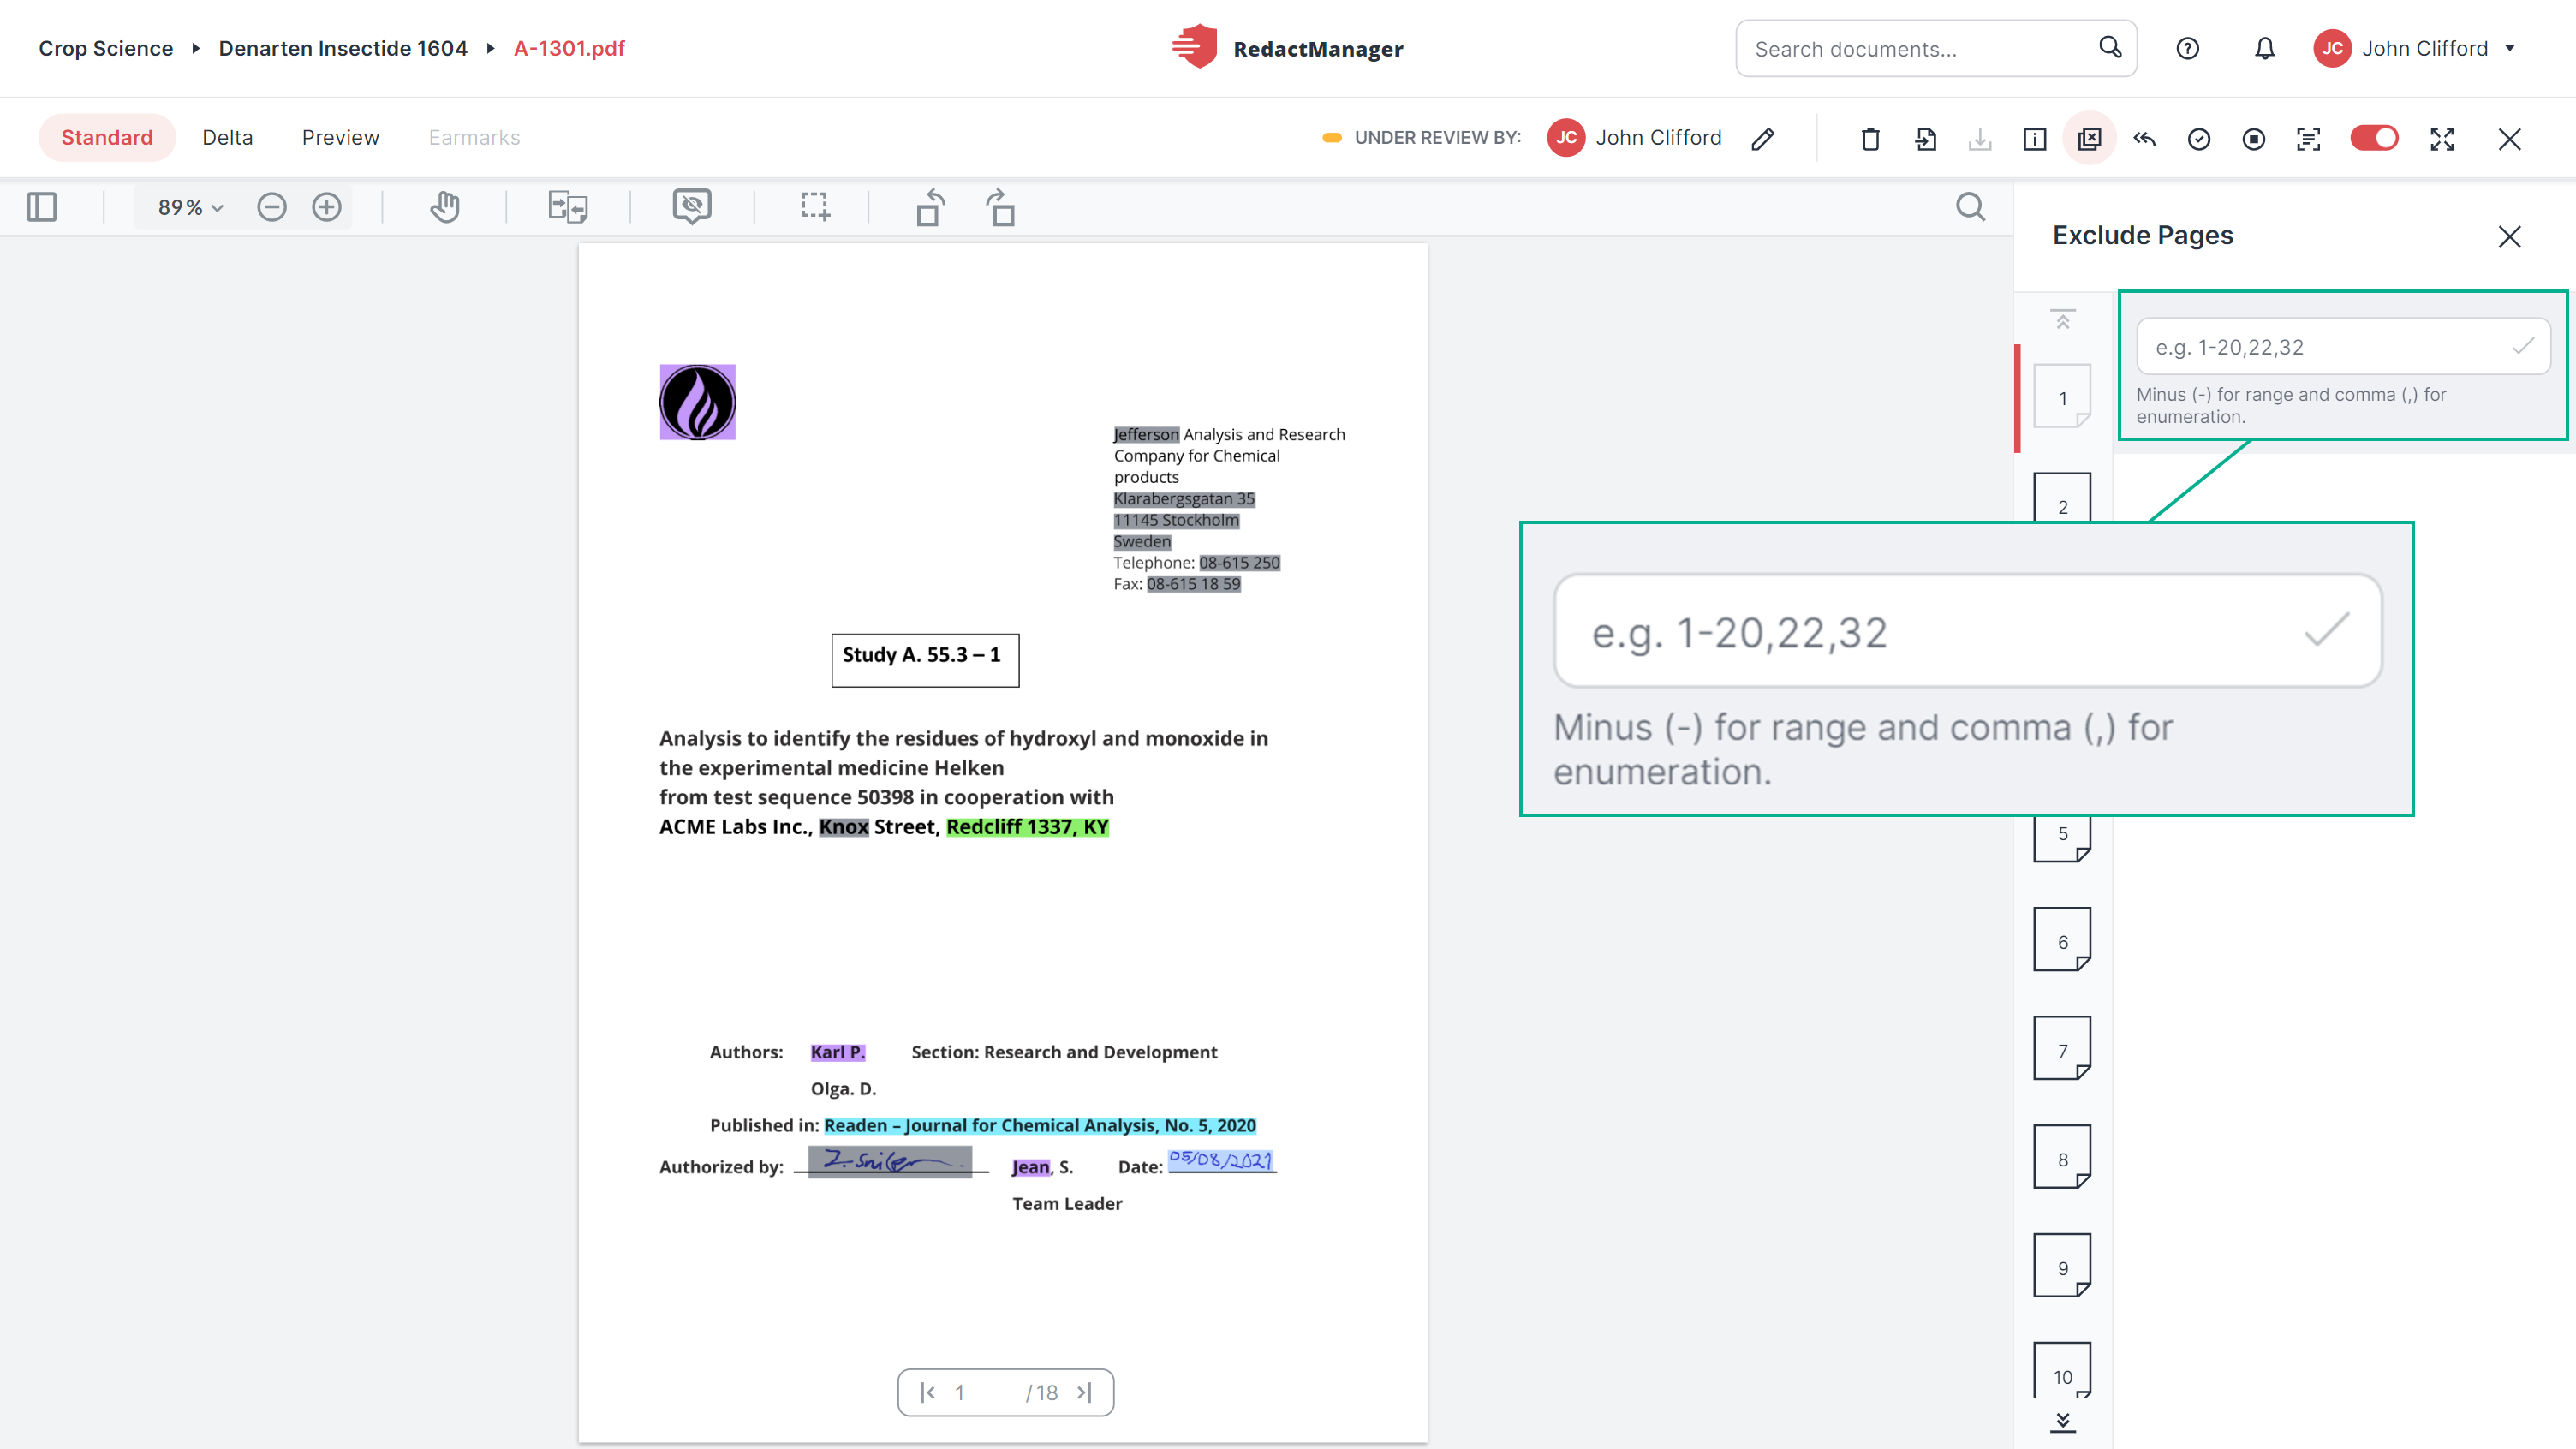
Exclude pages
Pages excluded from redaction can easily be identified: They carry the "excluded" watermark.
It is possible to add manual redactions on pages that are excluded from automatic redaction.
You can include the pages again by clicking the Undo icon
 next to the respective entry in the Workload.
Back to ...
:Move the document back to the previous status. (In this case: Back to New.)
For Approval
 (if you are the Reviewer; in case you are the Approver, you will see the Approve icon
  here.)
Once you have completed your review, send the document for approval by clicking this icon and choosing the Approver. The document status will then change from Under Review to Under Approval.
As the Approver: Click the Approve icon
to approve the document. The document status will then change from Under Approval to Approved.For further information on document approval, please see 2-step approval process.
Disable auto-analysis
 :
:Disable the automatic reanalysis of the document to exclude the document from future redaction runs and analyses.
Click
 to start the reanalysis manually while auto-analysis is disabled, and Start auto-analysis
  to re-enable automatic reanalysis. Both icons appear once you have disabled the auto-analysis.
OCR
 :
: Perform automatic text recognition on the document. In case this feature is not available, the text has already been OCRed.
Disable/Enable redaction toggle
 :
: Turn off/on redactions for the document. No redactions will be displayed and you cannot create manual redactions.
Full-screen mode
 :
: Display the document in full-screen mode.
Close
 :
:Close the document.
Document approval in RedactManager follows a 2-step process.
The Reviewer sends the document for approval:
Once you have completed the document review as a Reviewer, click the For Approval icon
in the document features and choose the Approver.This will move the document to the Under Approval status.
Only the Dossier Owner and the Approver can edit a document that has been changed to Under Approval. The Reviewer can no longer edit the annotations.
The Approver gives their final approval:
As the Approver, once you have checked the Reviewer's work, click the Approve icon
. This will move the document to the Approved status and you will be able to download it.
Move back to previous status:
By clicking the Back to ... icon , you can move the document back to the previous status.