Add manual redactions and hints
RedactManager generates redactions and hints automatically, but you can also add them manually.
Proceed as follows to add a manual redaction or hint:
Open the document in the editor (Standard view) and select the text passage you would like to redact.
A menu bar opens. It shows the following options:
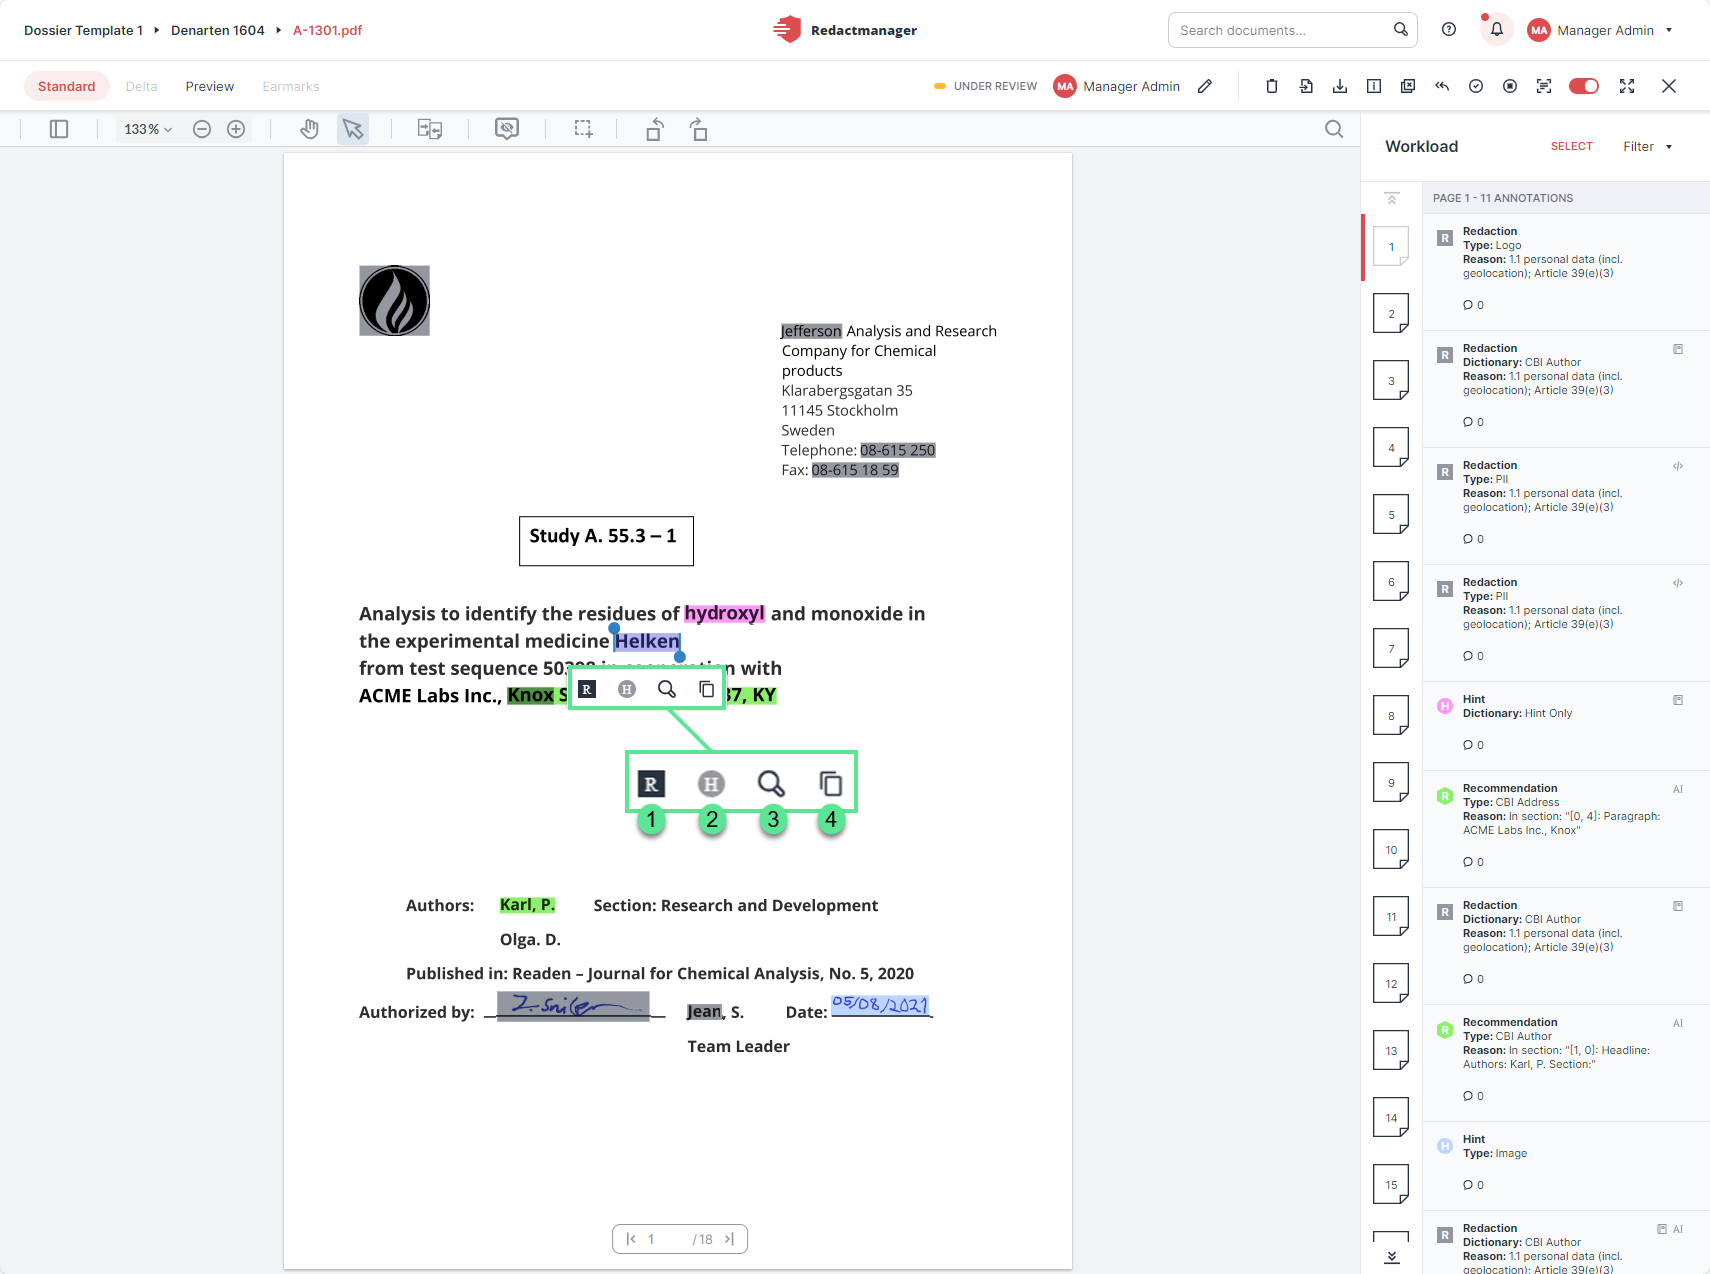
Editing options when selecting text in the document
Redact
Add hint
Search for selection: Search the document for the selected text.
Copy: Copy the selected text to paste it somewhere else.
Click
to redact the selected passage or
to add an hint.
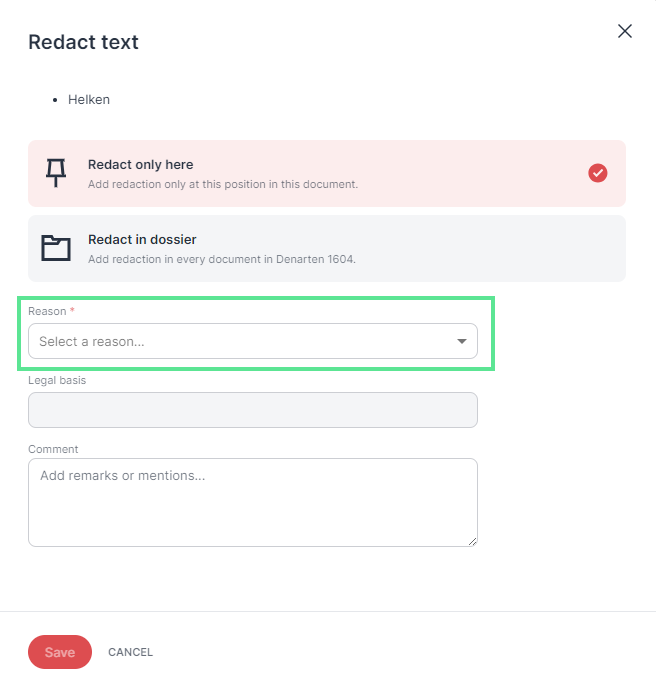
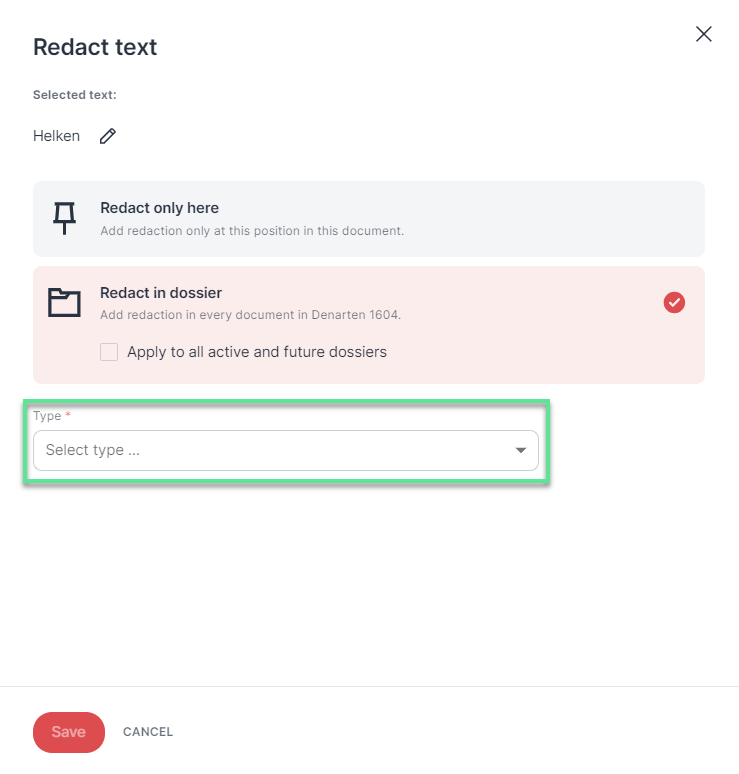
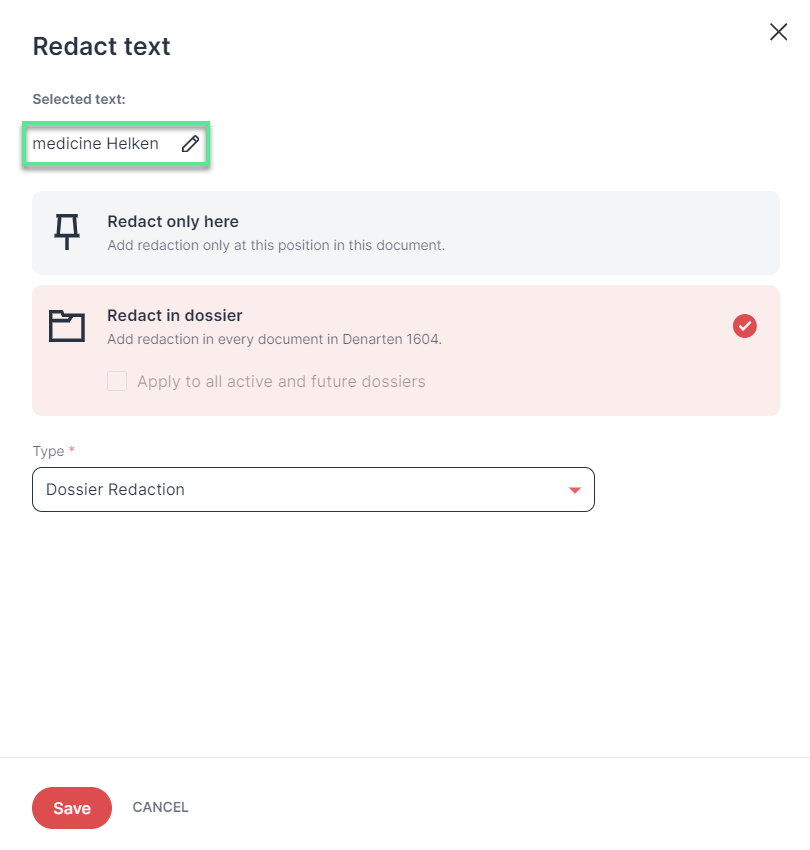
The "Redact text" or "Add hint" dialog opens.
Choose from the options offered in the dialog:
(We use the "Redact" dialog as an example here; the "Add hint" dialog provides the same options, except that the resulting annotation is a hint and not a redaction.)
Click Save to create the redaction.
The text passage is highlighted in the redaction color and a new "Manual redaction" entry appears in the workload.
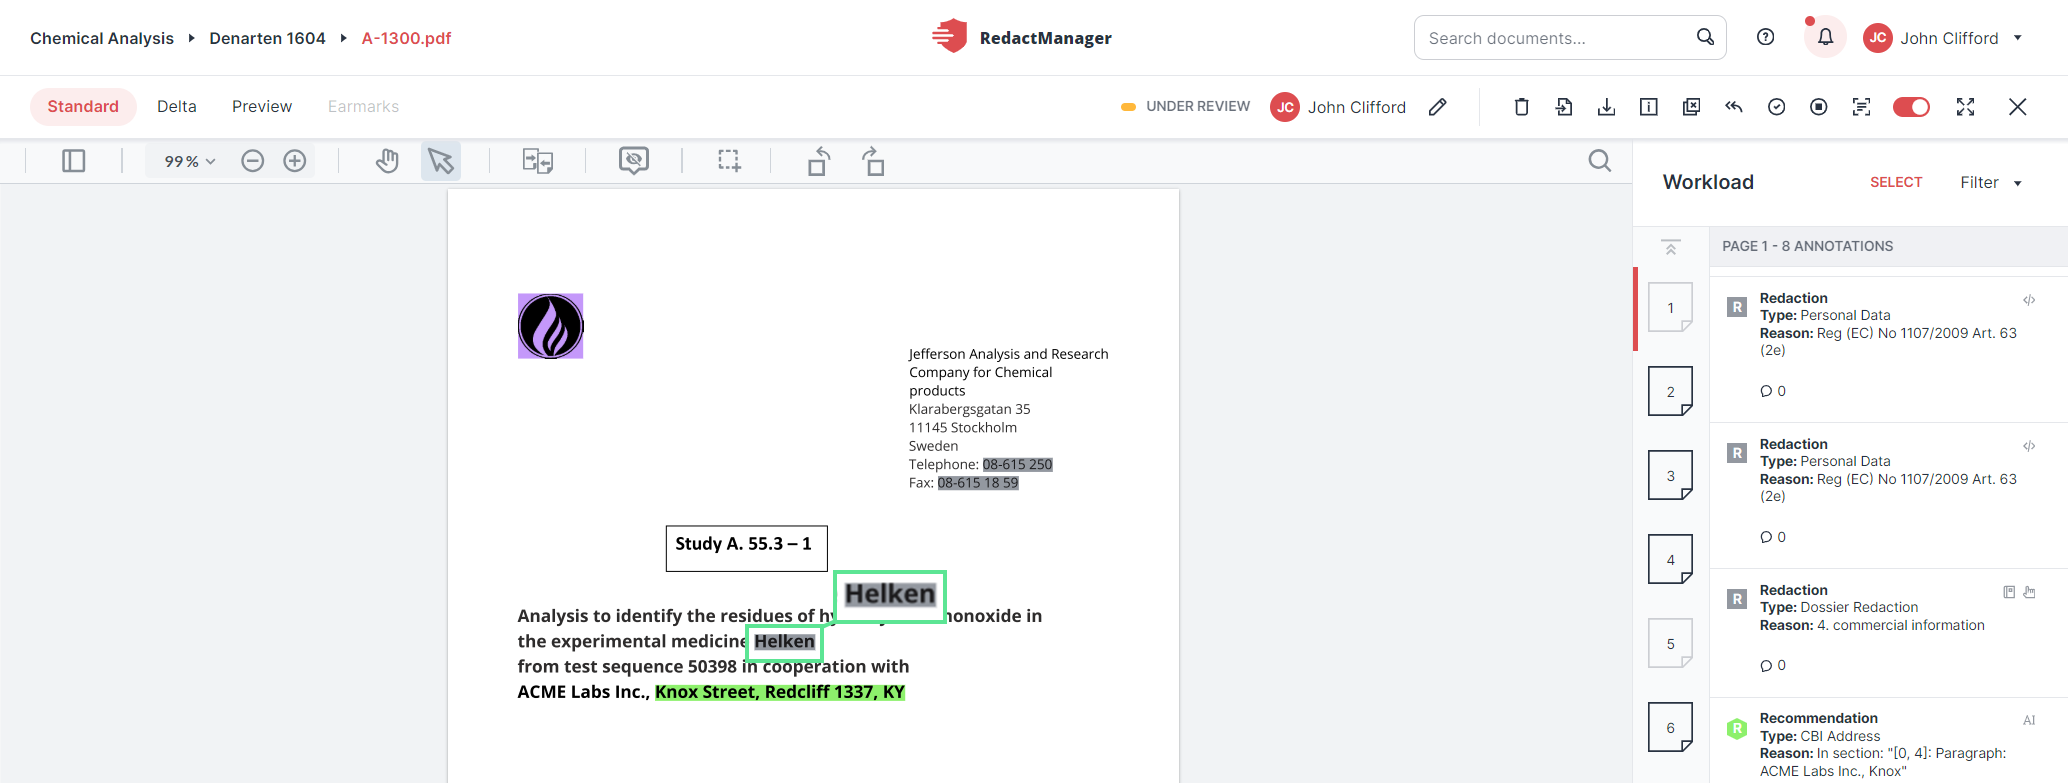
Edited manual redaction
You can also select and redact larger areas in the document, such as graphics, logos, and text paragraphs. We call this rectangle redaction.
The Rectangle button is part of the PDF features bar:

"Rectangle redaction" button
Click Rectangle to enable rectangle redaction.
The cursor turns into a cross.
Click on a starting point. Keep the left mouse button pressed and start dragging to draw a rectangle.
A rectangle appears on the screen.
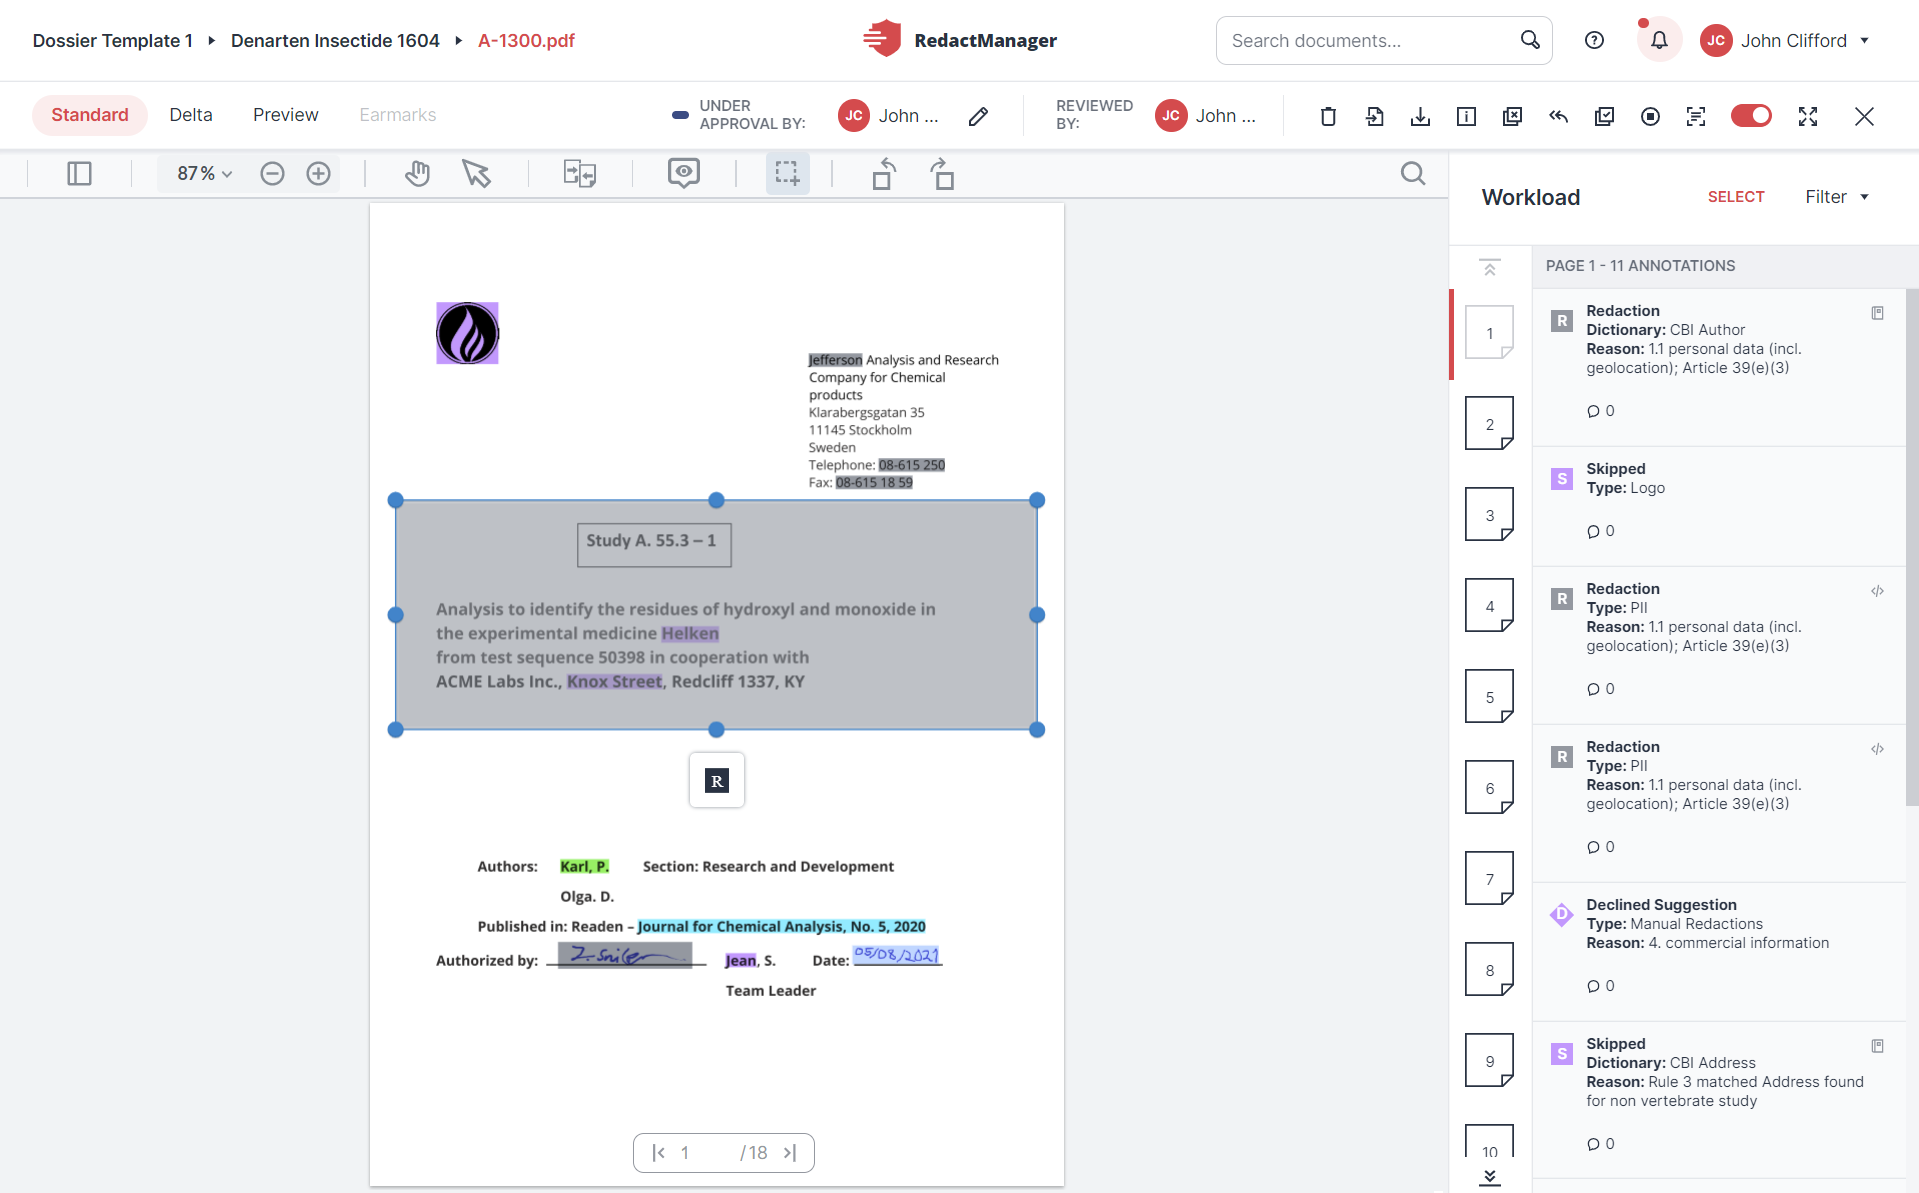
Manually selected area
Release the mouse button when you have selected the area you would like to redact.
The selection box has a blue frame with dots. Click and drag one of the dots to enlarge or reduce the selected area.
The Redaction button
is displayed below the selection box.
Click Redaction
to redact the selected area.
Depending on your permissions, the Redaction form will open. Mandatory fields are marked with a red asterisk.
Fill in the form. It is similar to the text redaction dialog.
Select the redaction reason from the Reason drop-down. This field is mandatory. The Legal Basis field will be filled automatically. You can enter the title of the (sub)chapter in which the redaction is located in the Paragraph / Location field. The Value / Classification field allows you to classify the redacted area further. The default text for that field is "non-readable text". The text in this field will be displayed in the "Value" column of the redaction report. For further information on the redaction reports, please see Reports (Admin manual).
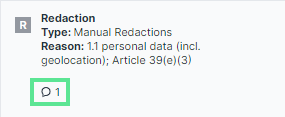
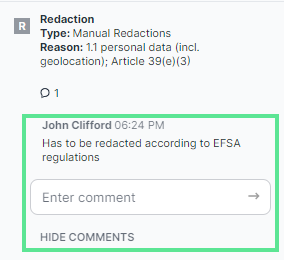
You can leave a comment in the Comment field.
If you want to apply the same rectangle redaction on multiple pages, check Apply on multiple pages and specify on which pages you want to redact the selected area.
Click Save to confirm.

"Rectangleredaction" dialog
If you want to remove or edit your rectangle redaction later, click on the redacted area or the annotation in the workload.
Good to know:
The rectangle mode remains active when you jump to another page and back.
